Basic Gluten Free Pizza Dough
5.0
(215)
Your folders
Your folders
Prep Time: 10 minutes
Cook Time: 30 minutes
Total: 100 minutes
Servings: 2
Author : Nicole Hunn

Ingredients
Export 5 ingredients for grocery delivery
Instructions
Step 1
In the bowl of your stand mixer fitted with the paddle attachment or your food processor fitted with the metal blade, place the flour, xanthan gum, (optional Expandex), yeast, and sugar, and whisk to combine with a separate, handheld whisk. Add the salt, and whisk again to combine well.
Step 2
Add the water and olive oil, and mix on medium speed in your stand mixer or pulse in your food processor until the dough begins to come together.
Step 3
Turn the mixer to high speed or your food processor on and process until the dough is no longer a ball but has begun to appear whipped (about 3 minutes).
Step 4
Transfer the dough to an oiled container with a tight-fitting lid or a greased bowl, spray lightly with cooking oil spray, and cover tightly.
Step 5
Place in a warm, draft-free area to rise until it’s about 150% of its original volume (about an hour), or refrigerate the dough for up to 3 days.
Step 6
When you’re ready to make the pizza, place a pizza stone or overturned rimmed baking sheet in the oven and preheat it to 400°F.
Step 7
If you’ve refrigerated the dough, work with it straight from the refrigerator. If you haven’t, place the tightly sealed dough in the refrigerator to chill for at least 15 minutes before working with it, as it’s easiest to work with when it’s chilled.
Step 8
To make pizza, place the dough on a lightly floured surface and sprinkle the top lightly with a bit more flour. Knead the dough a bit until it’s smoother, then divide it into two equal portions. Cover the unused portion, so it doesn’t dry out.
Step 9
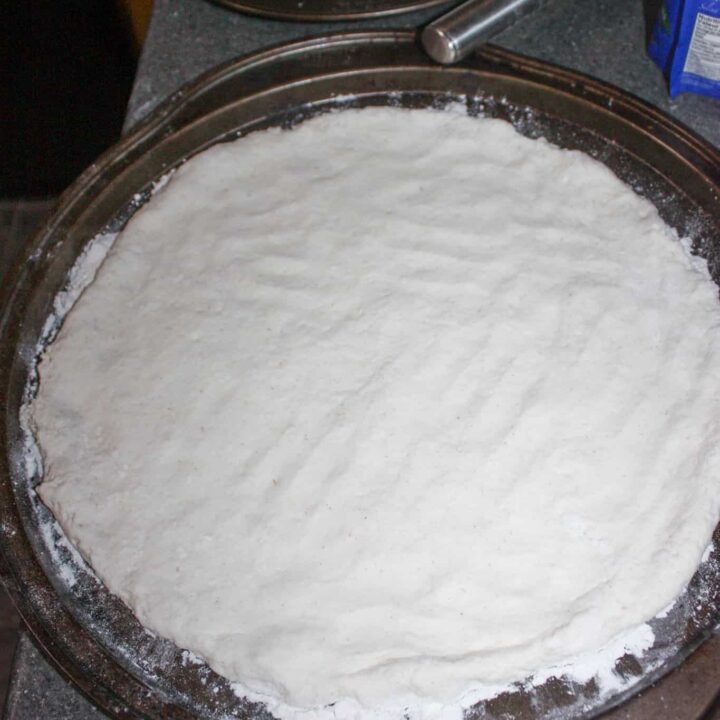
Roll the other half on the floured surface with a rolling pin, moving the dough frequently to prevent sticking. Sprinkle very lightly with additional flour as necessary.
Step 10
Create a smooth edge around the perimeter of the dough by pressing the edges with one hand toward the palm of your other.
Step 11
Transfer the dough to a large piece of unbleached parchment paper and brush the top of the dough generously with olive oil. Using a pizza peel or other flat surface like a cutting board, transfer the dough to the pizza peel or baking sheet in the preheated oven and bake it plain for 5 to 7 minutes, or until the crust has begun to crisp on the underside.
Step 12
Remove the crust from the oven using a pizza peel or large spatula. At this point, the parbaked crust can be cooled completed, wrapped tightly and frozen for at least one month. Simply defrost at room temperature, and then continue with the recipe as written.
Step 13
To continue preparing the dough, add your favorite toppings to the parbaked crust, and return the pizza to the hot oven until any cheese is melted and the edges have browned and puffed (another 5 to 7 minutes).
Step 14
Remove the pizza from the oven using a pizza peel or large spatula, and allow it to set for 5 minutes before slicing and serving.
Top similar recipes
Curated for youYour folders
 69 views
Basic Gluten Free Pizza Dough
glutenfreeonashoestring.com
Your folders
 66 views
Basic Gluten Free Pizza Dough
glutenfreeonashoestring.com
Your folders

 450 views
Gluten-Free Pizza Dough
foodnetwork.com
4.4
(21)
25 minutes
Your folders

 723 views
Gluten-Free Pizza Dough
ooni.com
4.0
(766)
1 minutes
Your folders

 125 views
Gluten Free Pizza Dough
eatwithclarity.com
5.0
(84)
30 minutes
Your folders

 397 views
Basic Pizza Dough
perfectitaliano.com.au
30
Your folders

 406 views
Basic Pizza Dough
perfectitaliano.com.au
30
Your folders
 270 views
Basic pizza dough
nadialim.com
Your folders
 319 views
Basic Pizza Dough
foodnetwork.com
4.7
(39)
Your folders
 1052 views
Basic pizza dough
taste.com.au
4.9
(48)
Your folders
 423 views
Basic Pizza Dough
thepioneerwoman.com
5.0
(3)
Your folders

 295 views
Basic Pizza Dough
completelydelicious.com
4.0
(10)
10 minutes
Your folders
 115 views
Basic Pizza Dough
epicurious.com
4.4
(229)
Your folders

 223 views
Plantain Pizza Dough (Gluten Free)
hangryeconomist.com
5.0
(1)
25 minutes
Your folders

 80 views
Easy Gluten Free Pizza Dough
theloopywhisk.com
4.8
(38)
15 minutes
Your folders
 112 views
Caputo Pizza Dough - Gluten Free
kissglutengoodbye.com
25 minutes
Your folders

 446 views
Quick Basic Pizza Dough
marthastewart.com
Your folders

 426 views
Mark Bittman's Basic Pizza Dough
cooking.nytimes.com
5.0
(863)
Your folders

 820 views
Basic Neapolitan Pizza Dough Recipe
seriouseats.com
4.6
(17)