Bisquick Pie Crust Recipe
4.7
(41)
Your folders
Your folders
Prep Time: 10 minutes
Cook Time: 20 minutes
Total: 30 minutes
Servings: 1
Author : Cyna | Country Hill Cottage

Ingredients
Export 2 ingredients for grocery delivery
Instructions
Step 1
Combine dry ingredients. Pour the Bisquick baking mix and granulated sugar into a 9-in or 10-in / 23 cm or 25cm pie pan. Stir together with a fork until well combined.
Step 2
Add wet ingredients. Next, from a well in the dry ingredients and pour in the melted butter and water.
Step 3
Form crumbs. Using your fork, stir the ingredients until clumps form. Gently knead the dough with your hands until it just comes together. Be careful not to overmix the dough. You want to stop kneading when you no longer see dry ingredients.
Step 4
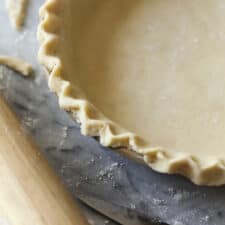
Press dough into pan. When the Bisquick dough is formed, push it into the bottom and sides of the pie pan, using your hands. Try to get the dough into an even thickness throughout and crimp the edges if desired.
Step 5
Bake or freeze. Your Bisquick pie crust is ready! You can blind-bake it, fill and bake it, or freeze it for future use.
Step 6
Chill crust. Once you have pressed the Bisquick pie dough into the pan and finished the edges, put it in the refrigerator to chill while the oven preheats.
Step 7
Preheat oven. Position a baking rack in the center of your oven and preheat to 350°F / 180°C / gas mark4.
Step 8
Prep pie shell for baking. Cut a circle of parchment (baking) paper. Crumble it together, then unfold and place it in the chilled pie shell. Add a layer of tin foil and press it gently into the crust. The foil supports the side of the crust, preventing it from sagging. Fill the foil with pie weights or dry beans.
Step 9
Pre-bake pie crust. Bake the Bisquick pie crust for 15 minutes. Then remove from the oven and take out the paper, foil, and weights. If desired, brush your pie shell with egg wash to give it a beautiful golden-brown color.
Step 10
Tent edges. Cover the edges with foil or a pie crust shield to prevent the edges from burning.
Step 11
Fully bake pie crust. Continue baking the pie crust for another 10 minutes (if the pie will be baked with a filling) or for 20 to 25 minutes (if the pie is filled with a no-bake filling).The crust should be cooked through and golden brown if adding a no-bake filling. But if you add a baked filling (e.g., pumpkin pie or sweet potato pie),you should bake the crust only for 10 minutes to dry out the bottom before adding and baking the filling.
Top similar recipes
Curated for youYour folders

 782 views
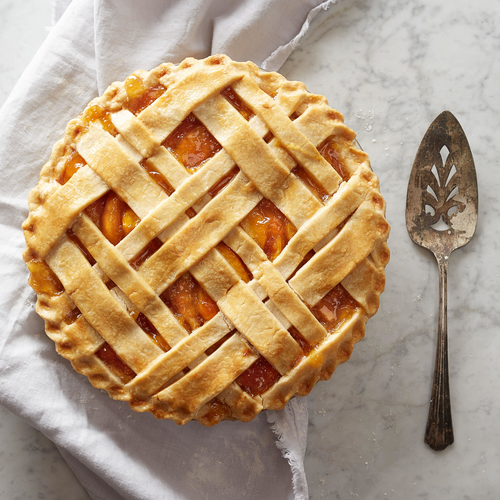
Pie Crust Recipe
addapinch.com
4.8
(53)
8 minutes
Your folders
 929 views
Pie Crust Recipe
addapinch.com
Your folders
 639 views
Pie Crust Recipe
preppykitchen.com
5.0
(55)
20 minutes
Your folders
 404 views
Pie Crust Recipe
jocooks.com
4.6
(25)
60 minutes
Your folders
103 viewsPie Crust Recipe
addapinch.com
Your folders
 73 views
Pie Crust Recipe
justsotasty.com
Your folders
 240 views
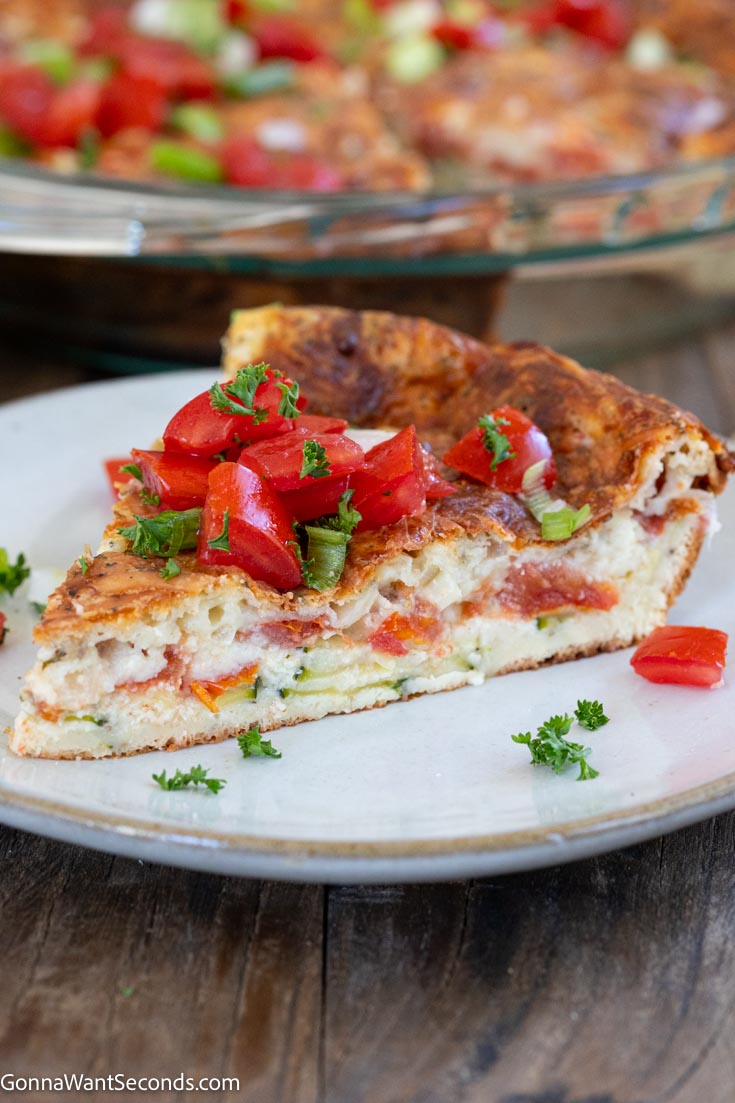
Bisquick Zucchini Pie
gonnawantseconds.com
5.0
(1)
35 minutes
Your folders
 259 views
Bisquick Cheeseburger Pie
foodlovinfamily.com
30 minutes
Your folders
 281 views
Bisquick Cheeseburger Pie
insanelygoodrecipes.com
4.5
(10)
25 minutes
Your folders
 570 views
Pie Crust Recipe, Crisco Pie Crust ...
crisco.com
Your folders
 147 views
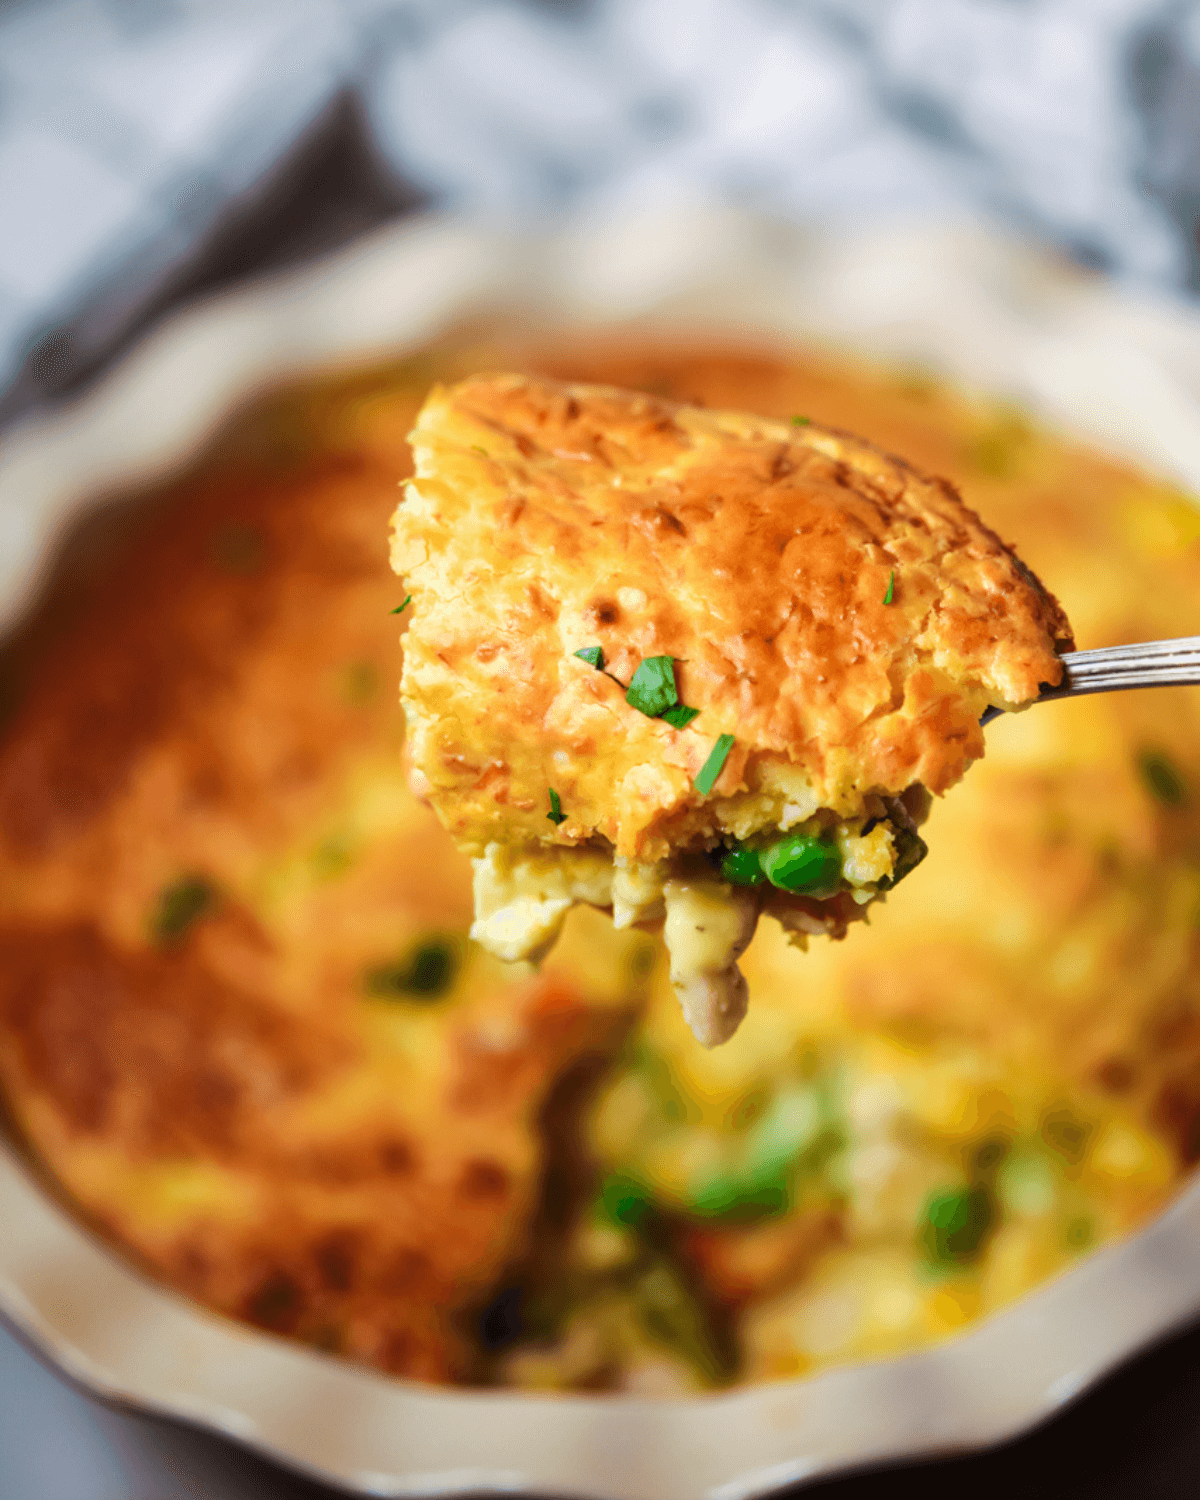
Bisquick Chicken Pot Pie Recipe
itisakeeper.com
5.0
(47)
30 minutes
Your folders
 279 views
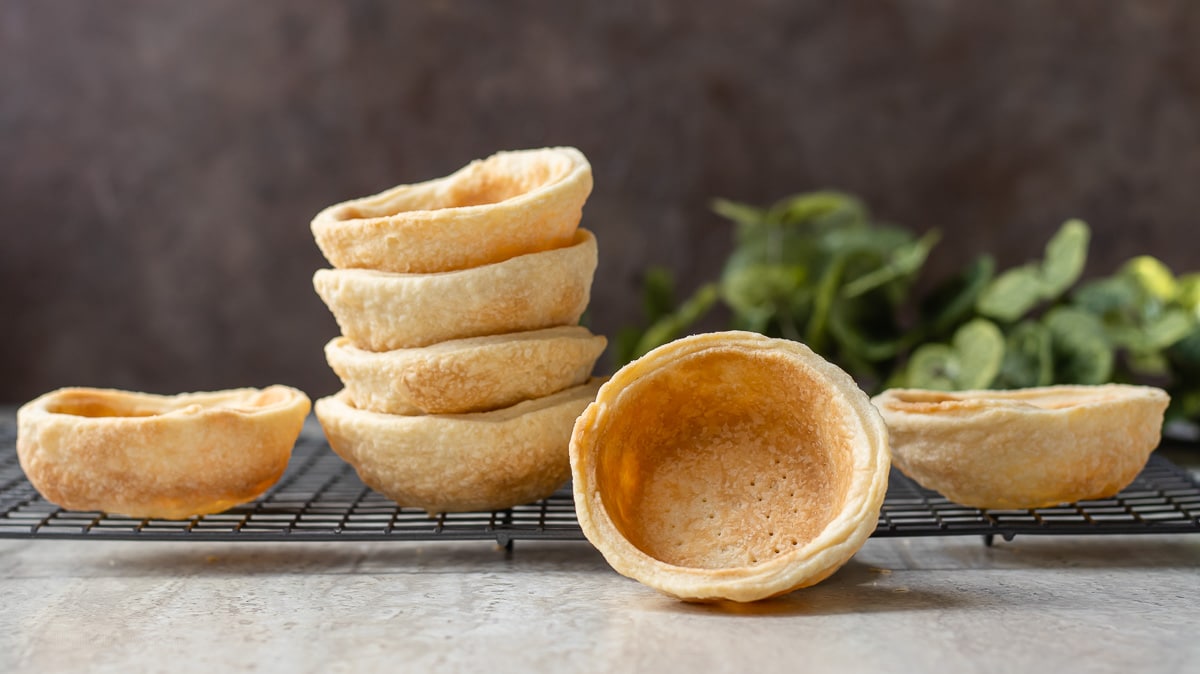
Mini Pie Crust Recipe
entirelyelizabeth.com
5.0
(1)
12 minutes
Your folders
 636 views
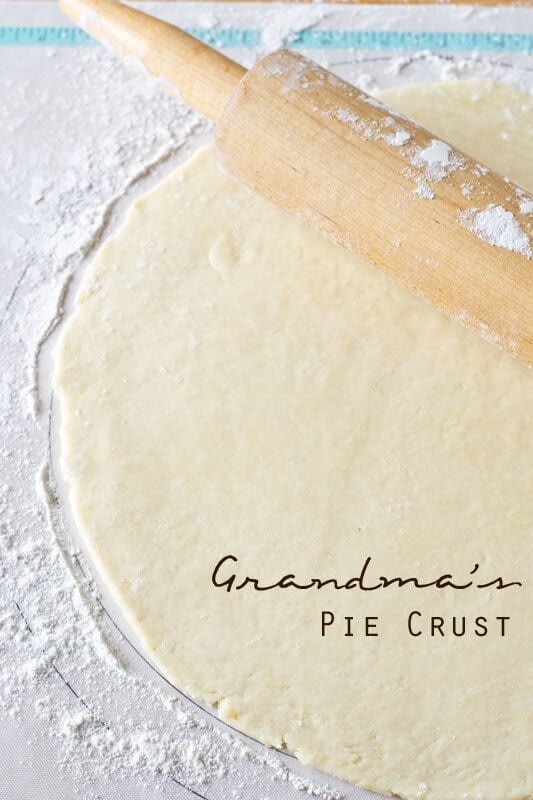
Grandma's Pie Crust Recipe
tastesoflizzyt.com
5.0
(26)
Your folders
 735 views
Easy Pie Crust Recipe
natashaskitchen.com
4.9
(56)
Your folders
 506 views
Homemade Pie Crust Recipe
cookiesandcups.com
5.0
(9)
Your folders
 540 views
Sourdough Pie Crust Recipe
littlespoonfarm.com
5.0
(8)
Your folders
100 viewsGrandma's Pie Crust Recipe
tastesoflizzyt.com
Your folders
 258 views
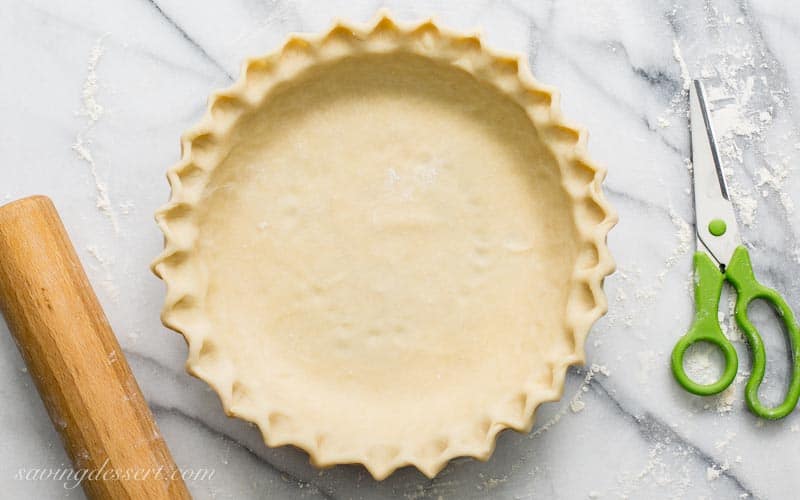
Perfect Pie Crust Recipe
savingdessert.com
5.0
(26)
Your folders
106 viewsEasy Pie Crust Recipe
natashaskitchen.com