Broccoli Stir Fry with Salted Mackerel
5.0
(3)
Your folders
Your folders
Prep Time: 15 minutes
Cook Time: 10 minutes
Servings: 4
Author : Pailin Chongchitnant

Ingredients
Export 6 ingredients for grocery delivery
Instructions
Step 1
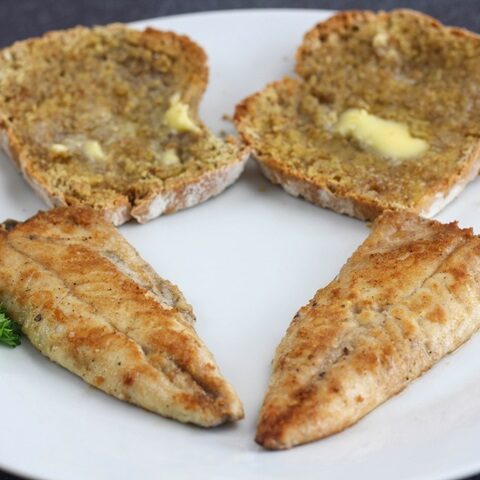
Pat the mackerel dry, then generously salt the filet on both sides; you need just an even blanket of salt that doesn’t immediately disappear, there is no need to drown the fish in salt. Refrigerate for anywhere between 2-24 hours, depending on how salty you want it. The saltier it is, the longer it will last, but the less you can use in a recipe, and so it will be more like a condiment. The one I used in the video was salted for about 16 hours.
Step 2
Once the fish is done, rinse off the excess salt with cold water and pat dry.
Step 3
Pan sear the fish over medium high heat on both sides until fully cooked, about 2 minutes per side. This is now ready to use and can be kept in the fridge for at least a few weeks.
Step 4
Cut the broccoli into florets, making sure that each floret has a flat side so that it can brown effectively.
Step 5
Taste your cured fish and chop into small chunks according to how salty it is. The saltier it is, the smaller you want to chop it so that it is not overpowering in each bite.
Step 6
Place a wok or a large skillet over high heat and add enough oil to coat the bottom. Without having to wait for the oil to heat up, put about half of the broccoli in and arrange them into 1 layer, turning all the pieces flat-side down. Let the broccoli sear until most of the pieces have developed some nice browning, then remove them from the pan. Repeat with the other batch and remove them from the pan.
Step 7
In the same wok, turn the heat on to medium and add no more than 1 Tbsp of oil (the broccoli is harbouring some oil from searing already) then add the garlic and the chopped mackerel. Saute until the smallest bits of garlic turn golden.
Step 8
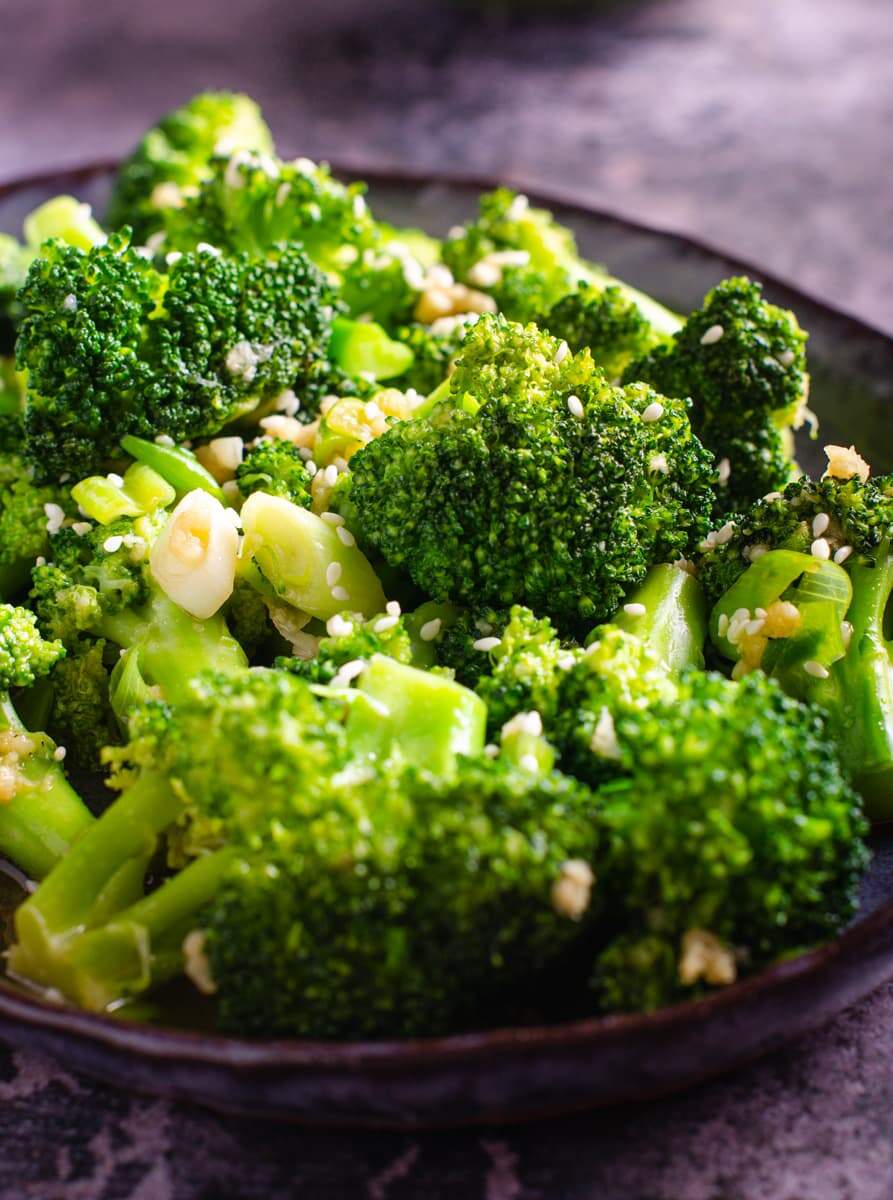
Turn the heat up to high then add the broccoli, oyster sauce, soy sauce, sugar and a splash of water and toss until the broccoli is done to your liking - adding a splash more water if it dries up too quickly.
Step 9
Once the broccoli is done, toss in the Thai chilies or white pepper, then turn off the heat. Serve with jasmine rice.
Top similar recipes
Curated for youYour folders
 277 views
Mackerel Fry
recipesformen.com
4.5
(14)
4 minutes
Your folders
 560 views
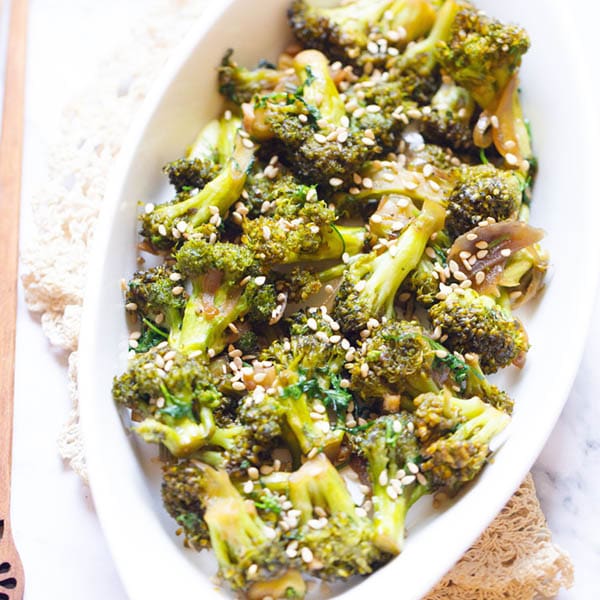
Broccoli Stir Fry
feastingathome.com
5.0
(10)
15 minutes
Your folders
 272 views
Broccoli Stir Fry
kathysvegankitchen.com
5.0
(13)
20 minutes
Your folders
 342 views
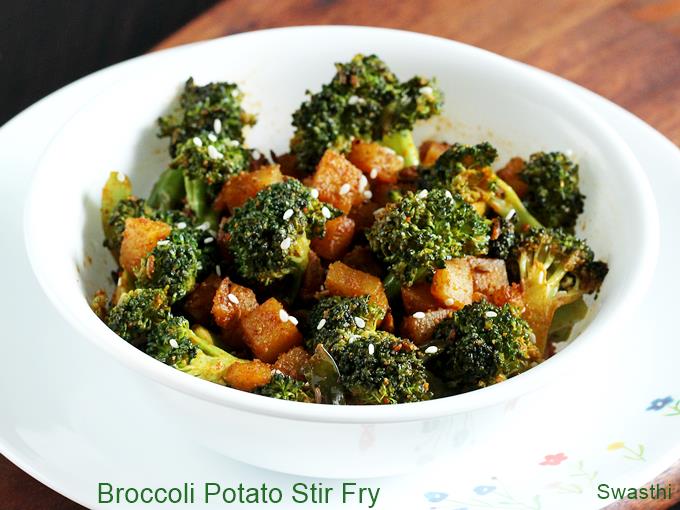
Broccoli Stir Fry
vegrecipesofindia.com
5.0
(3)
20 minutes
Your folders
 415 views
Broccoli stir fry
indianhealthyrecipes.com
4.9
(111)
15 minutes
Your folders
 241 views
Broccoli Stir-Fry
womenoftoday.com
Your folders
 81 views
Stir-Fry Broccoli
kasiakines.com
Your folders
 180 views
Stir Fry Broccoli with Garlic
lostinfood.co.uk
5.0
(10)
5 minutes
Your folders
 67 views
Broccoli Stir Fry with Chicken
tinybatchcooking.com
25 minutes
Your folders
 370 views
Simple Broccoli Stir-fry
foodnetwork.com
4.8
(9)
5 minutes
Your folders
100 viewsGarlicky Broccoli Stir-Fry
thewoksoflife.com
Your folders
 276 views
Pork & Broccoli Stir-Fry
rachaelraymag.com
5.0
(2)
Your folders
 256 views
Garlic Broccoli Stir Fry
elavegan.com
5.0
(76)
15 minutes
Your folders
 256 views
Broccoli Chicken Stir Fry
iwashyoudry.com
5.0
(10)
15 minutes
Your folders
 283 views
Mushroom broccoli stir fry
umamidays.com
10 minutes
Your folders
 310 views
Broccoli Tofu Stir Fry
wellplated.com
4.7
(18)
15 minutes
Your folders
 175 views
Broccoli Cashew Stir-Fry
thegardengrazer.com
4.9
(67)
15 minutes
Your folders
 659 views
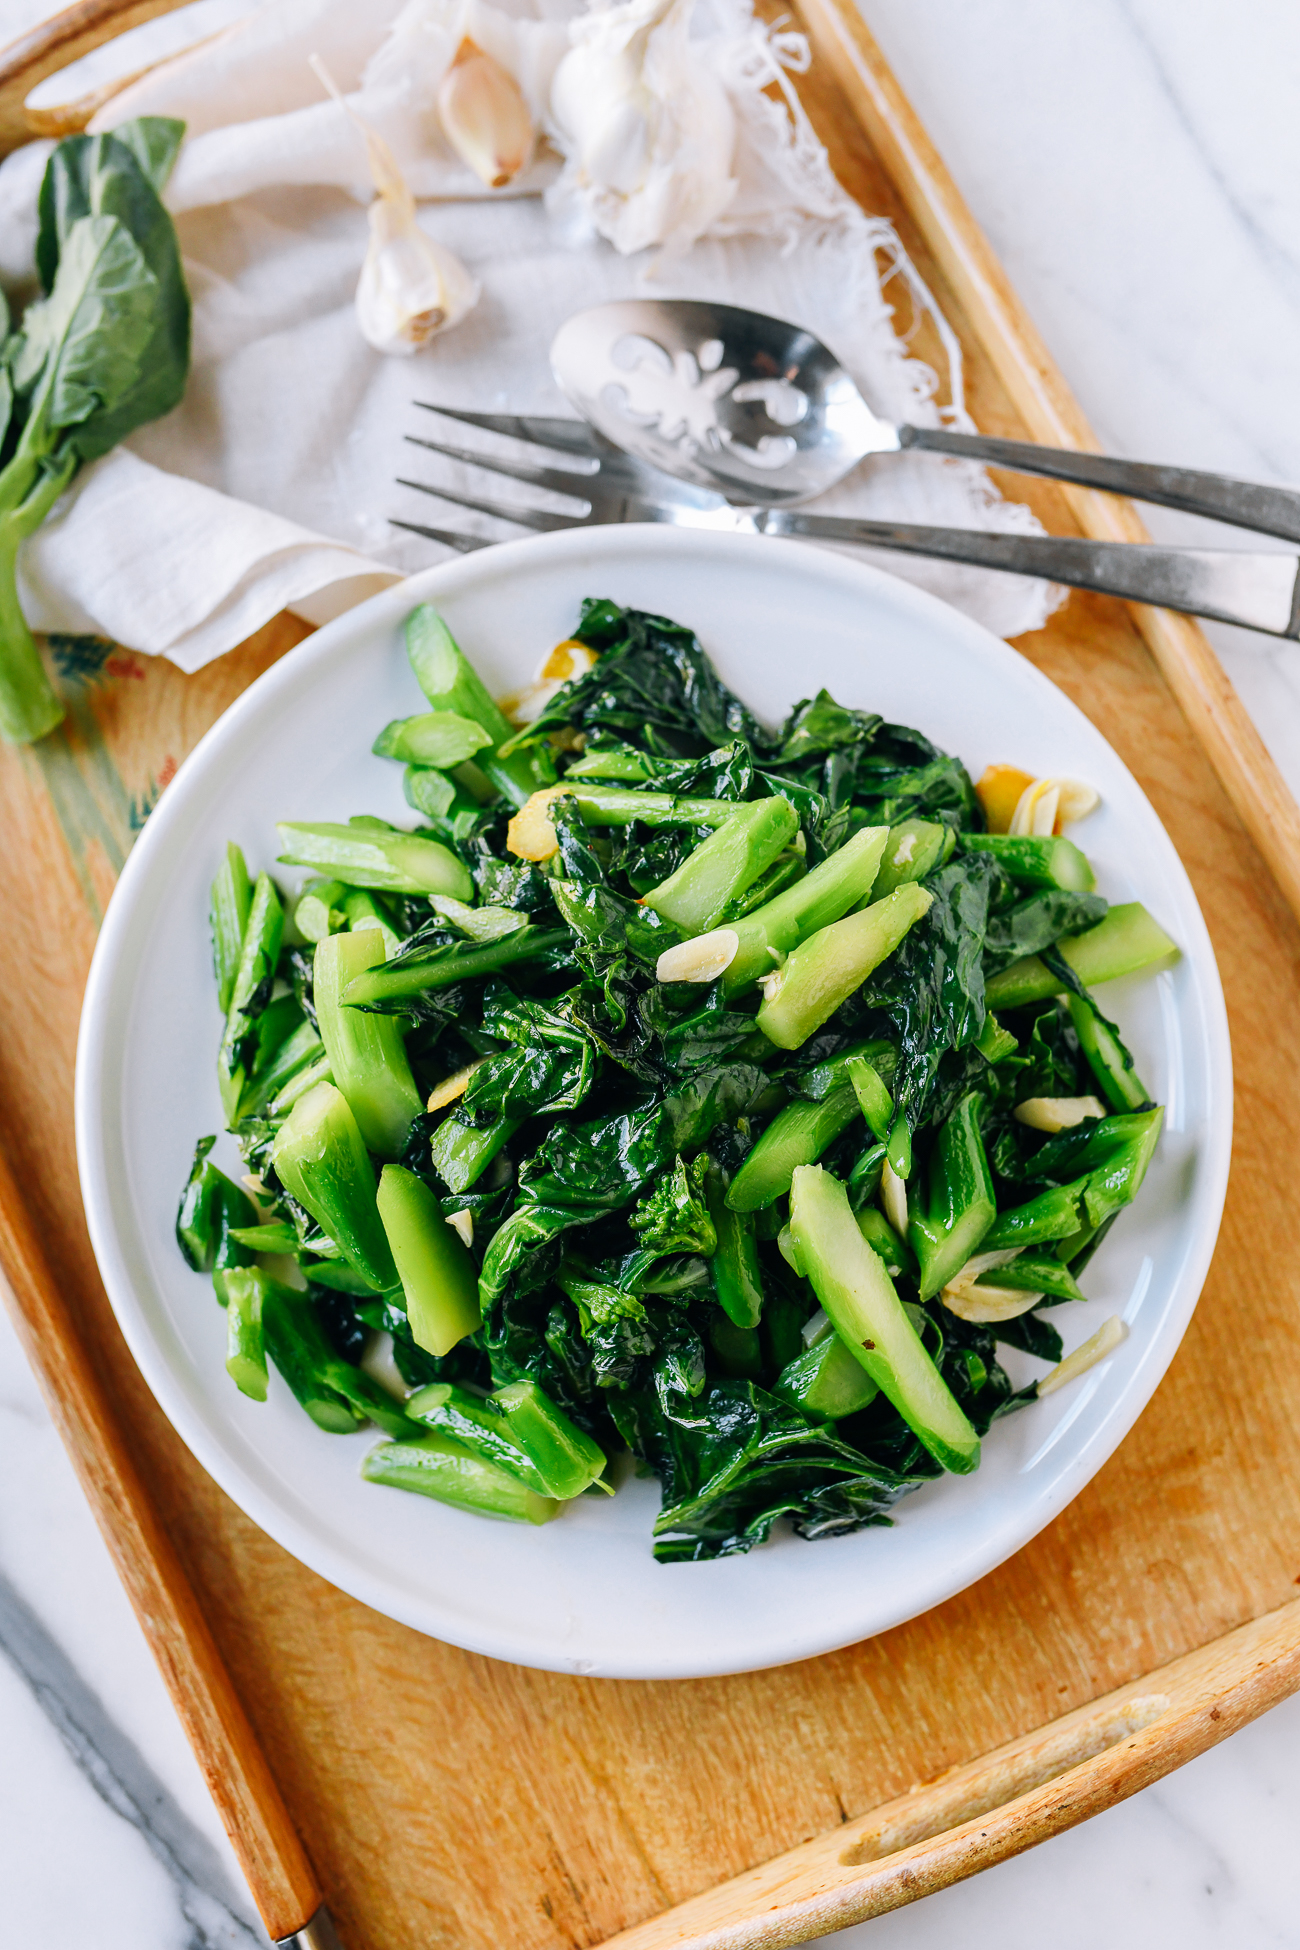
Chinese Broccoli Stir-fry
thewoksoflife.com
5.0
(4)
10 minutes
Your folders
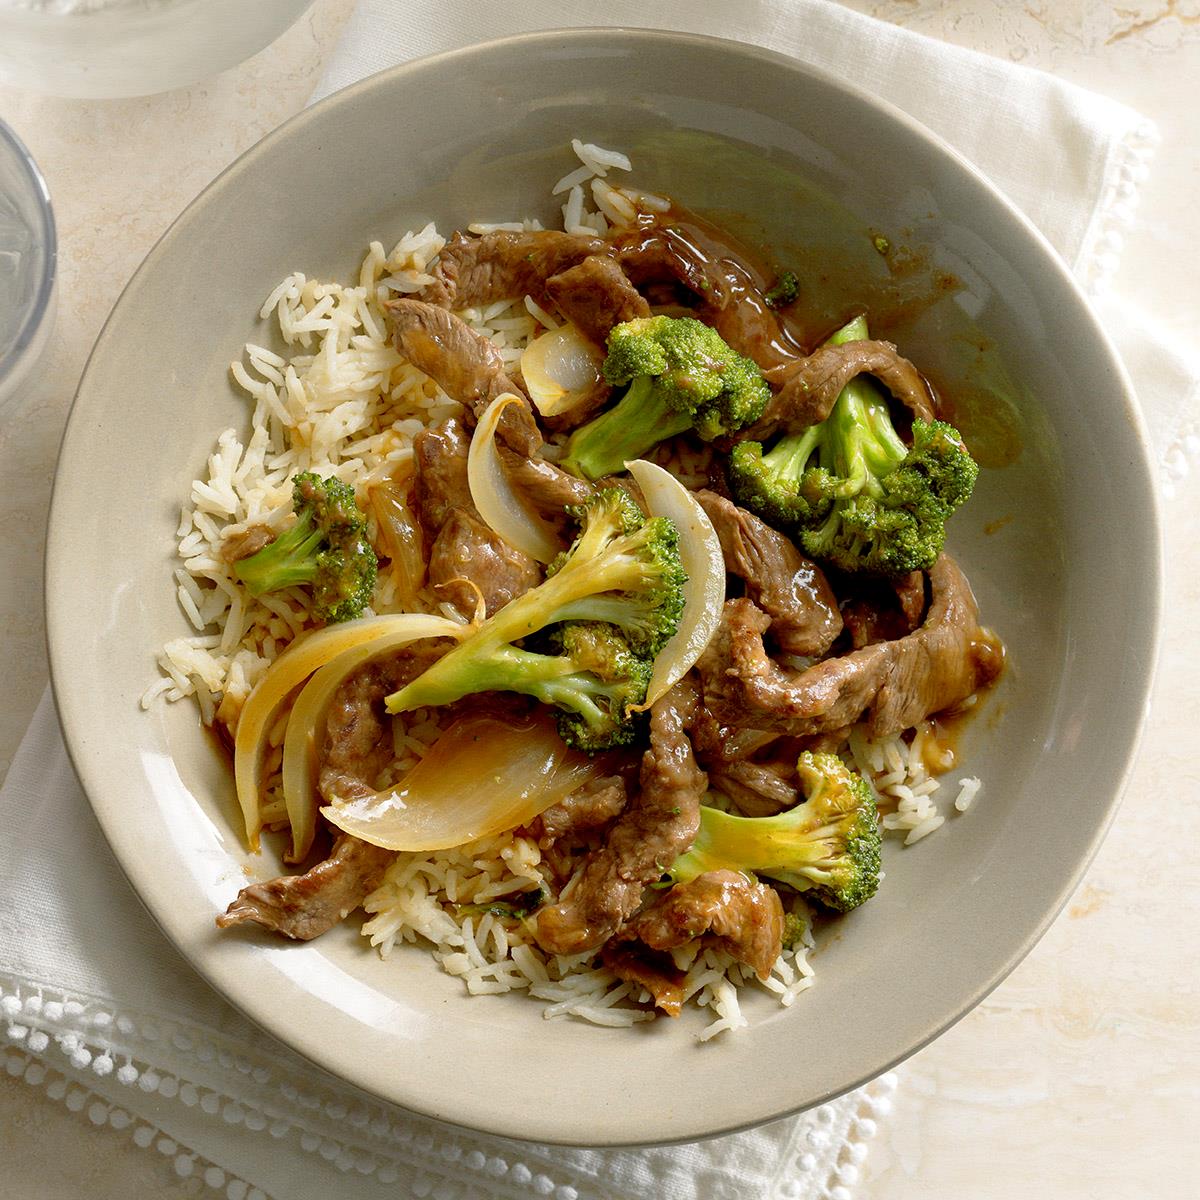 285 views
Beef Broccoli Stir-Fry
tasteofhome.com
4.6
(42)
20 minutes