Create Beeswax Candles with Dried Flowers Tutorial
Your folders
Your folders

Ingredients
Export 4 ingredients for grocery delivery
Instructions
Step 1
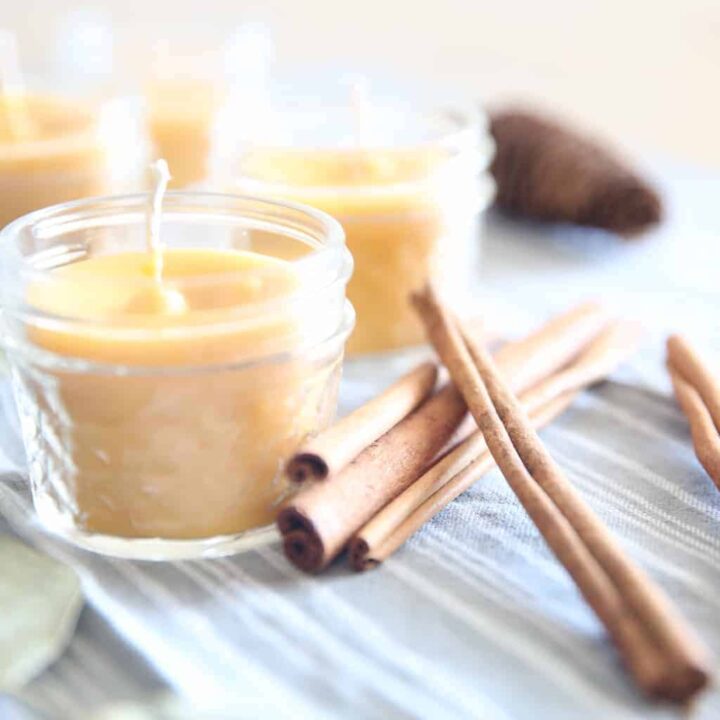
Melt the beeswax. Use the double boiler method with water in the bottom pot and wax in the top section.This is the safest way to melt beeswax. Beeswax is flammable- don’t be afraid. But, be careful to avoid burns – melt the wax slowly – this takes a little time. Constant supervision is important.
Step 2
Measure and cut wick. Measure the wick needed for a 3″ wide candle I used wick size 6. Length depends on the depth of your candle container.You need enough wick to reach the bottom of the jar with a few inches extra at the top.
Step 3
Pickle the Wick. Now I don’t always do this step but it seems to work well with this thick wick. Pickle your wick – give it a dip into the melting beeswax. Then use something to get it out and pull it straight. Once cool, the wick will behave much better.
Step 4
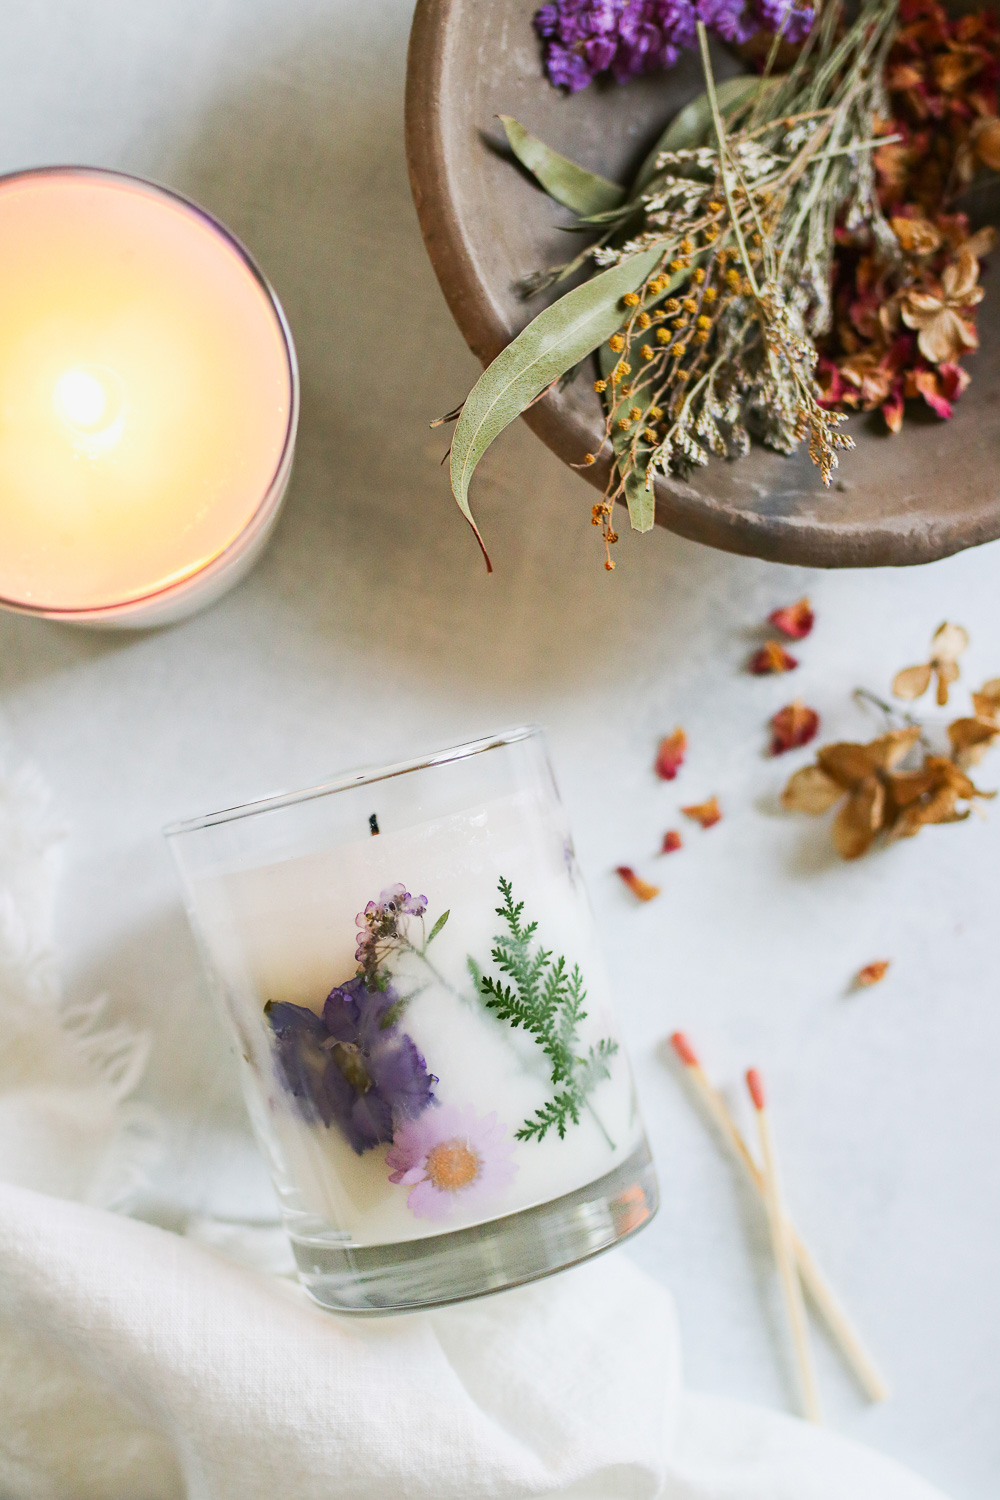
Attach dried flowers to jar: Choose the pieces of dried flowers that you want to feature around the sides of the glass jar.My OCD makes me go for the minimal look but you can put as many as you want!Adhere these inside the jar using a craft paint brush and some of the melting wax. Place petals against the glass and then a light coat of wax on top to adhere to glass. Let cool.
Step 5
Anchor Wick: With the wick extended into the candle all the way to the bottom – a craft stick under the wick and a rubber band around the outside will hold the pickled wick in place.Be sure that the wick in centered in the jar and reaches very near the bottom.(Optional: If needed, you can use a glue dot to hold the wick in place in the bottom of your candle jar.)
Step 6
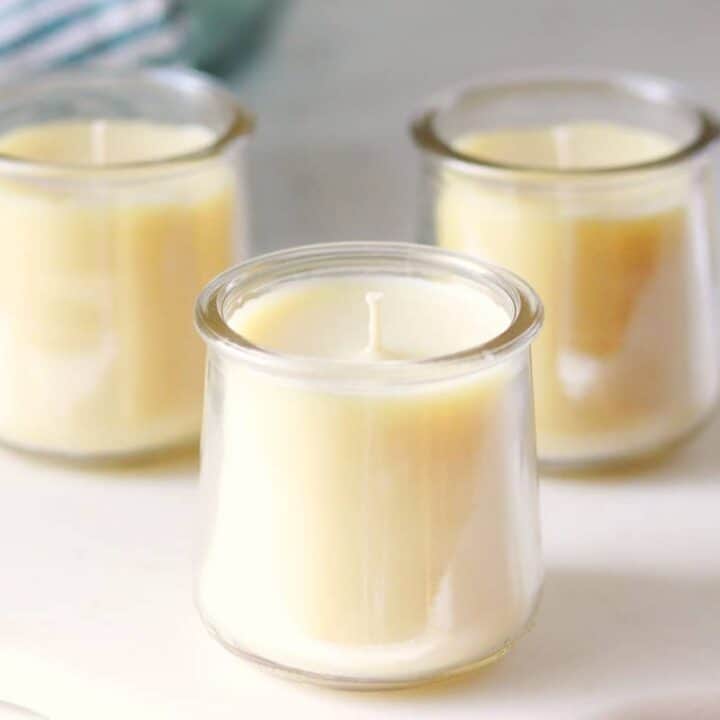
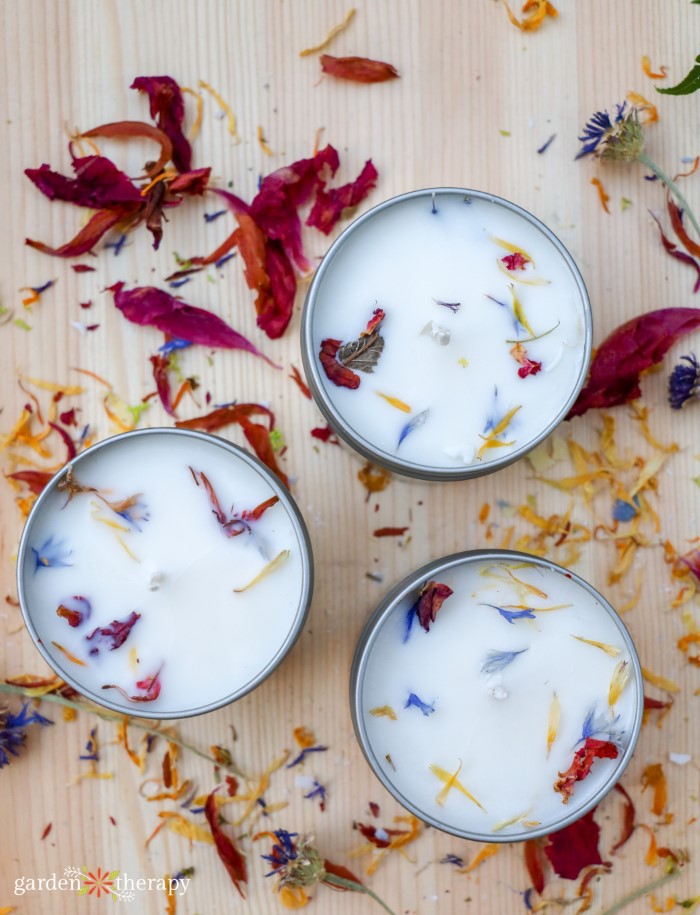
Pour beeswax: Let the wax cool for a few minutes until it almost begins to skim over. Slowly pour the melted beeswax mixture into the candle jar. Fill to the preferred level.I do not recommend adding pieces of dried flowers to the mixture or the top of the candle. This may look nice but it can be a fire hazard.
Step 7
Slow cool. Cover the candles with a cardboard box, towel etc. We want the candle to cool very slowly. This helps to avoid cracking wax on the top.
Step 8
Trim the wick. Let sit for 24 hours. Then, remove the rubber band and wick support – trim the wick to the desired length. You did it!
Top similar recipes
Curated for youYour folders

 253 views
Making Beeswax Candles So Easy.mp4
carolinahoneybees.com
Your folders
 152 views
Recipe For Beeswax Candles With Ess...
athomeontheprairie.com
4.7
(25)
5 minutes
Your folders
 332 views
Dried Pineapple Flowers
marthastewart.com
4.0
(5)
Your folders
 283 views
DIY Dried Flower Candles
hellonest.co
40 minutes
Your folders
 898 views
Steamed Chicken with Mushrooms & Dr...
thewoksoflife.com
4.9
(23)
15 minutes
Your folders
 48 views
Steamed Chicken with Mushrooms & Dr...
thewoksoflife.com
Your folders
 269 views
How to Make Dried Flower Candles (S...
gardentherapy.ca
Your folders
 228 views
Brewing Hibiscus Tea from Dried Hib...
sixcleversisters.com
4.5
(22)
Your folders
 337 views
Fall Candles
thecountrychiccottage.net
Your folders
 106 views
Beeswax Candle Recipe
ouroilyhouse.com
4.4
(59)
10 minutes
Your folders
 209 views
Homemade Beeswax Wrap
homesteadingfamily.com
Your folders
 204 views
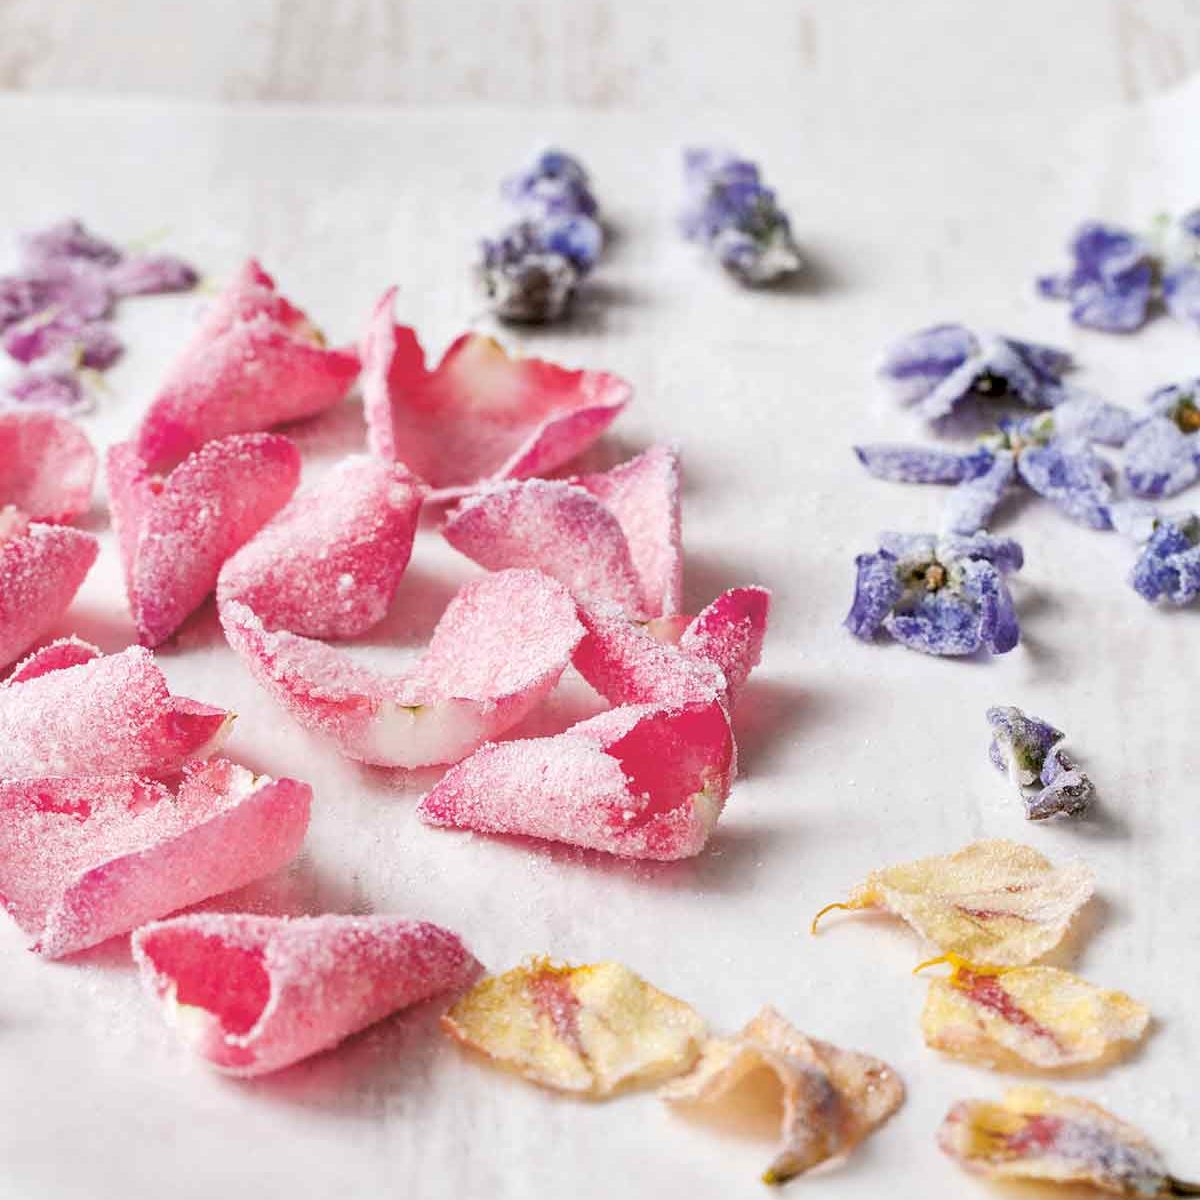
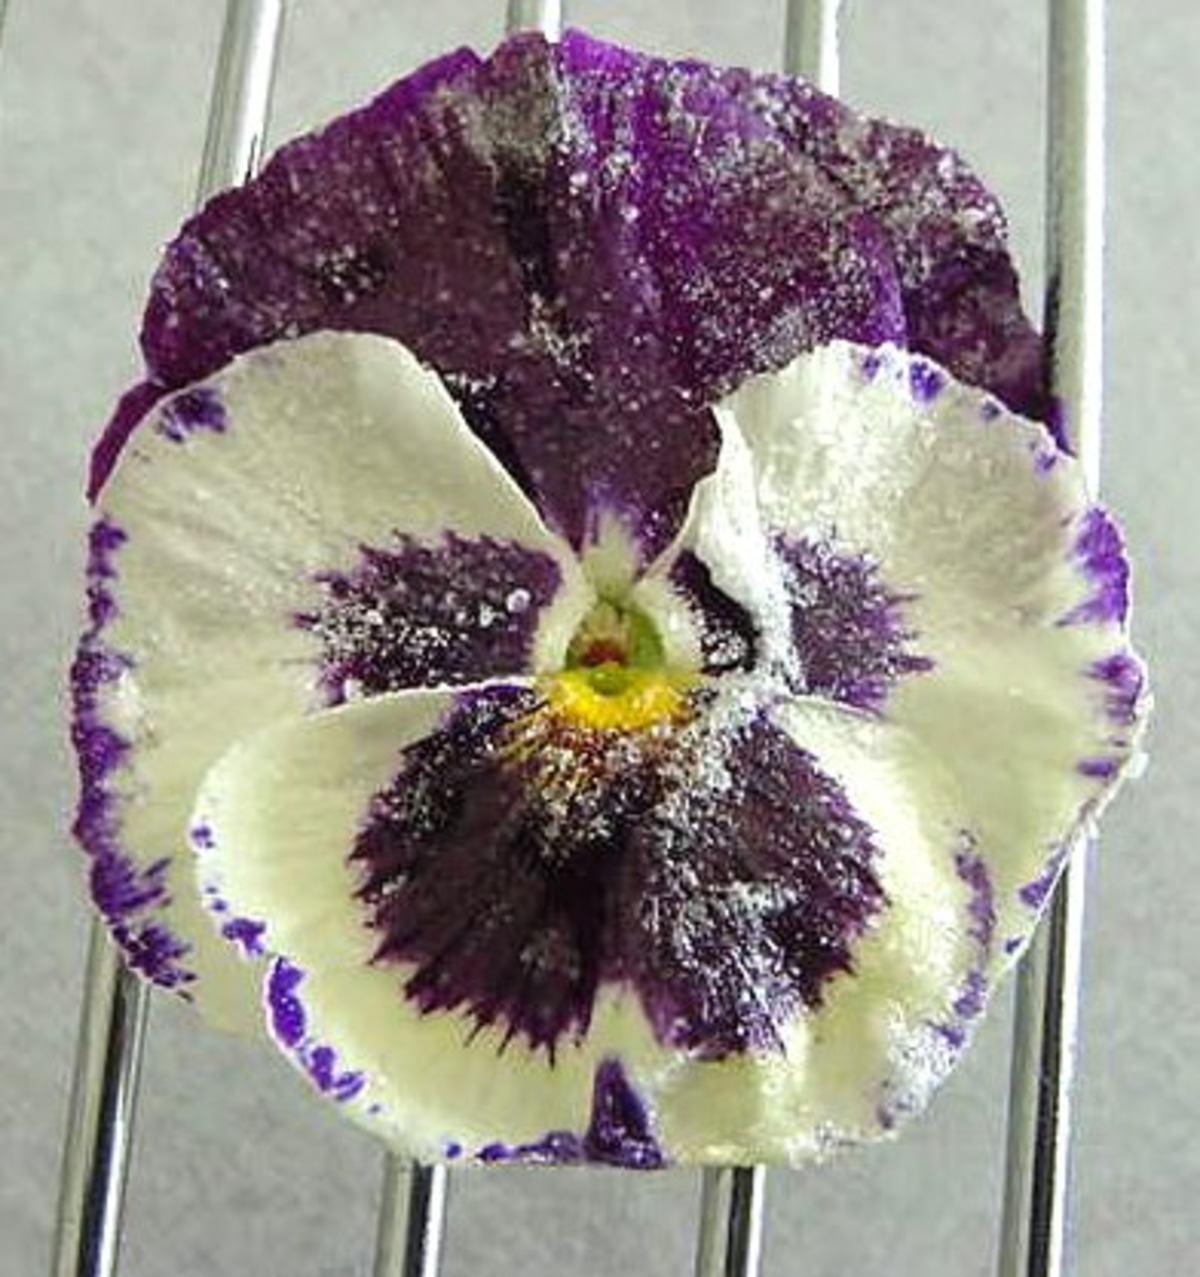
Crystallized Flowers
leitesculinaria.com
5.0
(2)
Your folders
 402 views
Sugared Flowers
marthastewart.com
3.4
(54)
Your folders
 359 views
Candied Flowers
food.com
5.0
(8)
Your folders
 219 views
Dying Candles With Mica Steps
newlifeonahomestead.com
Your folders
 275 views
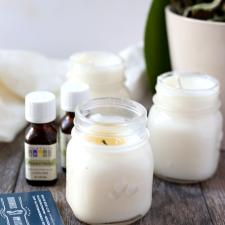
Homemade Soy Candles
inquiringchef.com
Your folders
 158 views
Homemade Aromatherapy Candles
thehealthymaven.com
Your folders
 207 views
Homemade Candles Recipe
livesimply.me
Your folders
 148 views
Simple Beeswax Candle Recipe
wilsonhomestead.com