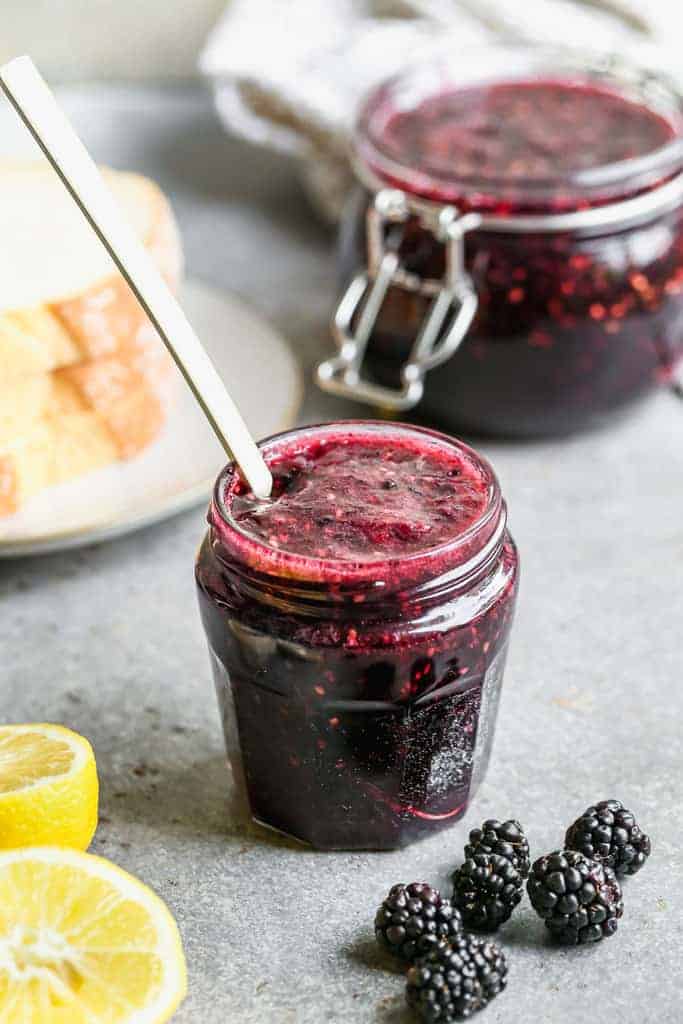
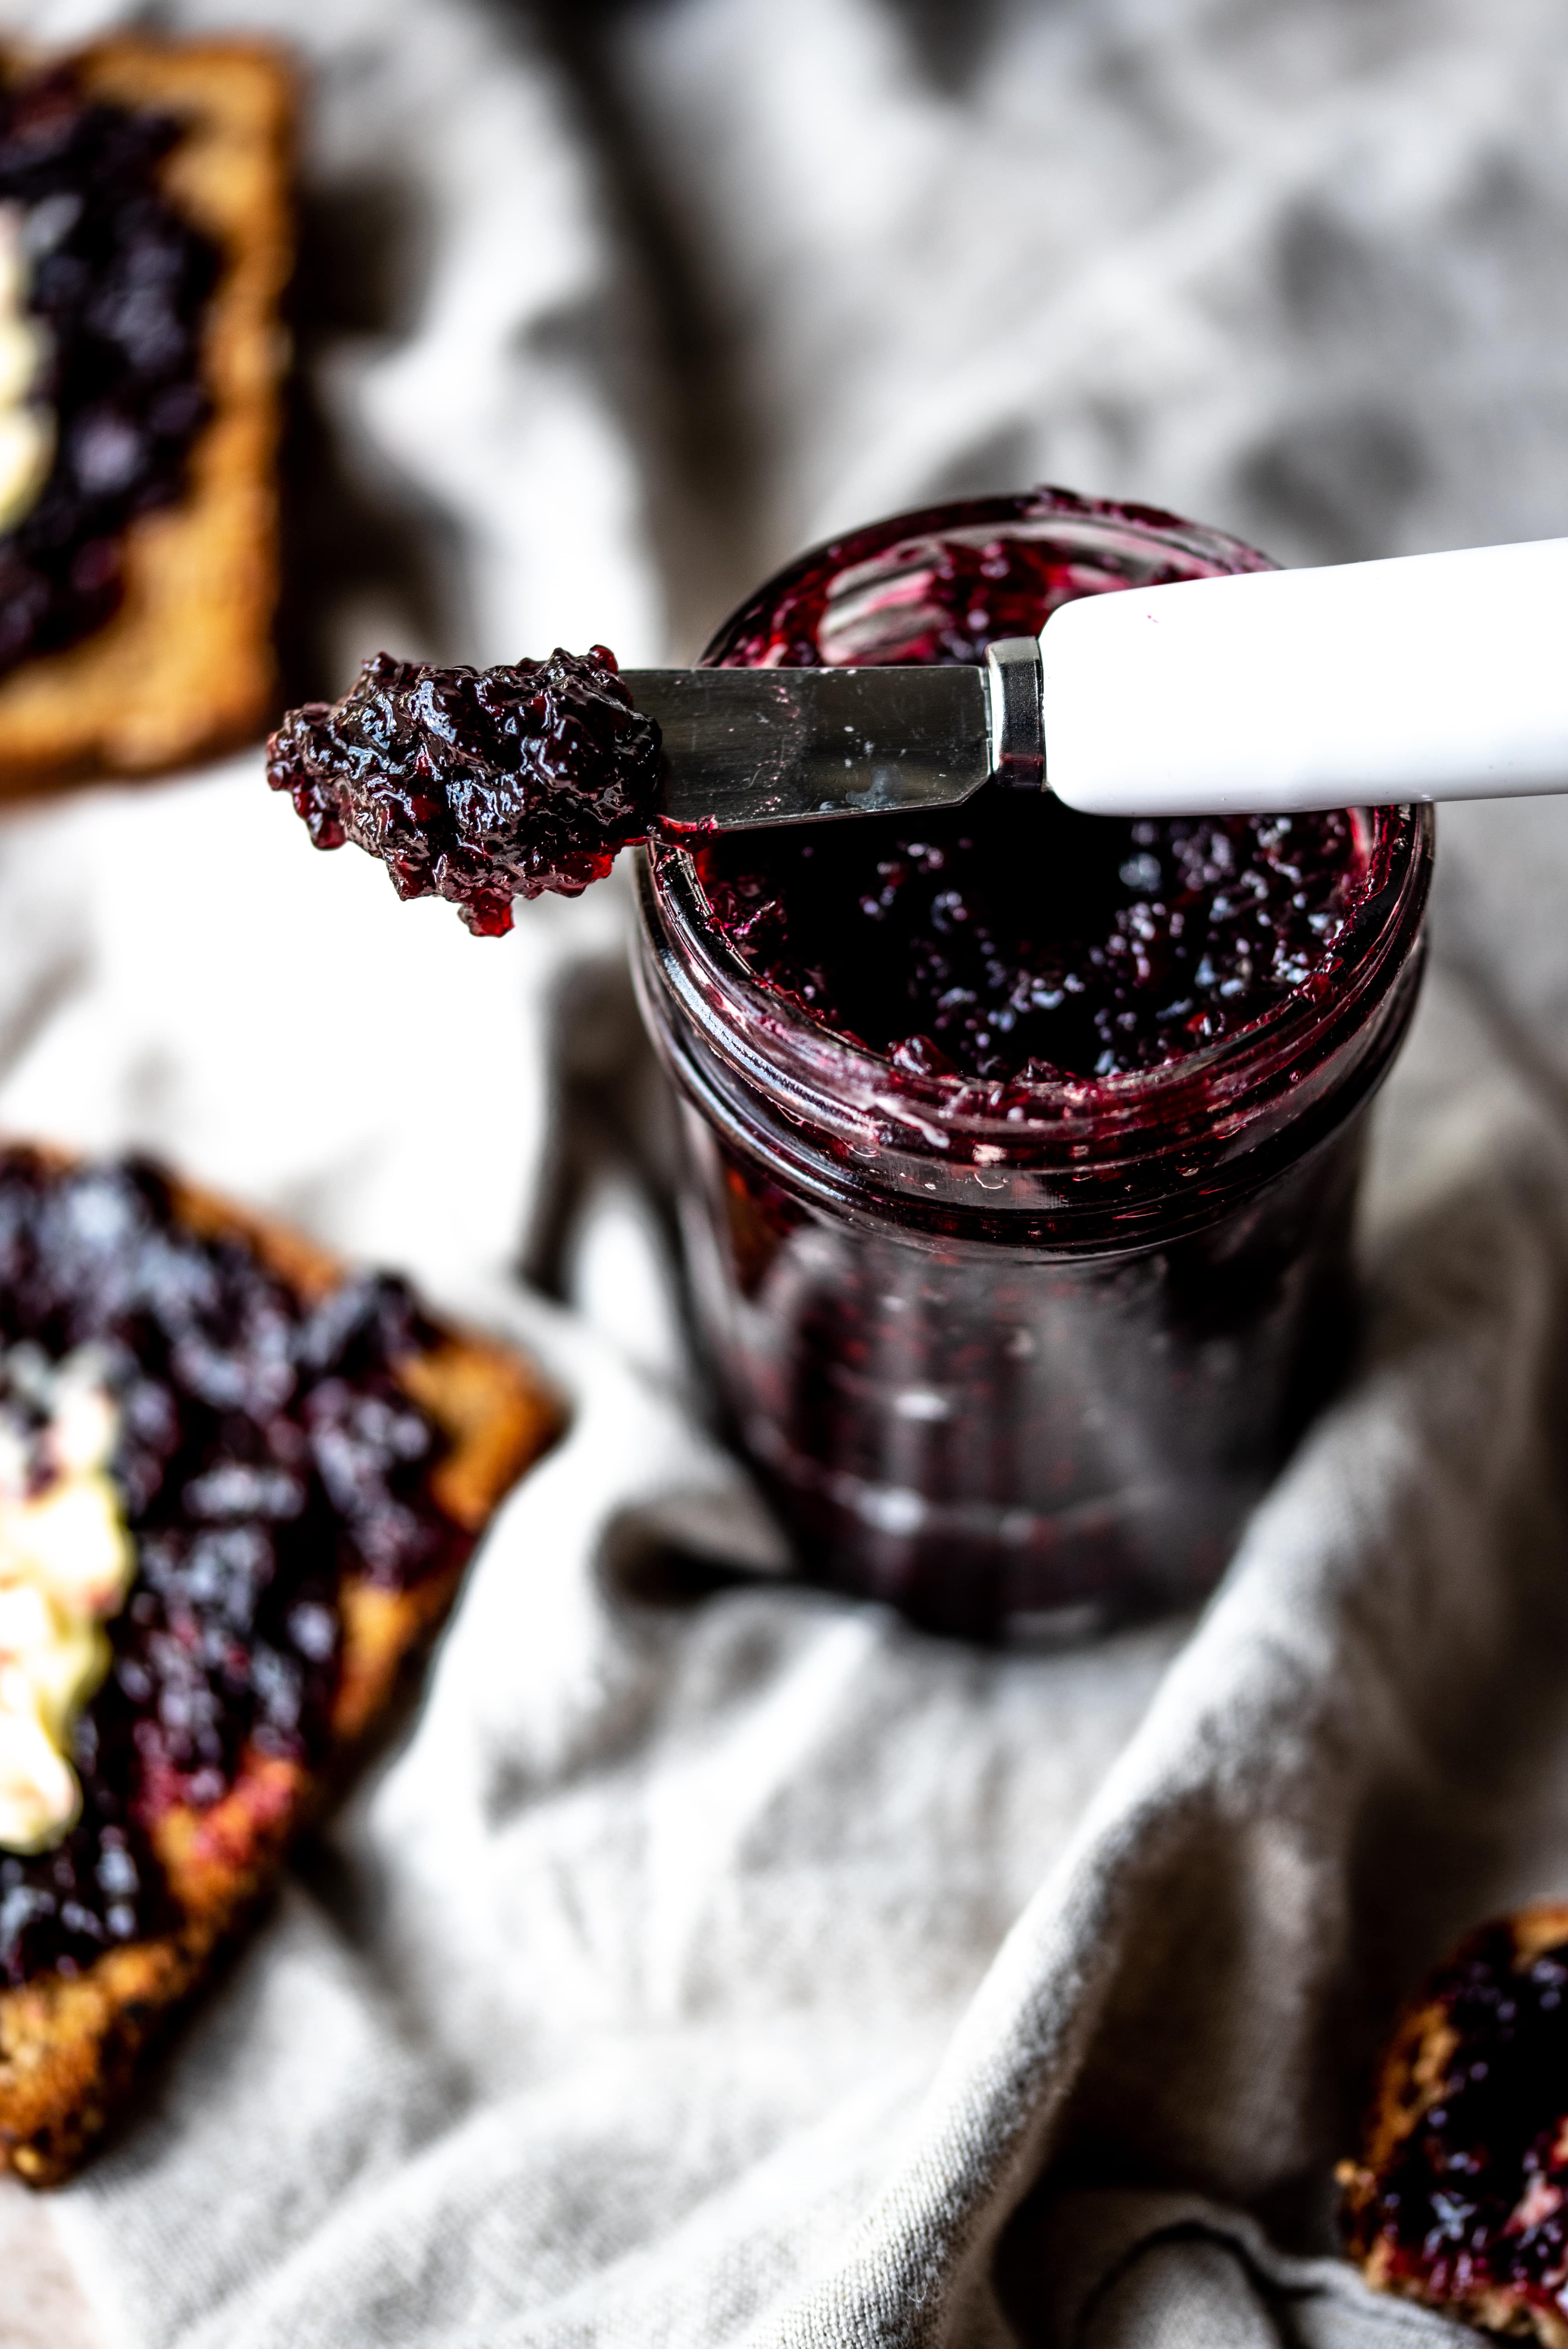
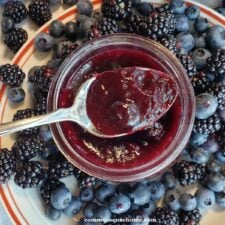
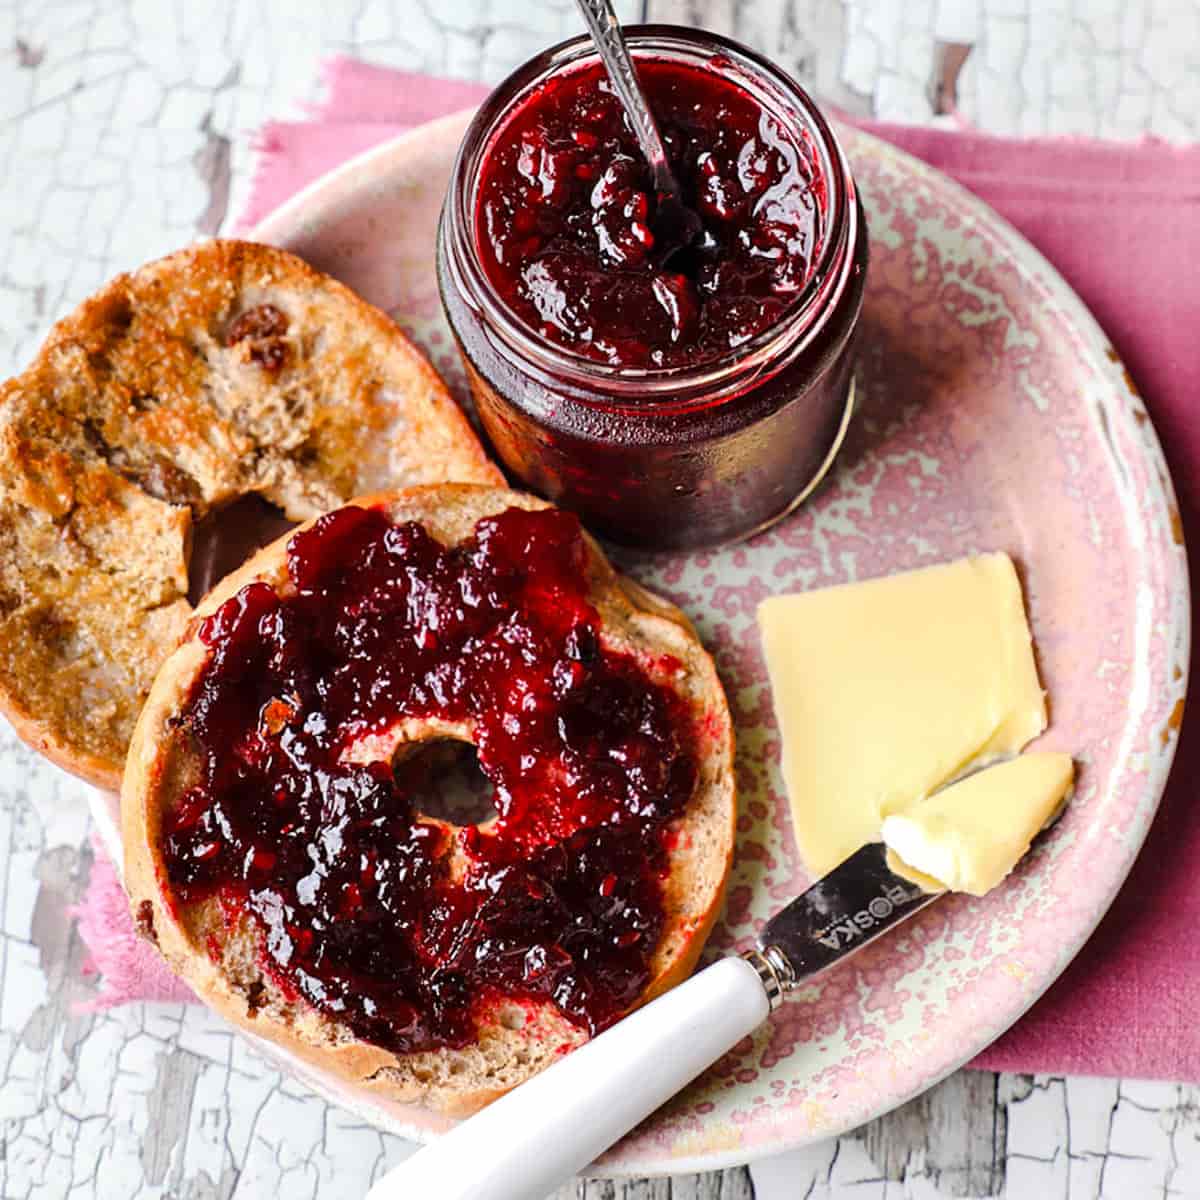
Easy Blackberry Jam Recipe
Your folders
Your folders
Prep Time: 20 minutes
Cook Time: 40 minutes
Total: 60 minutes
Servings: 3
Author : Jane Sarchet

Ingredients
Export 1 ingredients for grocery delivery
Instructions
Step 1
Place your jam jars, lids and jam funnel (if using) into the dishwasher and put on a hot cycle.
Step 2
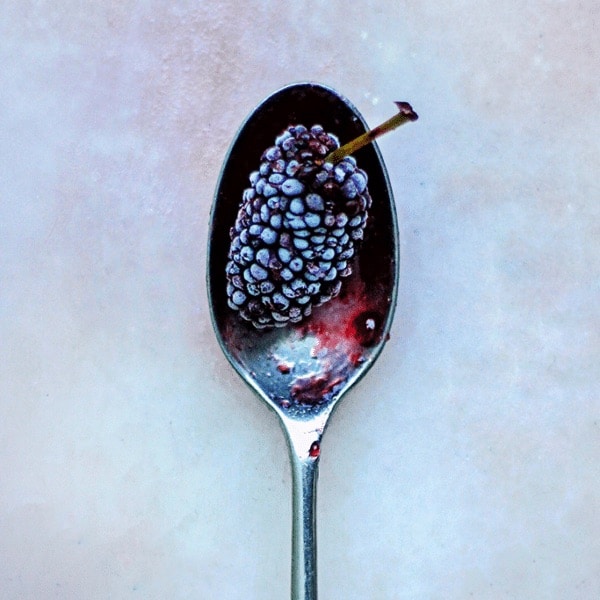
Pour your cleaned and dried blackberries into a large stainless steel saucepan.
Step 3
Add in the sugar, stir well to combine and then place the pan on a low to medium heat.
Step 4
As the juice starts to leak from the berries the sugar will start to look crystallised and then slowly it will look wet. Keep stirring and gently bring the contents of the pan to a boil.Turn the heat down if it’s boiling too vigourously or if you’re worried it may burn on the bottom of the pan.
Step 5
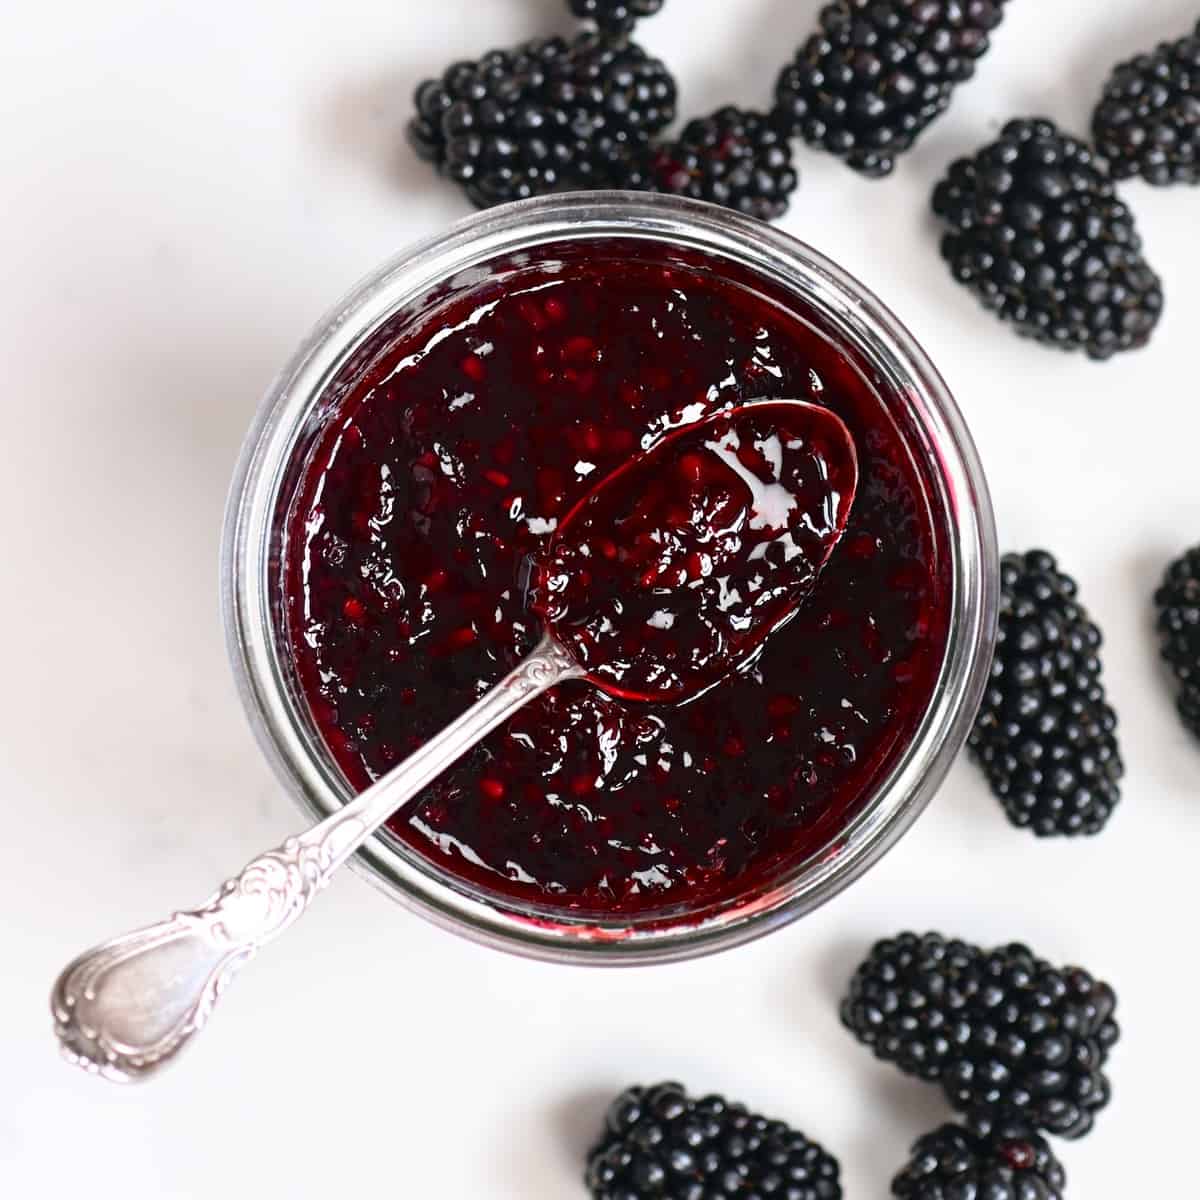
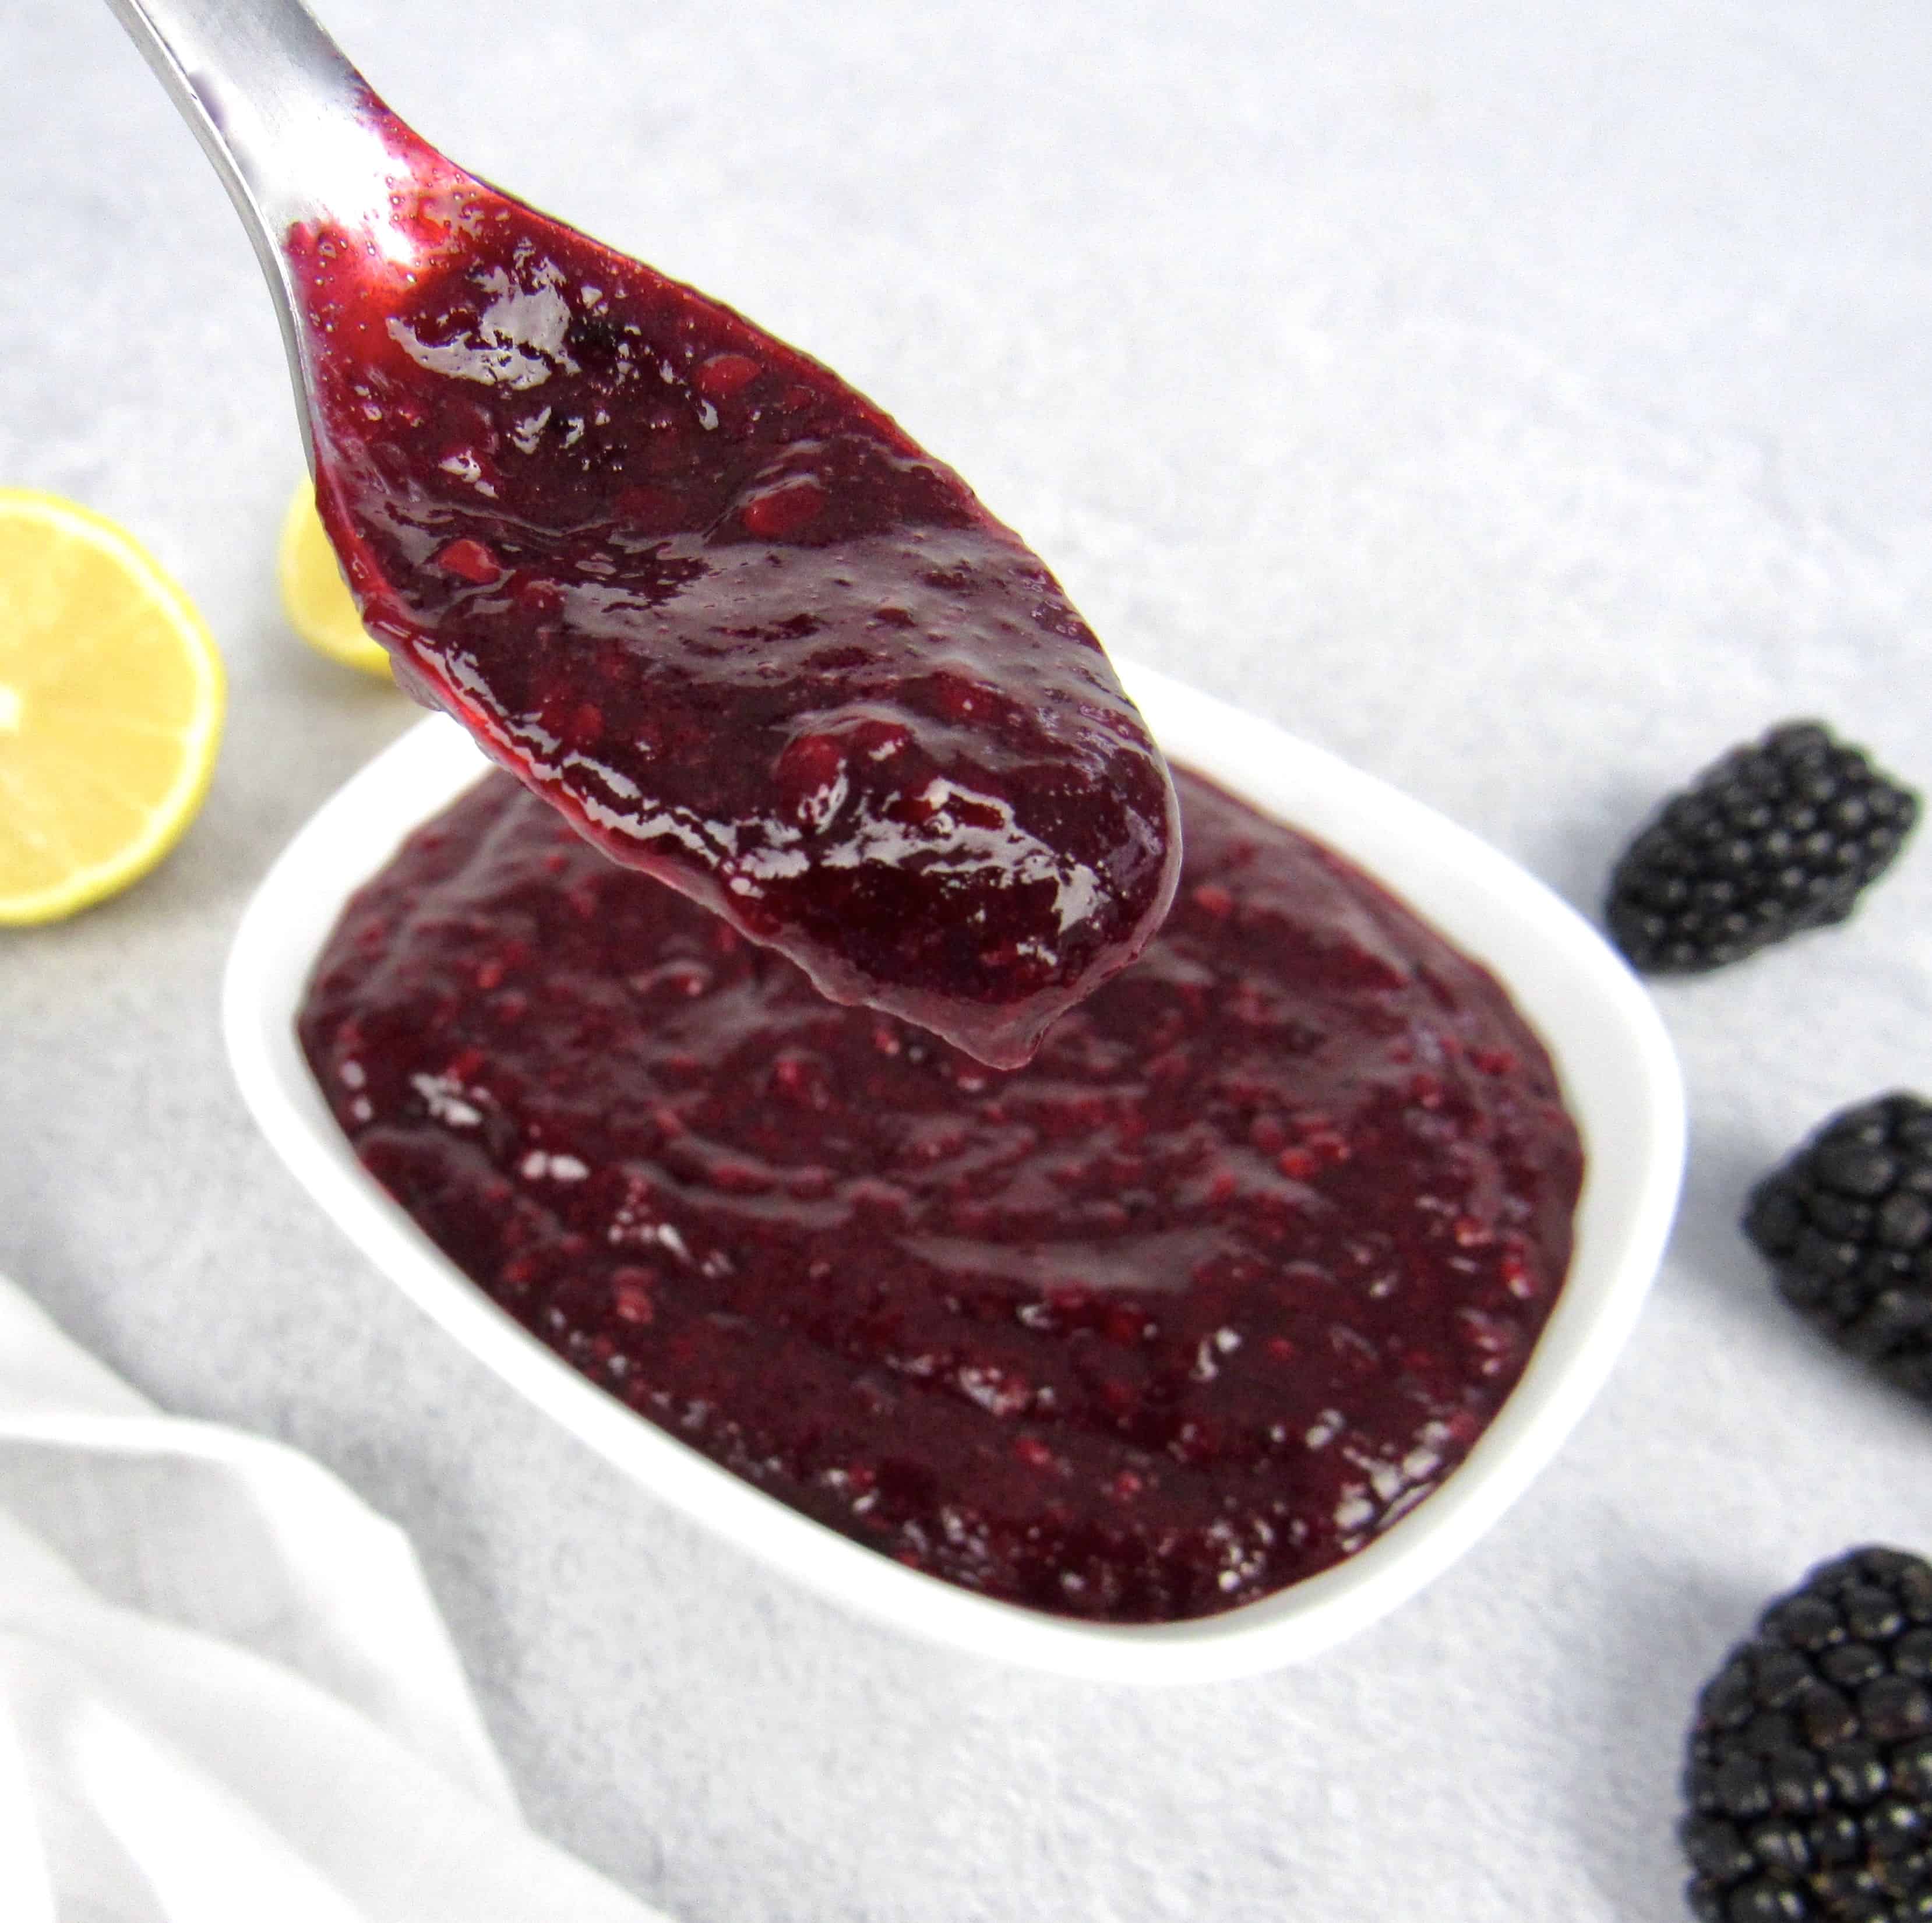
When the syrup becomes thick and glossy looking you may want to start testing it to see if it will set.Place a small ceramic plate in the freezer, or place an ice cube on it to chill it more quickly. Once cold, drop a little of your blackberry syrup onto the cold surface. Wait a minute or so for it to cool, then nudge it with your finger tip. When it wrinkles up like a piece of soft rubber it is ready to pour into jars.If it doesn’t wrinkle, keep gently boiling.
Step 6
Another way to test if it’s ready is to take the temperature of the syrup. To test the temperature carefully lower a jam thermometer into the bubbling pan. I prefer to use a Therompen thermometer for this job as it only one second to register the temperature which is far safer.Setting point for jam or jelly is met when the syrup reaches 105C (221F).
Step 7
Once setting point has been reached, set up your hot jam jars on a clear work surface on a clean tea towel.Using the jam funnel (or a large spoon if you don’t have one) carefully fill each jar. Leave a gap of about 1-2cms at the top of each jar. If any jam drips onto the rim of the jars, wipe off with a damp piece of kitchen roll.
Step 8
Wipe inside the the sterile lids with a piece of fresh kitchen roll to remove any water hiding under the rim.Place the lids onto the full, hot jars and twist on firmly. Leave somewhere safe for teh jam to cool.
Step 9
As it cools you should hear the jam jar lids ‘pop’ as the cooling jam changes the pressure inside the jar.
Step 10
When cool the properly sealed jars can be stored somewhere cool and dark for several months. Any jars that didn’t seal properly should be kept in the fridge and used first, or they can be re-heated and re-lidded.
Top similar recipes
Curated for youYour folders
 317 views
Blackberry Jam
foodnetwork.com
5.0
(7)
15 minutes
Your folders
 206 views
Blackberry Jam
tastesbetterfromscratch.com
5.0
(17)
15 minutes
Your folders
 316 views
Blackberry jam
bbcgoodfood.com
40 minutes
Your folders
 269 views
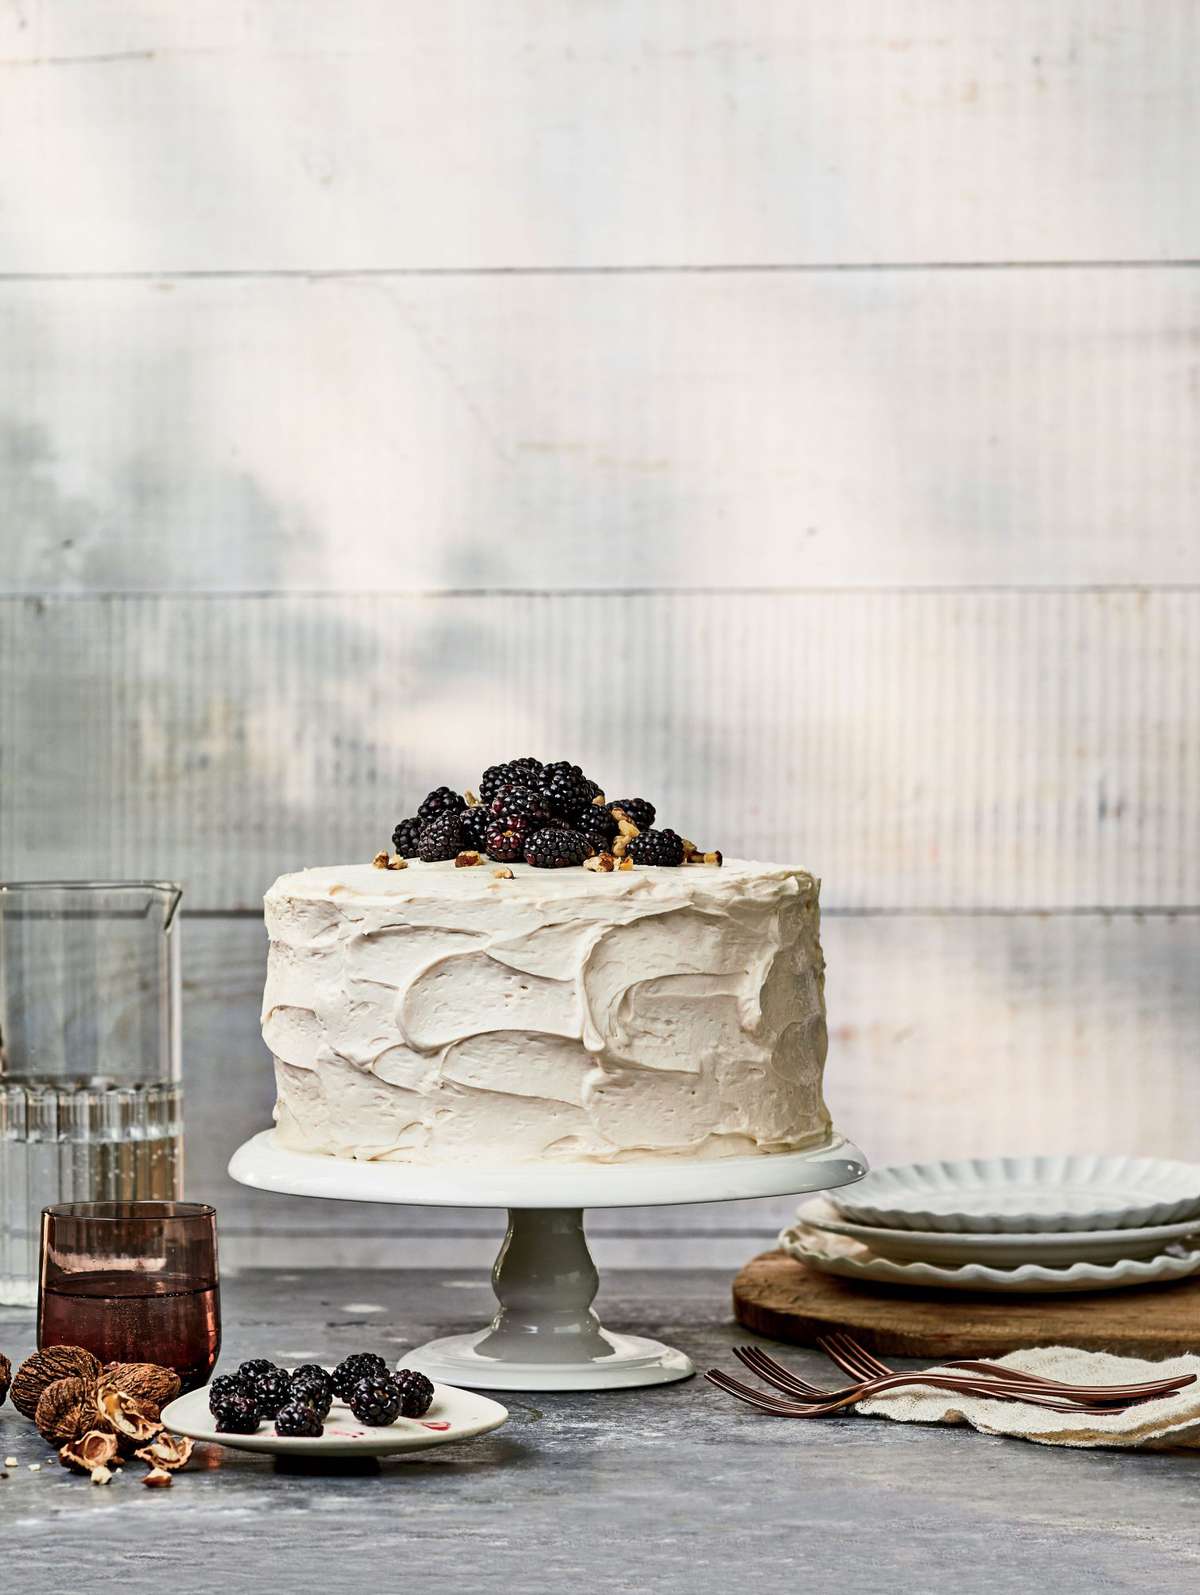
Blackberry Jam Cake Recipe
southernliving.com
Your folders
 462 views
Homemade Blackberry Jam Recipe (Mar...
threeolivesbranch.com
5.0
(2)
20 minutes
Your folders
 519 views
Homemade Blackberry Jam
alphafoodie.com
5.0
(17)
10 minutes
Your folders
 354 views
Spiced Blackberry Jam
food.com
20 minutes
Your folders
 262 views
Bourbon Blackberry Jam
thegandmkitchen.com
20 minutes
Your folders
 688 views
Keto Blackberry Jam
ketocookingchristian.com
5.0
(1)
12 minutes
Your folders
 327 views
Blackberry Jam Crostata
cooking.nytimes.com
4.0
(396)
Your folders
 217 views
Blackberry Port Jam
pomonapectin.com
Your folders
 153 views
Blackberry Jam Daiquiri
orwhateveryoudo.com
5.0
(1)
Your folders
 346 views
Blackberry Jam Recipe Without Pecti...
practicalselfreliance.com
4.4
(510)
25 minutes
Your folders
 58 views
Raw Blackberry Jam | VitamixSend
vitamix.com
Your folders
386 viewsEasy Blackberry 'n Rum Jam (Without...
food.com
30 minutes
Your folders
 200 views
Easy Blackberry Cider Recipe
getbrewsy.com
4.0
(74)
Your folders
 297 views
Easy blackberry cobbler recipe
divascancook.com
Your folders
 81 views
Blackberry Blueberry Jam (Black and...
commonsensehome.com
Your folders
 204 views
Low Sugar Blackberry & Apple Jam
farmersgirlkitchen.co.uk
5.0
(7)
15 minutes