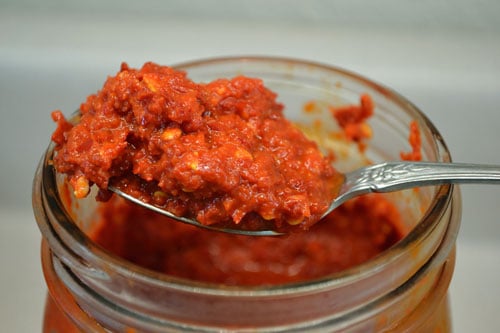
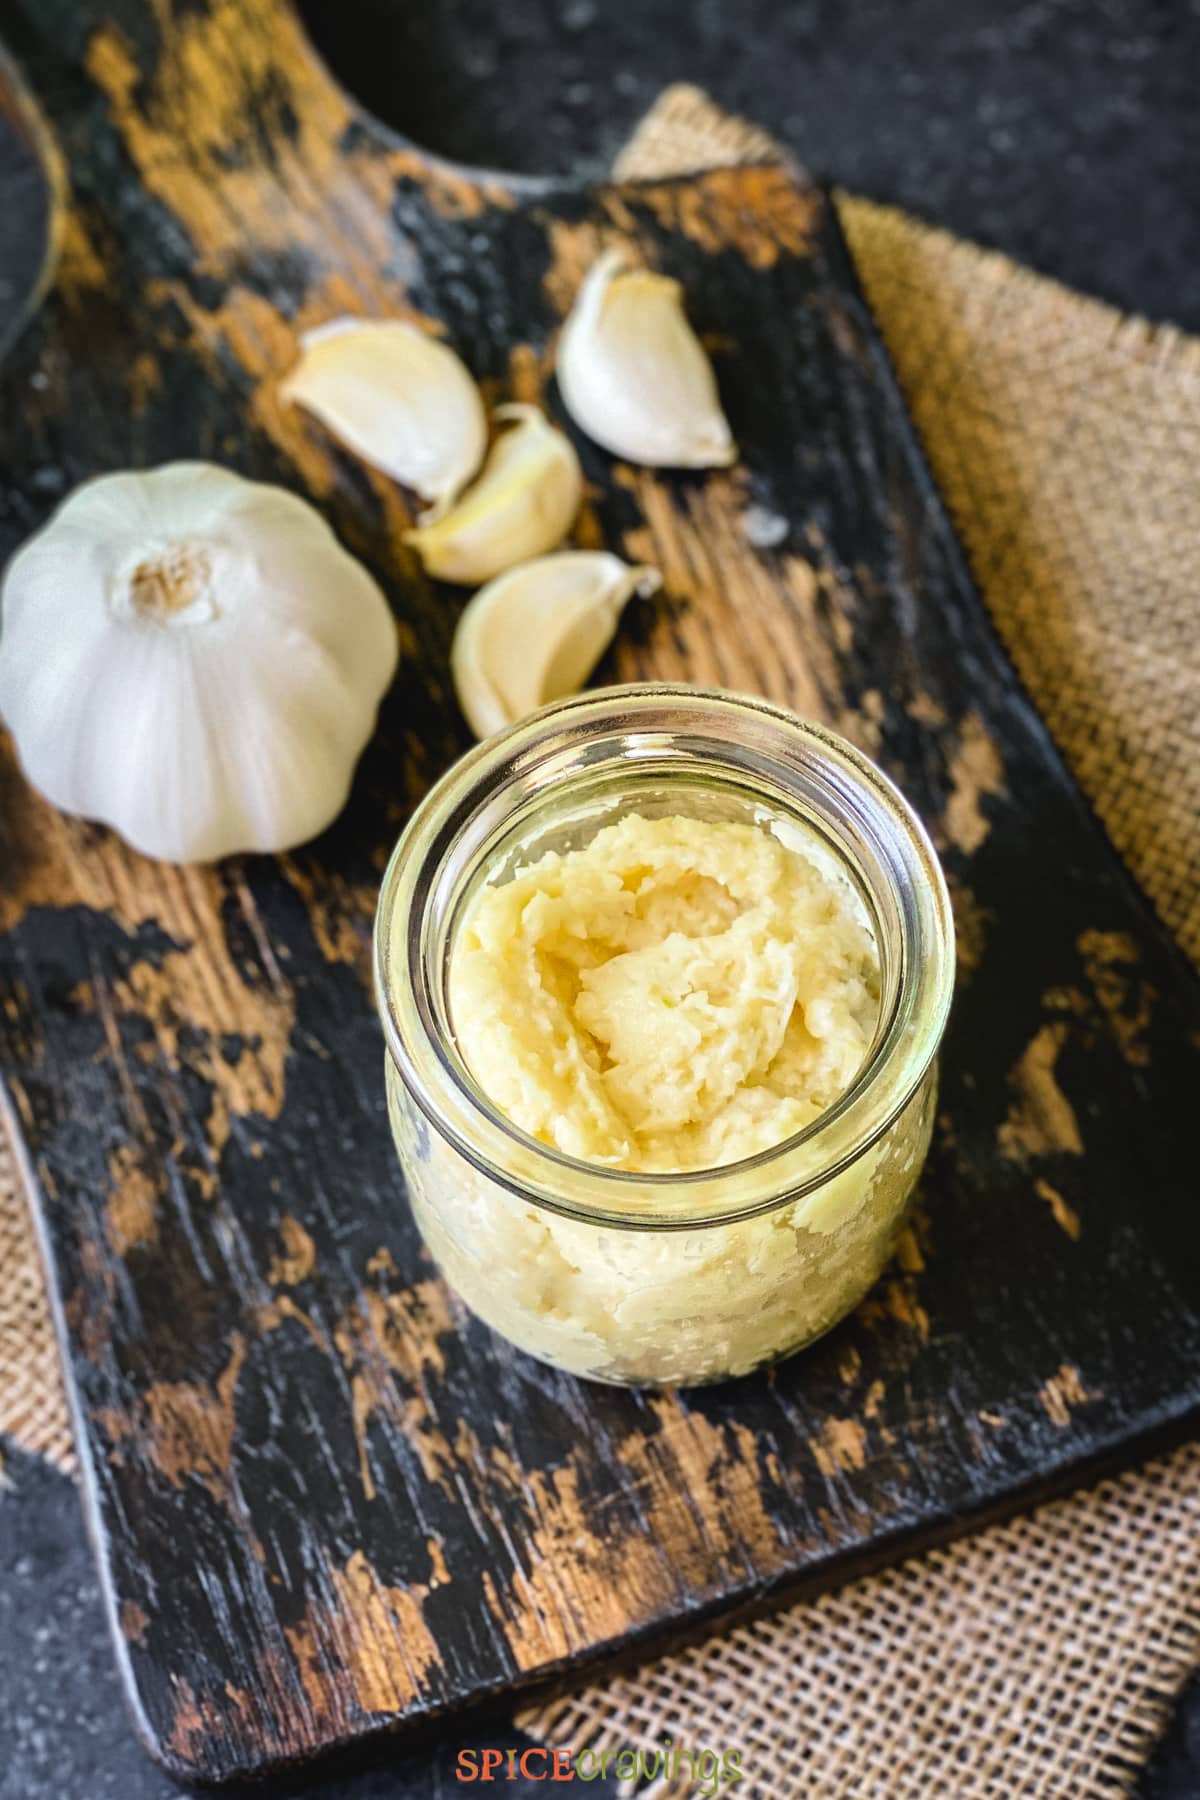
Fermented Garlic Paste. It's Bloody Fabulous. (AIP/Paleo)
Your folders
Your folders
Prep Time: 120
Total: 120
Servings: 1
Cost: $10.66 /serving
Author : Joanna FrankhamJoanna Frankham

Ingredients
Export 4 ingredients for grocery delivery
Instructions
Step 1
Separate and peel your garlic cloves, placing naked cloves into your food processor as you go. I find the easiest way to do this is by placing each clove on a wooden board and popping the flat of a large knife on the top of the garlic before giving a short sharp whack with your fist. This splits the skin and allows you to peel the clove easily.
Step 2
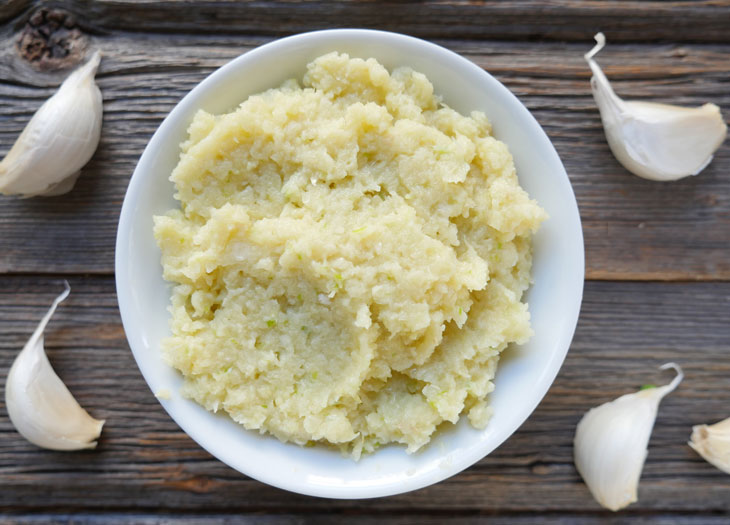
Process the garlic, lemon juice and salt to a paste consistency in your food processor.
Step 3
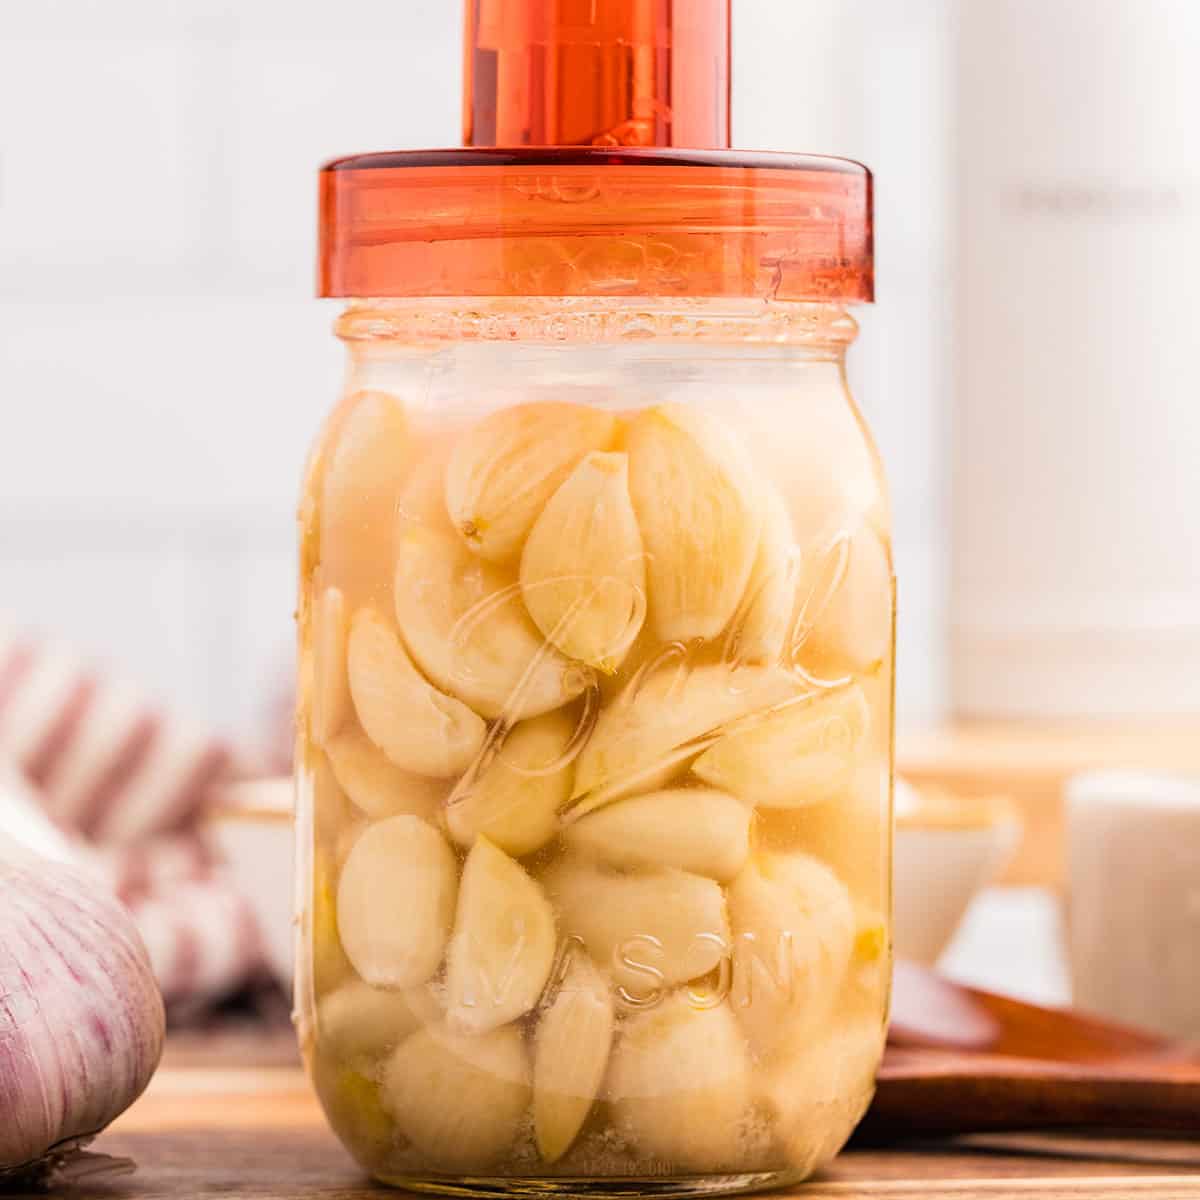
Spoon your garlic into a clean glass jar leaving a good 2 or 3 cm at the top of the jar. Carefully place a layer of cabbage leaf on top of your garlic paste. Be sure to cover right to the edge of the jar to minimise any air exposure. When it comes to fermentation, air is not your friend.
Step 4
If using an anaerobic jar, you can now seal your jar. If using a regular glass jar, top your cabbage leaf with a small sealable (ziplock) bag. Spread the base of the bag onto cabbage leaf before filling with water and sealing. The water-filled bag acts as a seal.
Step 5
Place your jar in a cool spot, out of direct sunlight. Let nature work her magic for about 2 weeks. (Fermentation is not an exact science)
Step 6
While waiting for your garlic paste to ferment, keep an eye on it to ensure that air pockets don't form. If you notice one, gently press down on your weighted bag to release it.
Step 7
Your fermented garlic paste is ready when the garlic is milder than when it’s raw.
Step 8
Tighten the lid and store in the fridge.
Step 9
Separate and peel your garlic cloves, placing naked cloves into your food processor as you go. I find the easiest way to do this is by placing each clove on a wooden board and popping the flat of a large knife on the top of the garlic before giving a short sharp whack with your fist. This splits the skin and allows you to peel the clove easily.
Step 10
Process the garlic, lemon juice and salt to a paste consistency in your food processor.
Step 11
Spoon your garlic into a clean glass jar leaving a good 2 or 3 cm at the top of the jar. Carefully place a layer of cabbage leaf on top of your garlic paste. Be sure to cover right to the edge of the jar to minimise any air exposure. When it comes to fermentation, air is not your friend.
Step 12
If using an anaerobic jar, you can now seal your jar. If using a regular glass jar, top your cabbage leaf with a small sealable (ziplock) bag. Spread the base of the bag onto cabbage leaf before filling with water and sealing. The water-filled bag acts as a seal.
Step 13
Place your jar in a cool spot, out of direct sunlight. Let nature work her magic for about 2 weeks. (Fermentation is not an exact science)
Step 14
While waiting for your garlic paste to ferment, keep an eye on it to ensure that air pockets don't form. If you notice one, gently press down on your weighted bag to release it.
Step 15
Your fermented garlic paste is ready when the garlic is milder than when it’s raw.
Step 16
Tighten the lid and store in the fridge.
Top similar recipes
Curated for youYour folders

 329 views
Fermented Garlic Paste
fermentedfoodlab.com
Your folders
 86 views
Fermented Garlic Scape Paste Recipe
revolutionfermentation.com
Your folders
 188 views
Fermented Herb Paste
cleaneatingmag.com
Your folders
 168 views
Fermented Shrimp Paste
sizzlefish.com
5.0
(1)
120 hours
Your folders
 133 views
Fermented Bloody Mary Mix
verygooddrinks.co
5.0
(1)
Your folders
 184 views
Paleo Pumpkin Roll (AIP)
unboundwellness.com
4.3
(3)
15 minutes
Your folders
456 viewsFermented soybean paste (Doenjang)
maangchi.com
5.0
(44.0k)
Your folders
 87 views
Homemade Fermented Chile Paste
underwoodgardens.com
Your folders
 270 views
Rosemary & Garlic Whole30 Roast Bee...
whatgreatgrandmaate.com
5.0
(1)
60 minutes
Your folders
 192 views
Fermented Garlic
growforagecookferment.com
Your folders
 396 views
Fermented Garlic
dobbernationloves.com
4.5
(25)
Your folders
 289 views
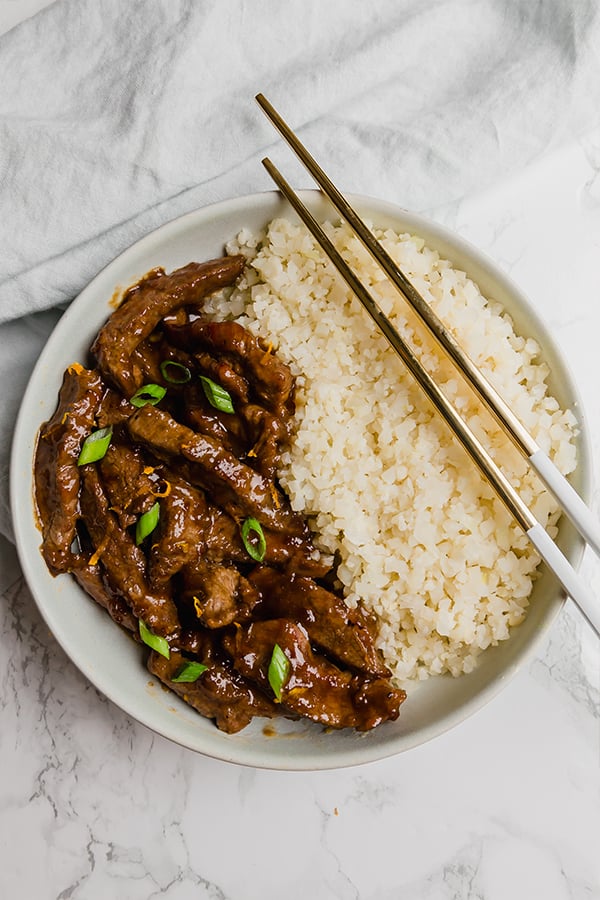
Orange Beef (Paleo, Whole30, AIP)
unboundwellness.com
5.0
(4)
20 minutes
Your folders
 476 views
Salted Caramel Blondies (AIP, paleo...
healmedelicious.com
5.0
(2)
24 minutes
Your folders
 132 views
10-Vegetable Soup (AIP/Paleo)
wendisaipkitchen.com
20 minutes
Your folders
 264 views
Garlic Paste
myheartbeets.com
Your folders
 157 views
Garlic Paste
spicecravings.com
4.8
(4)
Your folders
 249 views
AIP Frosting (paleo, vegan, gluten ...
healmedelicious.com
Your folders
 151 views
Pineapple Chicken Salad (AIP/Paleo/...
lichenpaleolovingaip.com
Your folders
 150 views
Pineapple Salad Dressing (AIP/Paleo...
lichenpaleolovingaip.com