Foiling Christmas Ornaments on Photo PaperFall Place Setting with a Cricut MachineFoiled Plant Art with Cricut Print Then CutChristmas Mason Jar CandlesHow to Make a Christmas Gnome BannerDIY Christmas Potholders
Your folders
Your folders
Total: 15
Ingredients
Export 9 ingredients for grocery delivery
Instructions
Step 1
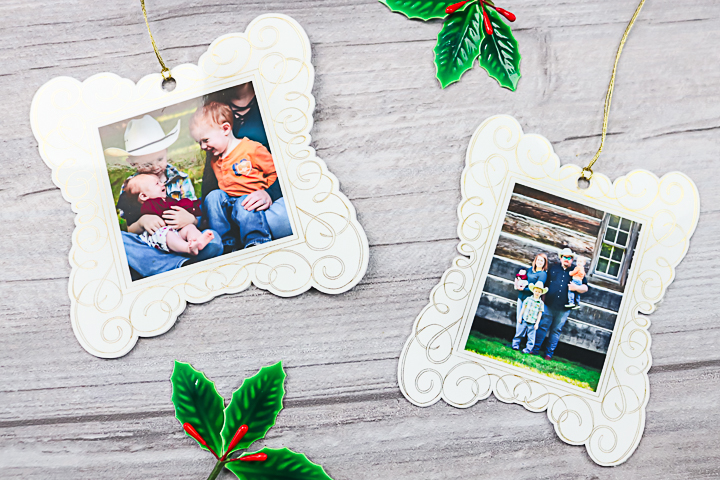
Set up your design in Cricut Design Space. You can see more about how to do that in the video above. Then print your photos onto the photo paper. Be sure to turn off auto bleed and use the printer dialogue box for printing. You want to use the best setting on your printer to get the best images.
Step 2
Add the printed paper to your mat and put foil on top. You will need to tape the foil down well with the tape included with the foil. Please note that you cannot put the tape over the black box. I like to cut the tape in half lengthwise before using.
Step 3
Then use your Cricut to foil and cut your design. Cricut Design Space will prompt you when to add each tool and remove the foil.
Step 4
The machine will cut the design after it foils. You will also need to cut the kraft board pieces as explained in the video.
Step 5
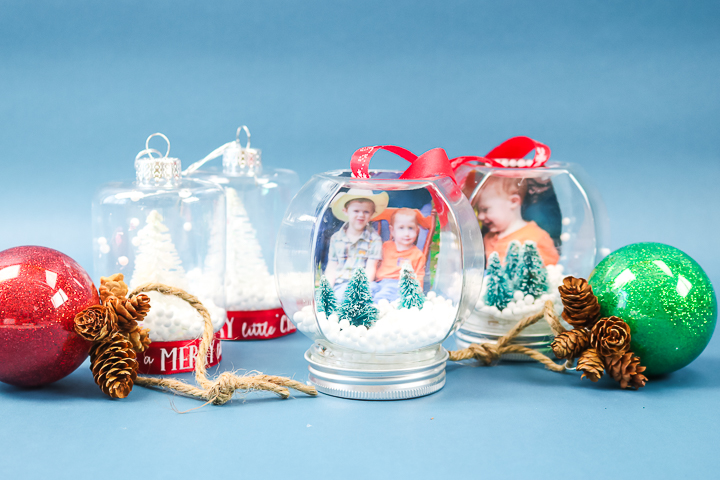
Once you have all of your pieces cut, you can assemble the ornament.
Step 6
Put the kraft board piece on the back and the printed photo piece on the top with adhesive in between. Then tie on a piece of twine for hanging.
Top similar recipes
Curated for youYour folders

 77 views
Foiling Christmas Ornaments on Phot...
thecountrychiccottage.net
Your folders
 285 views
How to Make a Scandinavian Christma...
thecountrychiccottage.net
Your folders
 215 views
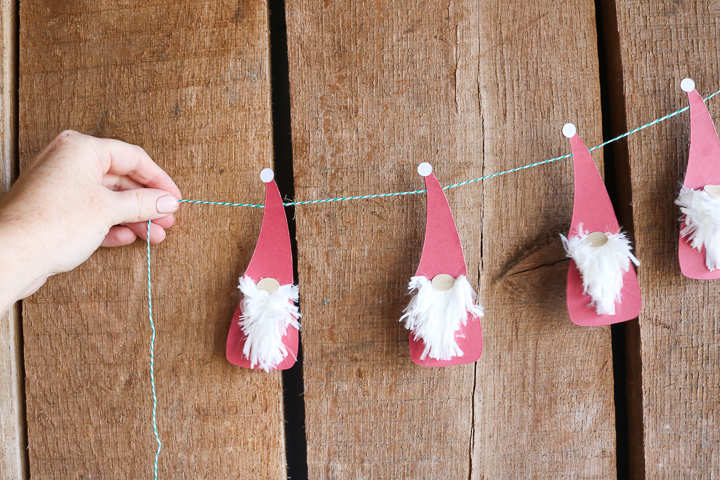
How to Make a Christmas Gnome Banne...
thecountrychiccottage.net
Your folders
 229 views
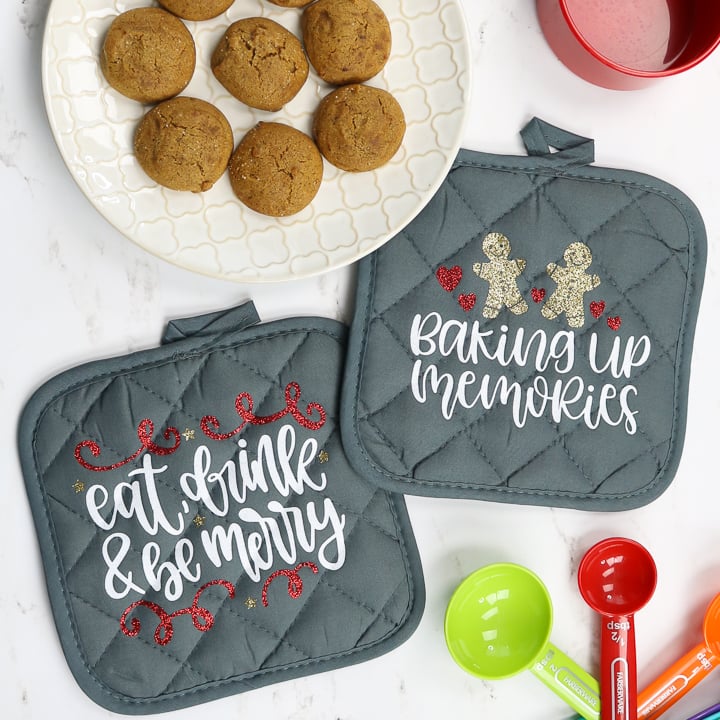
DIY Christmas PotholdersDIY Christm...
thecountrychiccottage.net
Your folders
 244 views
DIY Forest Gnome Pinecone Christmas...
hellocreativefamily.com
Your folders
 57 views
Locating Addresses for Envelopes in...
thecountrychiccottage.net
Your folders
 48 views
Fall Leaf Mason JarFall Place Setti...
thecountrychiccottage.net
Your folders
 198 views
How to Make a Custom Hat with Cricu...
prettyprovidence.com
Your folders
 195 views
How to Make a Christmas Stocking
fleecefun.com
Your folders
 172 views
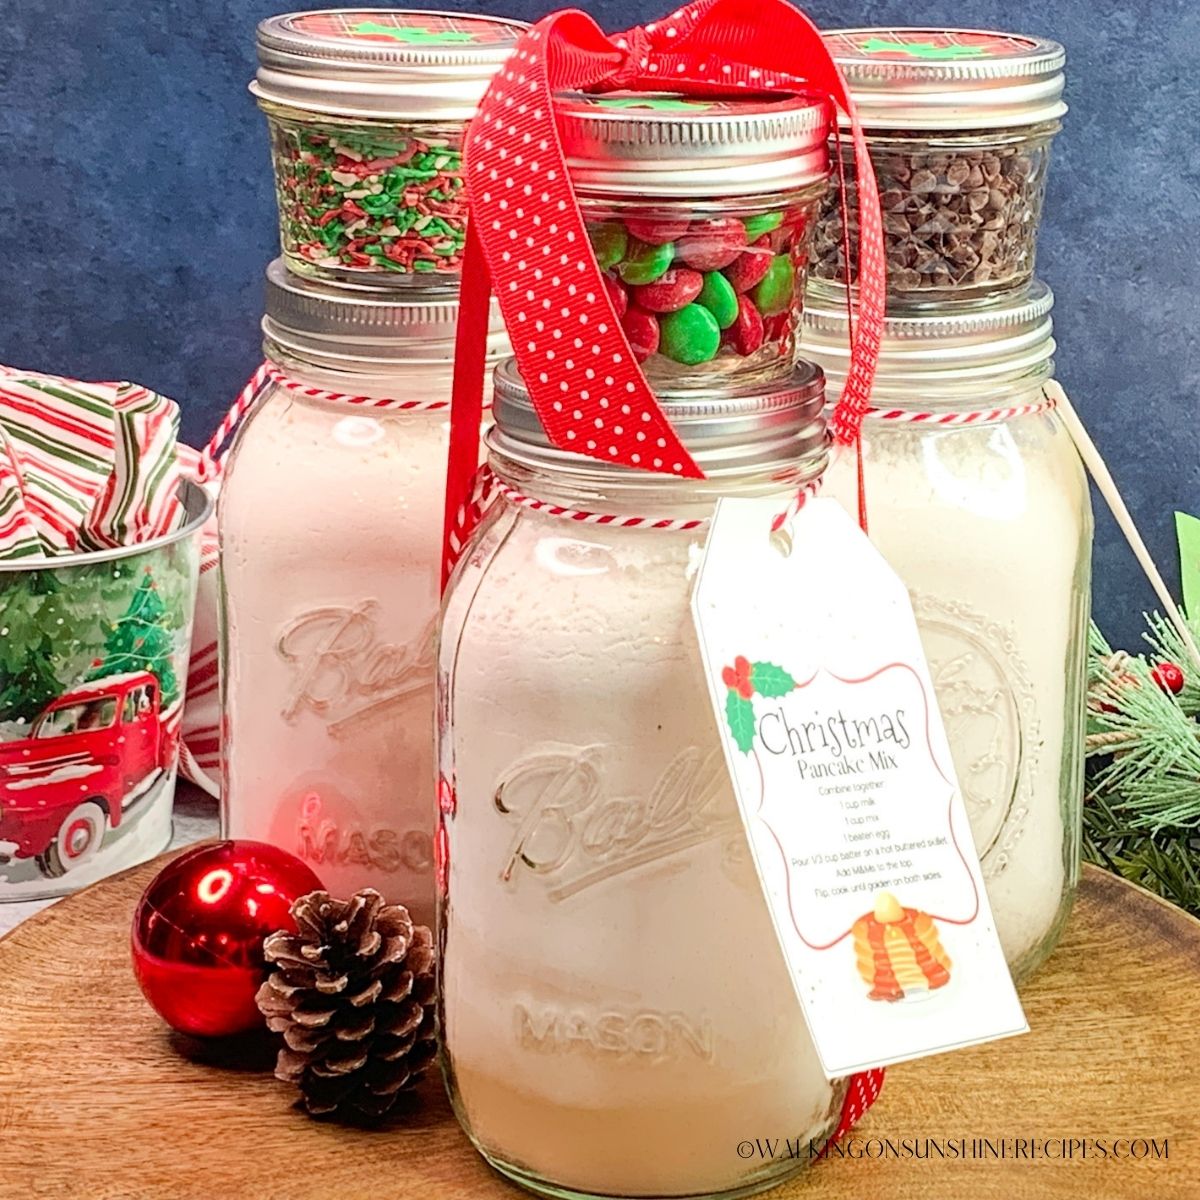
Christmas Pancake Mix in a Jar
walkingonsunshinerecipes.com
5.0
(1)
Your folders
 241 views
Christmas Pudding Recipe | How to m...
yummefy.com
4.4
(8)
360 minutes
Your folders
 242 views
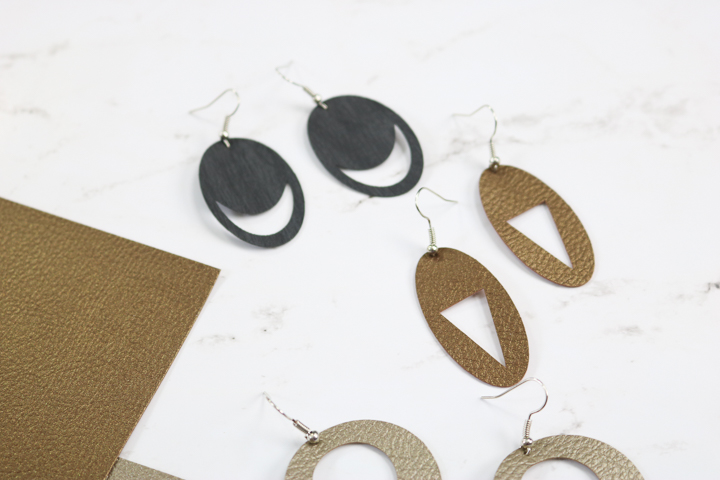
Cutting Earrings with a Cricut Mach...
thecountrychiccottage.net
Your folders
 272 views
Christmas Beef Roast on a Budget
thedinnerbell.recipes
1 hours, 5 minutes
Your folders
 194 views
How to Make a Quilted Christmas Sto...
papernstitchblog.com
Your folders
 252 views
How to make a Christmas Funky Bow
howtomakewreaths.com
Your folders
 42 views
Rustic Glitter Ball OrnamentMason J...
thecountrychiccottage.net
Your folders
 115 views
Christmas Cranberry Gin (A Red Chri...
linsfood.com
5.0
(66)
Your folders
 256 views
How to Make a Mason Jar Tissue Hold...
thecountrychiccottage.net
Your folders
 129 views
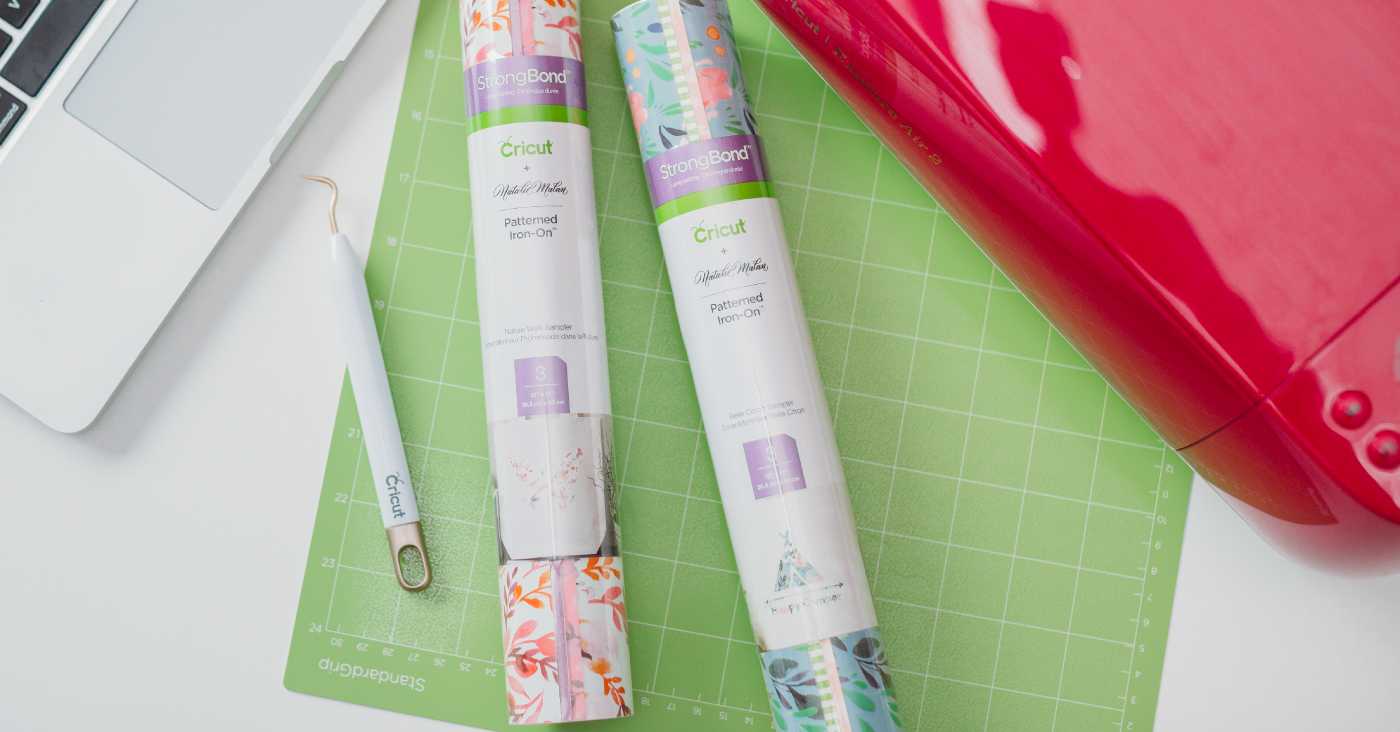
USING CRICUT PATTERNED IRON ON – MA...
heyletsmakestuff.com