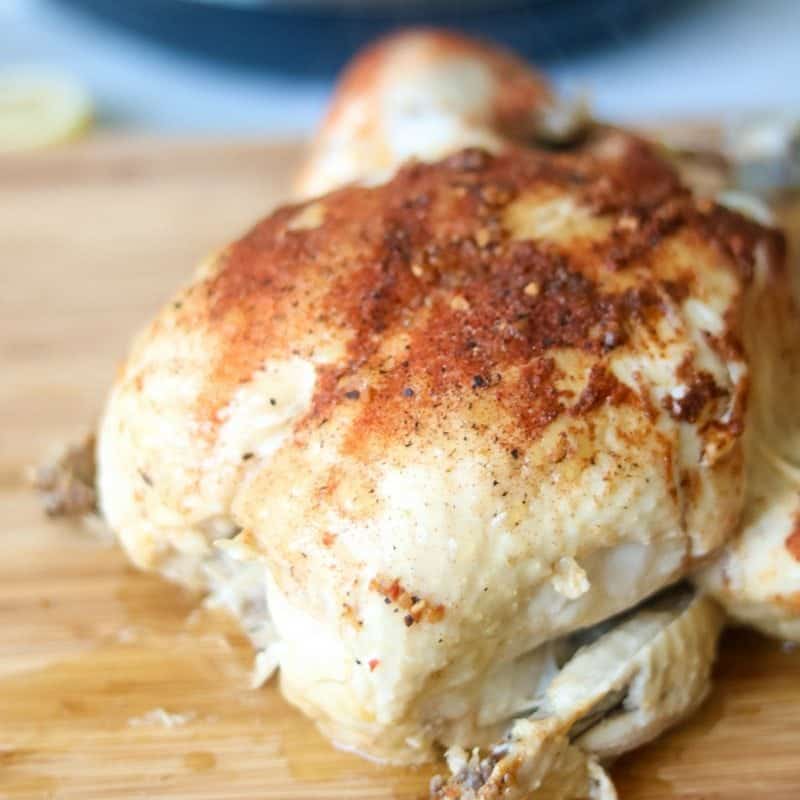
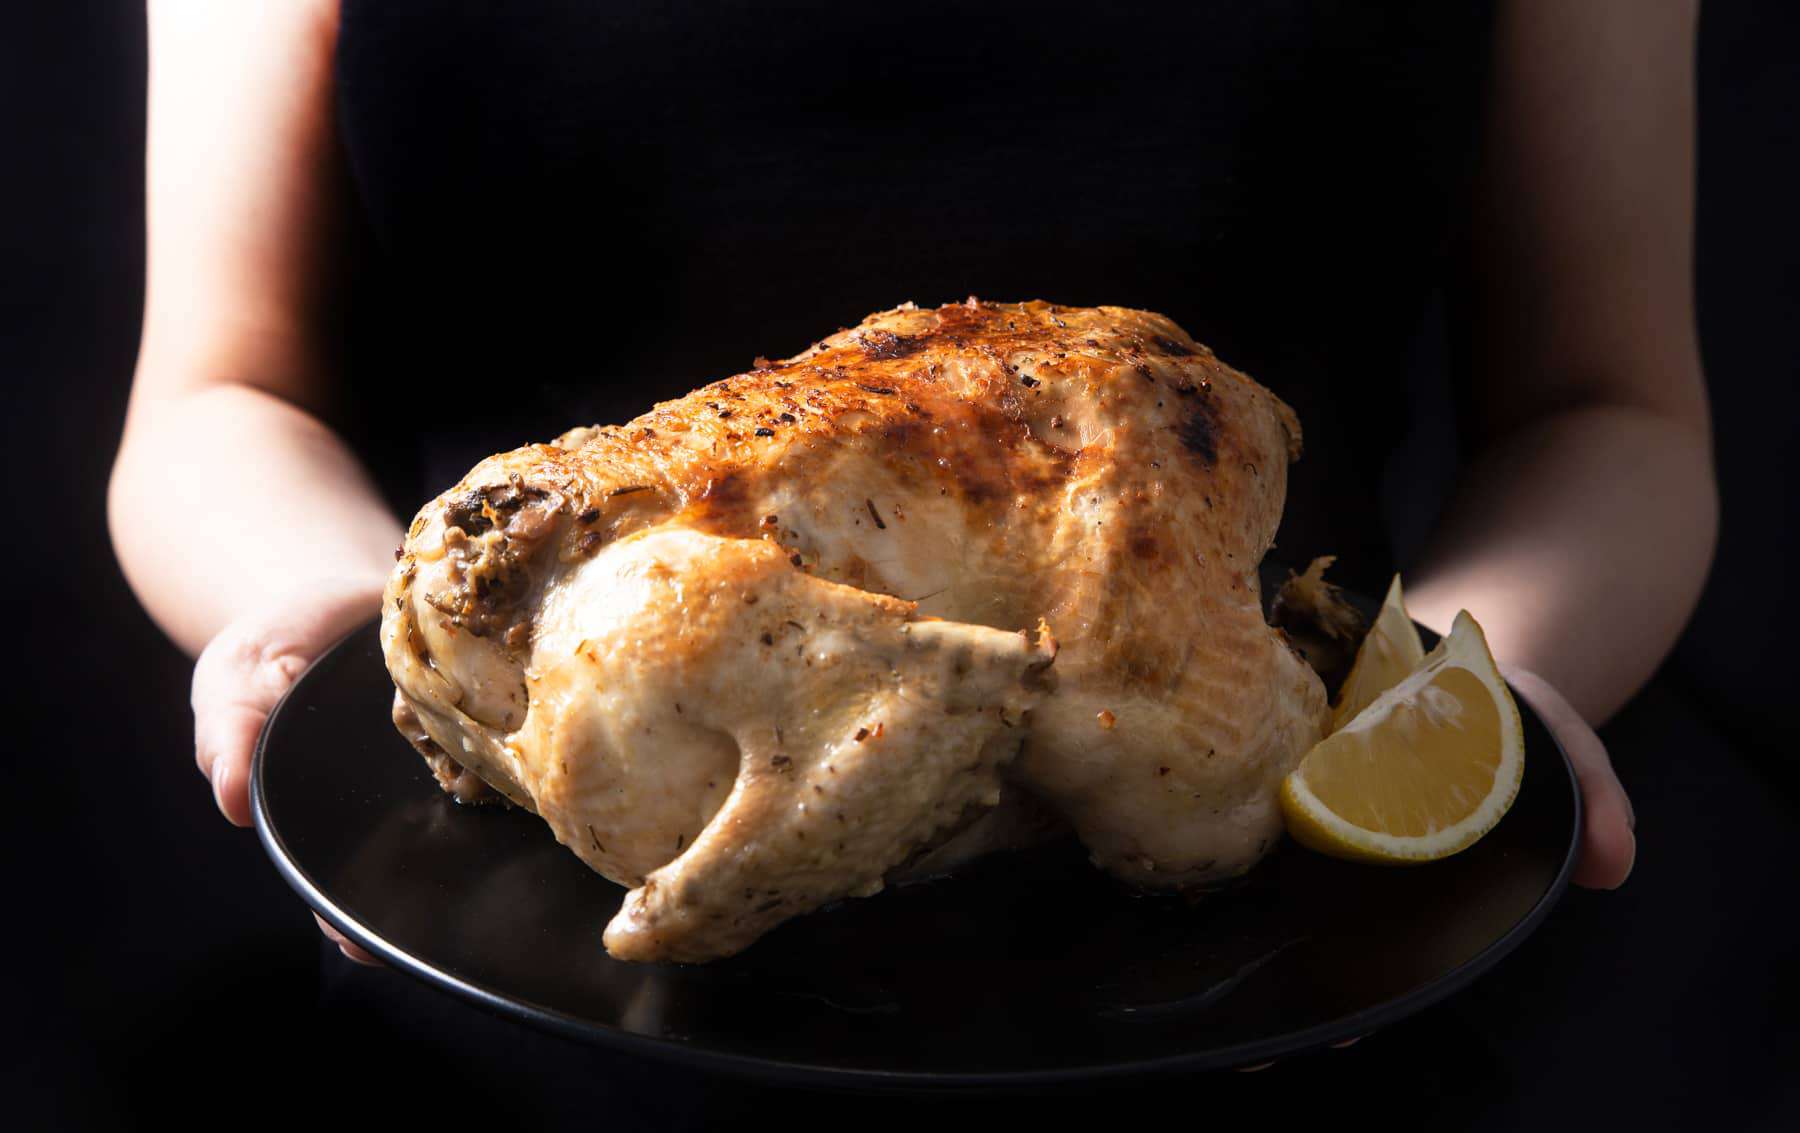
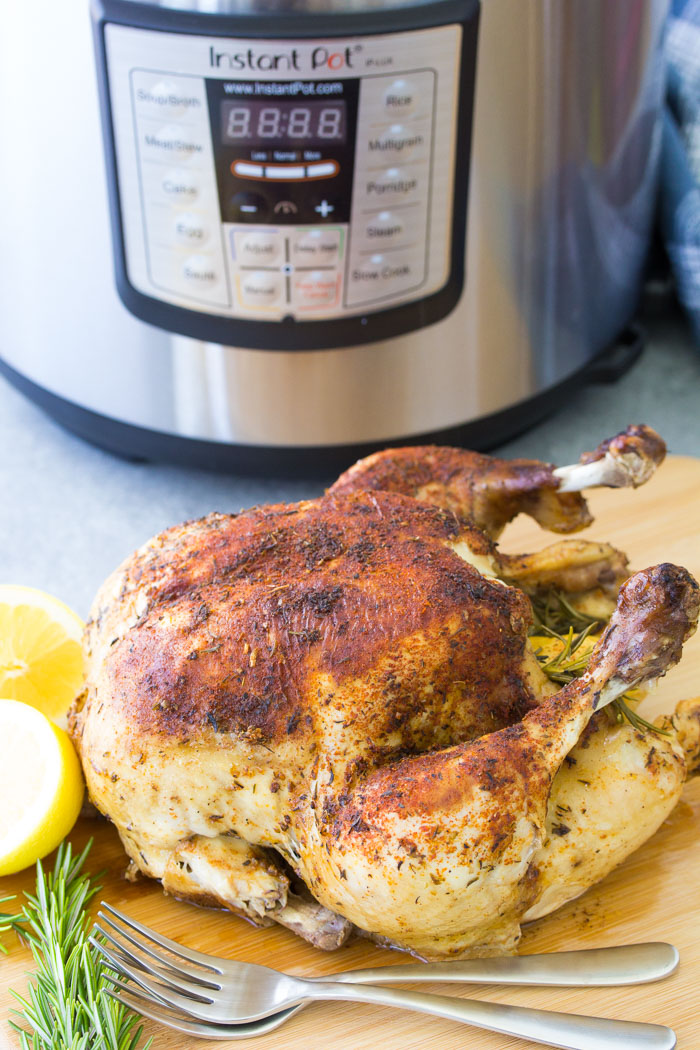
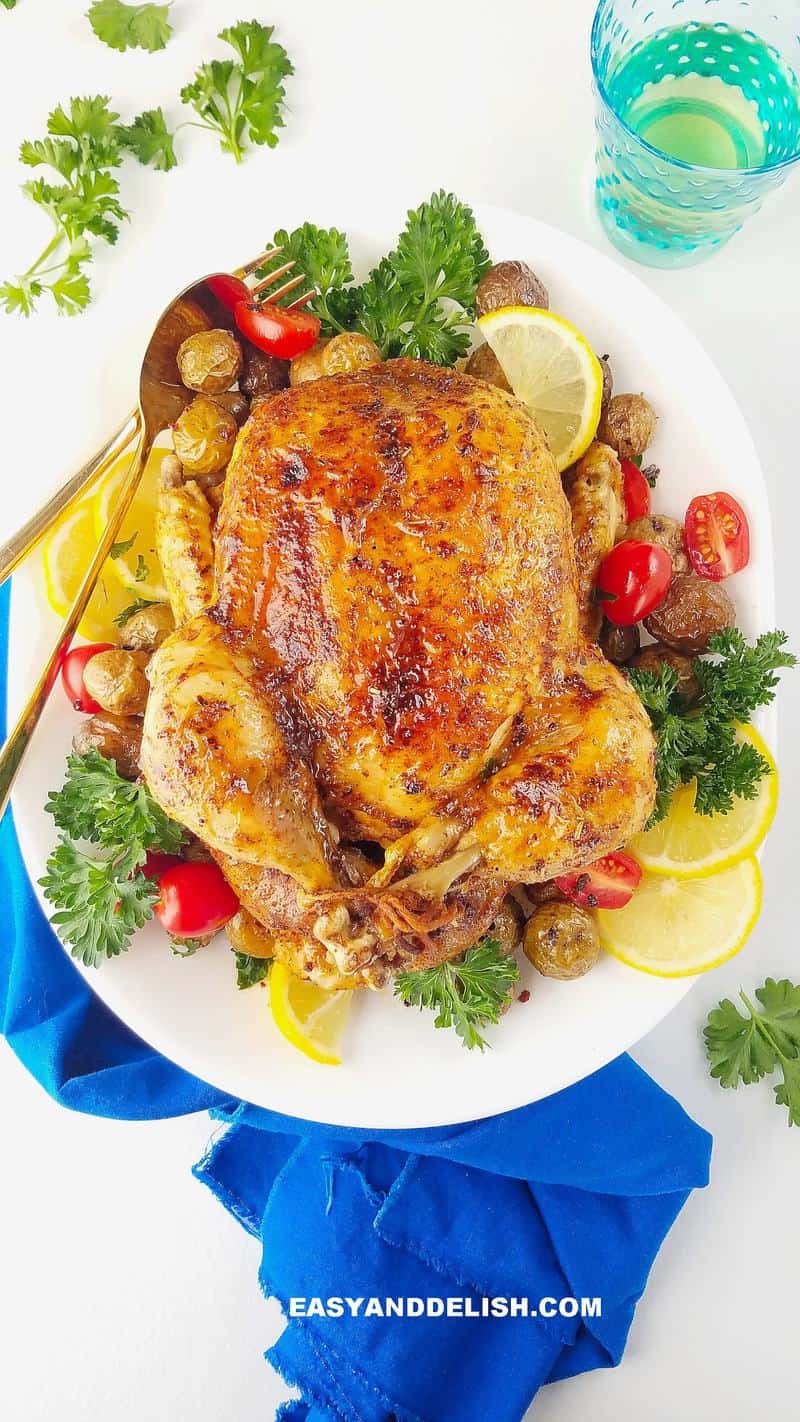
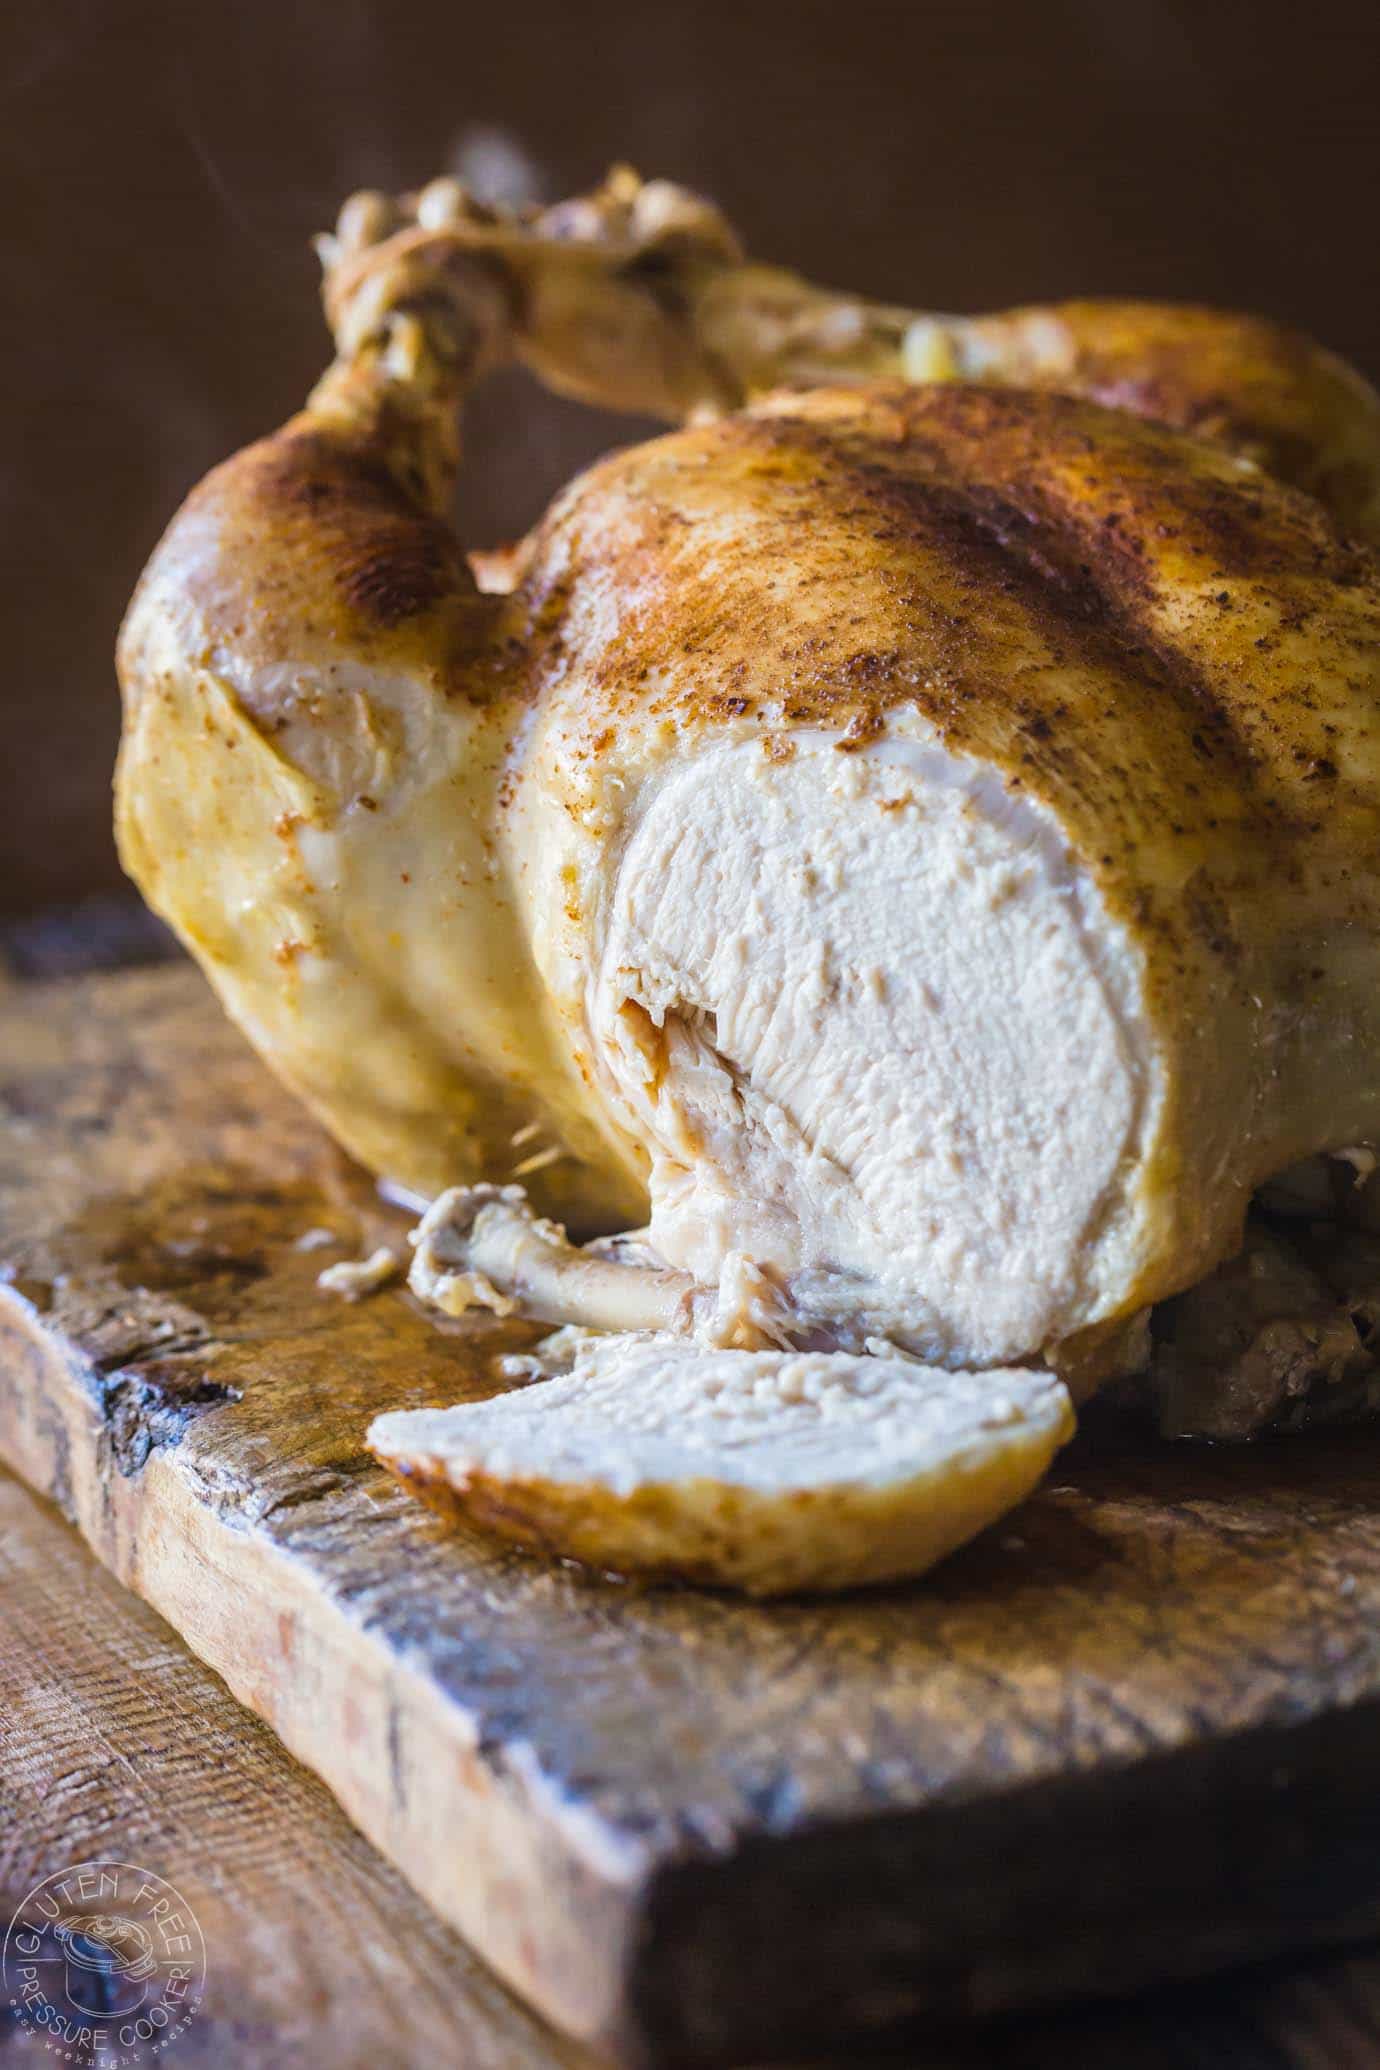
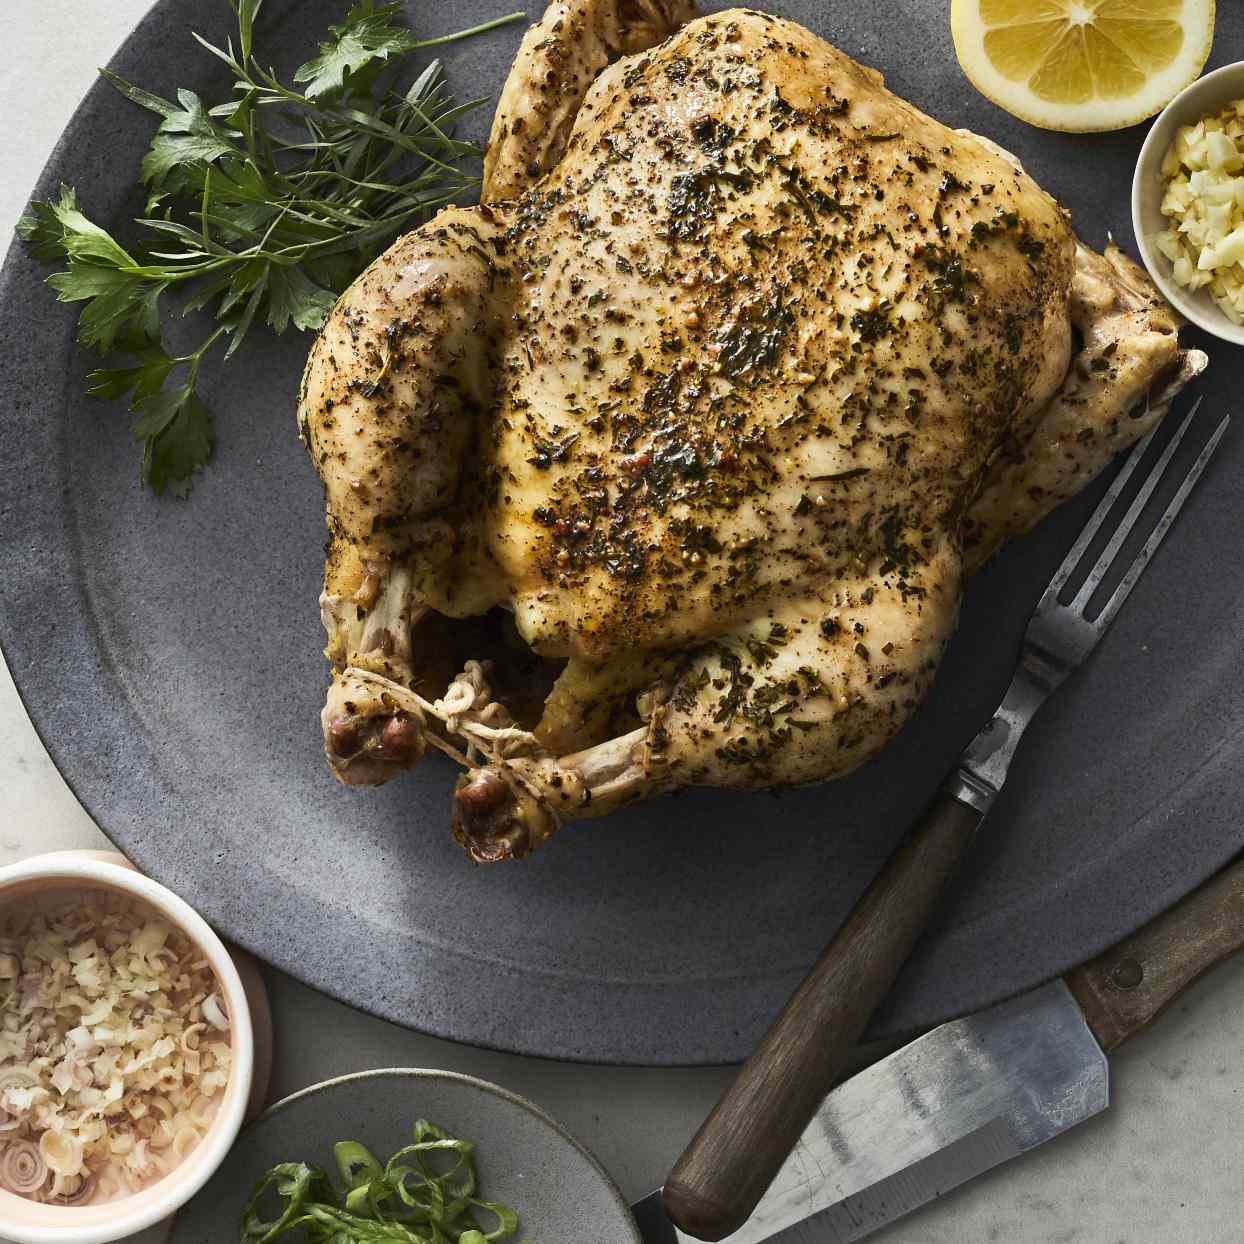
How to Make Instant Pot Whole Chicken
4.8
(13)
Your folders
Your folders
Prep Time: 15 minutes
Cook Time: 25 minutes
Total: 40 minutes
Servings: 1
Author : The Real Food Dietitians

Ingredients
Export 4 ingredients for grocery delivery
Instructions
Step 1
Remove the bag of giblets from the inside cavity of the chicken (if the chicken came with them).
Step 2
Place the chicken on a plate and pat it dry with a couple of clean paper towels. Sprinkle sea salt and pepper on both sides.
Step 3
Select the ‘Saute’ function on the Instant Pot. Add 1 Tbsp. fat of choice to the pot. When it just starts to shimmer (but before it starts to smoke), add the chicken breast-side down to the pot. Allow the chicken to cook, undisturbed for 5-7 minutes, until the skin starts to brown.
Step 4
Using tongs or 2 wooden spoons, carefully flip the chicken over in the pot. Continue cooking in ‘Saute’ mode for another 5 minutes while you chop the garlic and get your herbs (fresh or dried) and water or broth ready to add to the pot.
Step 5
Press the ‘Cancel’ button to stop sautéing. Lift the chicken from the pot using a set of tongs and place the metal trivet in the bottom of the pot. Return the chicken to the pot, placing it on the trivet, then add the water or broth to the pot. Sprinkle the minced garlic and a little more salt and pepper over the chicken then top with herbs.
Step 6
Carefully place the lid on the Instant Pot and turn to the ‘Locked’ position. You may have to wiggle it a bit to get it locked as the steam created by adding liquid to the hot pot will cause the float valve to pop up – just gently poke it down with your finger then lock the lid in place.
Step 7
Once the lid is locked in place, turn the vent to ‘Sealing’.
Step 8
Select the ‘High Pressure’ setting (‘Manual’ on older models) and set the cooking time for 23 minutes (25 minutes for high-altitude). If you find you need more time, you can always replace the lid and add a couple more minutes. After a few tries, you’ll have it down to a science.
Step 9
When the cooking time is up, allow the pressure to naturally release for 10 minutes to help seal in all those tasty juices – then flip the vent valve to ‘venting’ to allow any residual pressure to be released before removing the lid.
Step 10
Carefully remove the chicken to a plate to cool slightly before removing the meat from the bones.
Step 11
Store the cooked chicken in a covered container in the fridge for up to 4 days.
Top similar recipes
Curated for youYour folders
 208 views
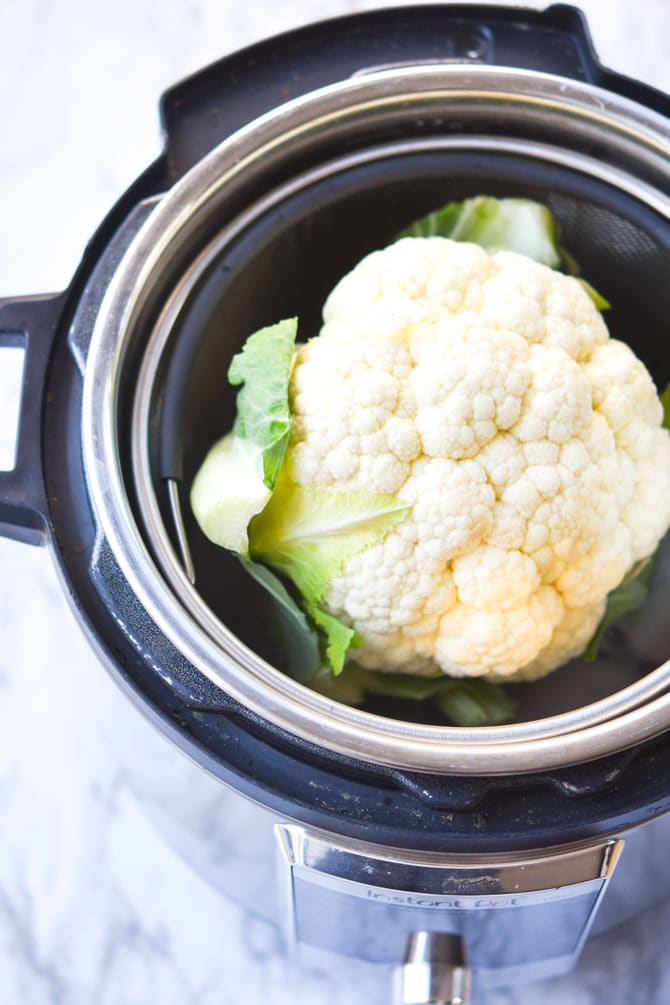
How to Make Instant Pot Whole Cauli...
mealplanaddict.com
4.3
(7)
1 minutes
Your folders
155 viewsHow to Make Instant Pot Whole Cauli...
mealplanaddict.com
4.3
(36)
1 minutes
Your folders
 214 views
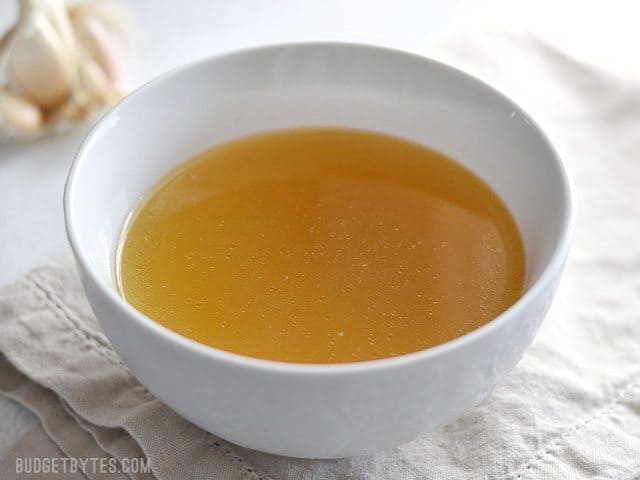
How to Make Instant Pot Chicken Sto...
budgetbytes.com
4.8
(45)
60 minutes
Your folders
 350 views
How To Make Instant Pot Chili
thekitchn.com
Your folders
 717 views
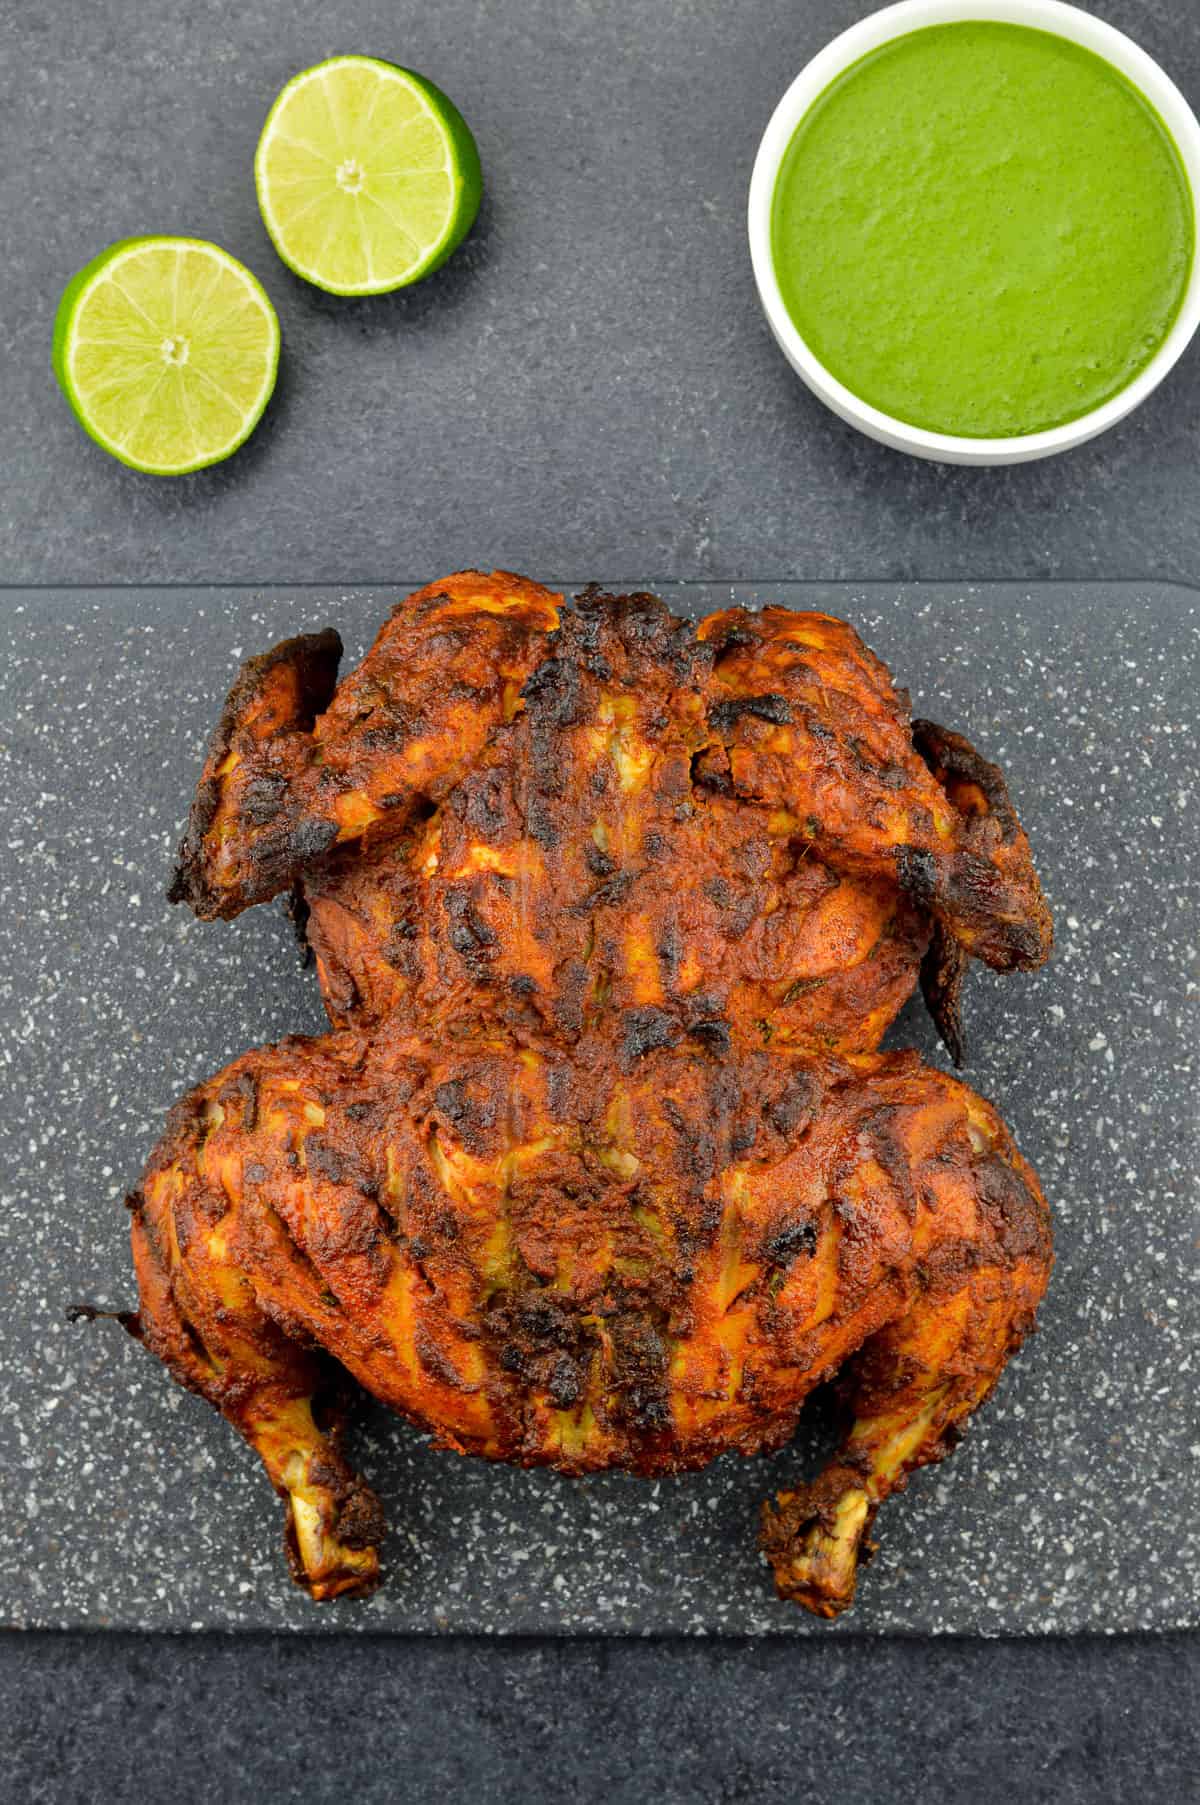
How to Make Whole Chicken Tandoori ...
theloveofspice.com
5.0
(26)
75 minutes
Your folders
 726 views
Instant Pot Whole Chicken
natashaskitchen.com
5.0
(94)
24 minutes
Your folders
 477 views
Instant Pot Whole Chicken
amindfullmom.com
4.7
(192)
45 minutes
Your folders
 576 views
Instant Pot Whole Chicken
pressurecookrecipes.com
5.0
(67)
55 minutes
Your folders
 525 views
Instant Pot Whole Chicken
bunsinmyoven.com
35 minutes
Your folders
 479 views
Instant Pot Whole Chicken
kristineskitchenblog.com
5.0
(7)
24 minutes
Your folders
 128 views
Instant Pot Whole Chicken
pressurecookrecipes.com
Your folders
 219 views
Instant Pot Whole Chicken
pressurecookrecipes.com
5.0
(100)
Your folders
395 viewsInstant Pot Whole Chicken
amindfullmom.com
4.7
(212)
45 minutes
Your folders
102 viewsInstant Pot Whole Chicken
noshtastic.com
Your folders
 533 views
Instant Pot Whole Chicken
easyanddelish.com
5.0
(2)
28 minutes
Your folders
 393 views
Instant Pot Whole Chicken
noshtastic.com
5.0
(42)
24 minutes
Your folders
 347 views
Instant Pot Whole Chicken
thereciperebel.com
5.0
(2)
32 minutes
Your folders
 350 views
Instant-Pot Whole Chicken
eatingwell.com
5.0
(1)
Your folders
 275 views
Instant Pot Whole Chicken
corriecooks.com
4.7
(21)
28 minutes