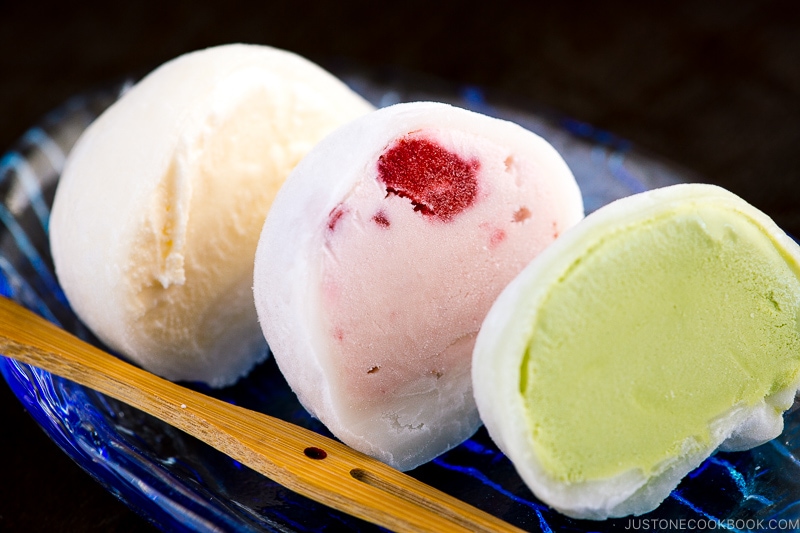
Mochi Ice Cream
4.6
(114)
Your folders
Your folders
Prep Time: 60 minutes
Cook Time: 3 minutes
Total: 63 minutes
Servings: 12
Author : Namiko Chen
Ingredients
Export 4 ingredients for grocery delivery
Instructions
Step 1
Gather all the ingredients. Equipment you will need:12 aluminum/silicone cupcake liners, a cookie dough scoop (smaller than an ice cream scooper), a rolling pin, and a 3.5 inch (9 cm) cookie cutter or a round bowl/glass cup.
Step 2
Using the cookie scoop, scoop out ice cream into aluminum/silicone cupcake liners. The ice cream will melt quickly so I recommend freezing them immediately for a few hours or until ice cream balls are completely frozen solid.
Step 3
Once the ice cream balls are frozen solid and ready, you can start making mochi. Combine shiratamako and sugar in a medium bowl and whisk all together.
Step 4
Add water and mix well until combined.
Step 5
Microwave Method: If you’re using a microwave to cook mochi, cover the bowl with some plastic wrap (do not cover too tight). Put the bowl in the microwave and heat it on high heat (1000w) for 1 minute. Take it out and stir with a wet rubber spatula. Cover again and cook for 1 minute. Stir again, cover, and cook for 30 seconds to finish cooking. The color of mochi should change from white to almost translucent.
Step 6
Steaming Method: If you’re using a steamer, cover the steamer lid with a towel so the condensation won’t drop into the mochi mixture. Put the bowl into a steamer basket and cover to cook for 15 minutes. Half way cooking, stir with wet rubber spatula and cover to finish cooking. The color of mochi should change from white to almost translucent.
Step 7
Cover the work surface with parchment paper and dust it generously with potato starch. Then transfer the cooked mochi on top.
Step 8
To prevent from sticking, sprinkle more potato starch on top of the mochi. Once it’s cool down a bit, you can spread the mochi into a thin layer with your hands or with a rolling pin. Make sure to apply potato starch on your hands and the rolling pin. I recommend using a rolling pin because it’s easier to evenly spread out.
Step 9
Transfer the mochi with parchment paper onto a large baking sheet. Refrigerate for 15 minutes until the mochi is set.
Step 10
Take out the mochi from the refrigerator and cut out 7-8 circles with the cookie cutter.
Step 11
Dust off the excess potato starch with a pastry brush. If you find some sticky part, cover the area with potato starch first then dust off. Place a plastic wrap on a plate and then mochi wrapper on top, then lay another layer of plastic wrapper down. Repeat for all wrappers. With leftover mochi dough, roll into a ball and then flatten into a thin layer again and cut out into more circle wrappers (I could make about 12 mochi wrappers).
Step 12
Now we’re ready to form mochi ice cream balls. On the work surface, place one sheet of plastic wrap with a mochi layer on top. Take out one ice cream ball from the freezer and put it on top of the mochi wrapper. Pinch the four corners of the mochi layer together to wrap the ice cream ball.
Step 13
When mochi gets sticky, put some potato starch on the sticky area and seal the opening. Quickly cover with the plastic wrap and twist to close. Place each mochi ice cream into a cupcake pan to keep the shape. You will need to work on one mochi ice cream at a time in order to keep the ice cream frozen all times. Put mochi ice cream back into the freezer for a few hours. When you’re ready to serve, keep them outside for a few minutes until mochi gets soften a little bit.