Sourdough Starter Recipe
5.0
(4)
Your folders
Your folders
Prep Time: 7200 minutes
Total: 7200 minutes
Author : Bill
Ingredients
Export 2 ingredients for grocery delivery
Instructions
Step 1
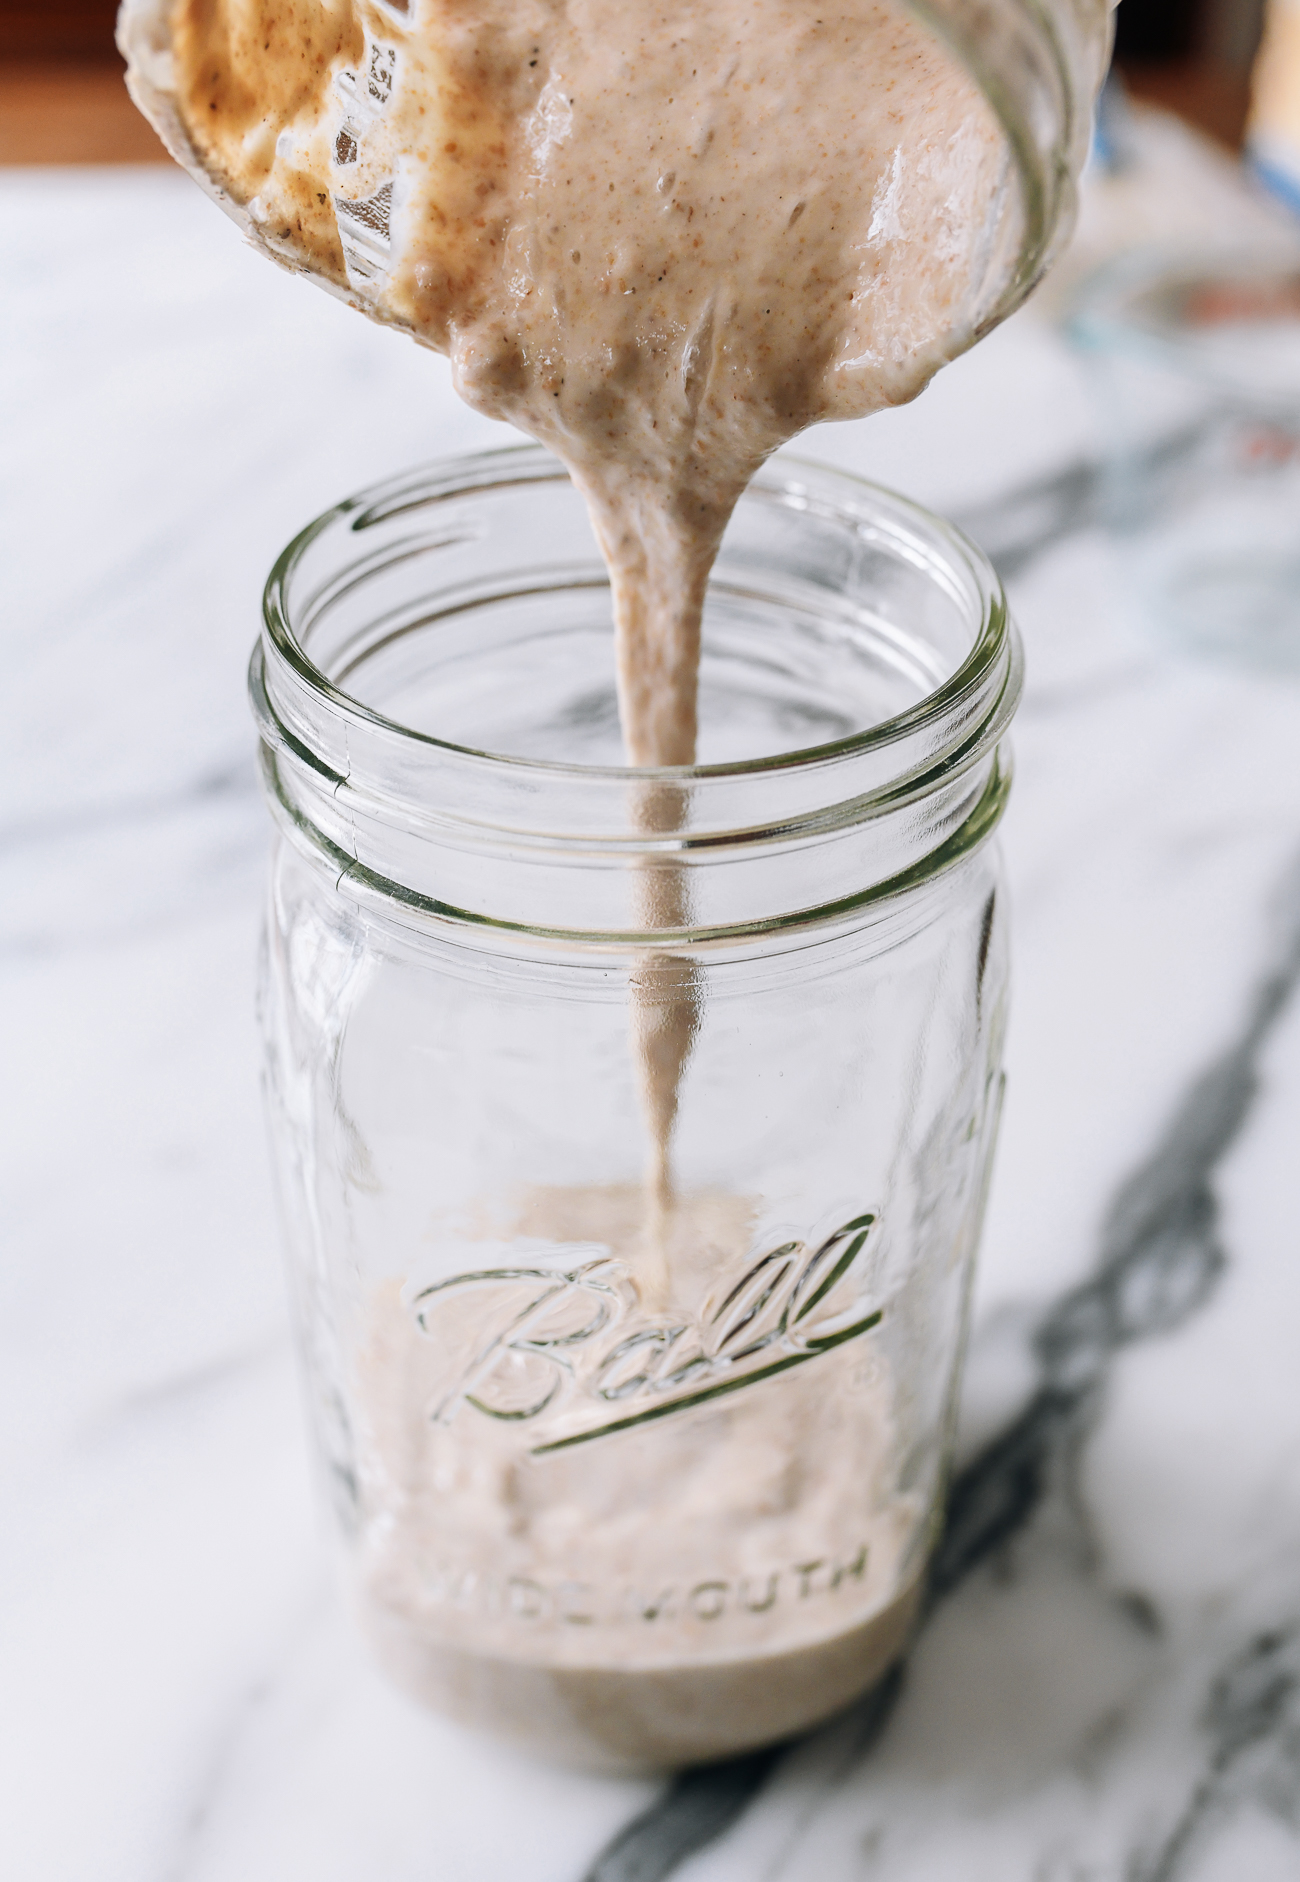
Place a clean glass jar on your digital scale and zero it out. (To remove the weight of the glass jar; anything you add now will be the weight of whatever you add.) Use a spoon to add all-purpose unbleached flour until the scale reads 35g. Now add 35g of lukewarm water. (You can choose to zero the scale again so the water weight reads 35g.)
Step 2
Mix thoroughly until you achieve a thick, sticky consistency. Cover with a damp kitchen towel or cheesecloth. Now you let the wild yeast do the work!
Step 3
After 24 hours, it’s doubtful whether you will see any activity at all, but if you see a bubble or two, that means your starter is getting off to a good start. At this point, it likely won’t smell different, but this is normal.
Step 4
Repeat adding 35g of unbleached all-purpose flour and 35g lukewarm water. Stir thoroughly. Incorporating air helps develop the yeast and bacteria. Return it to a warm humid place to let the wild yeast do its work.
Step 5
You should start to see bubbles forming now, and you may be able to detect a vinegary sour smell. If not, don’t despair. Just proceed, and be sure that you are putting the starter in a warm humid place.
Step 6
If there are lots of bubbles and the starter becomes a bit thinner, you can go ahead and discard half of the mixture. If there is little activity, skip the discard.
Step 7
Now, repeat the feed by adding 35g of unbleached all-purpose flour and 35g of lukewarm water. Thoroughly mix. You should see more bubbles forming after you stir.
Step 8
If your starter is really lacking in activity, you may want to skip a feeding and just let the starter sit for another day to develop.
Step 9
You really should start to see bubbles forming now. Your starter will take on a more sour or vinegary fragrance, and it may even smell a little like beer. This is all good and means your sourdough starter is developing nicely. If not, wait another day and be sure that you are putting it in a warm place. Repeat the same process from Day 3, using 35g whole wheat flour.
Step 10
Your starter should be ready to use. It should have a nice natural yeasty but still sour smell. Like every step/day in this process, if you think it’s not developing or bubbling enough, then wait 1-2 more days, since you want lots of activity the day you use it. Be patient! When your starter is active, you can begin baking with it and maintaining it (see post).