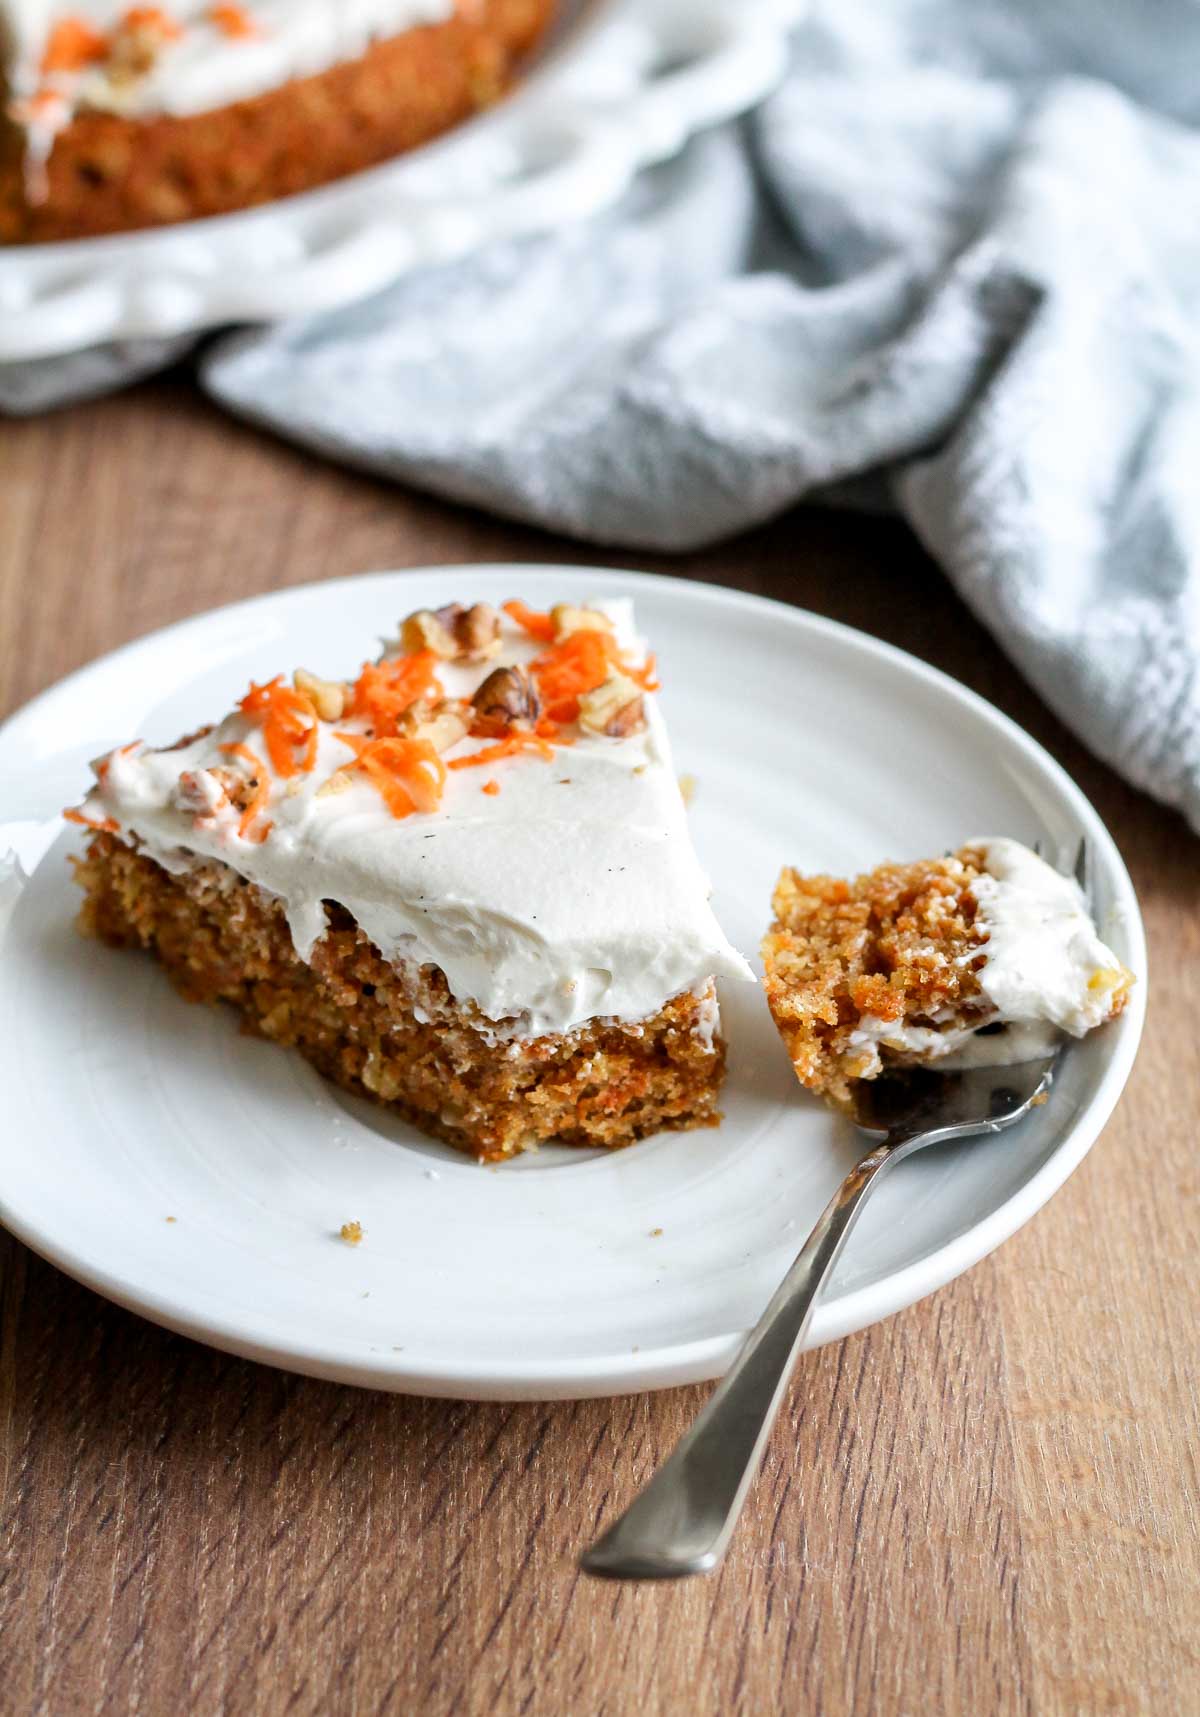
Carrot Graham Layer Cake
Your folders
Your folders
Author : Christina Tosi

Ingredients
Export 31 ingredients for grocery delivery
Instructions
Step 1
Heat the oven to 350°F.
Step 2
Combine the butter and sugars in the bowl of a stand mixer fitted with the paddle attachment and cream together on medium-high for 2 to 3 minutes. Scrape down the sides of the bowl, add the eggs, and mix on medium-high for another 2 to 3 minutes. scrape down the sides of the bowl once more.
Step 3
On low speed, stream in the oil. Increase the mixer speed to medium-high and paddle for 4 to 6 minutes, until the mixture is practically white, twice the size of your original fluffy butter-and-sugar mixture, and completely homogenous, with no streaks of fat. Don’t rush the process. Stop the mixer and scrape down the sides of the bowl.
Step 4
On very low speed, add the flour, baking powder, baking soda, cinnamon, and salt. Mix for 45 to 60 seconds, just until your batter comes together and any remnants of dry ingredients have been incorporated. Scrape down the sides of the bowl.
Step 5
Detach the paddle and remove the bowl from the mixer. Dump the shredded carrots into the bowl and, with a spatula, fold them into the batter.
Step 6
Pam-spray a quarter sheet pan and line it with parchment, or just line the pan with a Silpat. using a spatula, spread the cake batter in an even layer in the pan.
Step 7
Bake the cake for 25 to 30 minutes. The cake will rise and puff, doubling in size, but will remain slightly buttery and dense. At 25 minutes, gently poke the edge of the cake with your finger: the cake should bounce back slightly and the center should no longer be jiggly. Leave the cake in the oven for an extra 3 to 5 minutes if it doesn’t pass these tests.
Step 8
Take the cake out of the oven and cool on a wire rack. If you’re in a pinch, cool in the fridge or freezer (don’t worry, it’s not cheating). The cooled cake can be stored in the fridge or wrapped in plastic wrap for up to 5 days.
Step 9
Heat the oven to 300°F.
Step 10
Put the cream cheese in the bowl of a stand mixer fitted with the paddle attachment and mix on low speed for 2 minutes. Scrape down the sides of the bowl with a spatula. Add the sugar and mix for 1 to 2 minutes until the sugar has been completely incorporated. Scrape down the sides of the bowl.
Step 11
Whisk together the cornstarch and salt in a medium bowl. Whisk in the milk in a slow, steady stream, then whisk in the egg until the slurry is homogenous.
Step 12
With the mixer on medium-low speed, stream in the egg slurry. Paddle for 3 to 4 minutes, until the mixture is smooth and loose. Scrape down the sides of the bowl.
Step 13
Line the bottom and sides of a 6 x 6-inch baking pan with plastic wrap. Pour the cheesecake batter into the pan. Put the pan in the oven and bake for 15 minutes. Gently shake the pan. The cheesecake should be firmer and more set toward the outer boundaries of the baking pan, but still jiggly and loose in the dead center. If the cheesecake is jiggly all over, give it 5 minutes more. And 5 minutes more if it needs it, but it’s never taken me more than 25 minutes to underbake one. If the cheesecake rises more than a 1⁄4 inch or begins to brown, take it out of the oven immediately.
Step 14
Cool the cheesecake completely to finish the baking process and allow the cheesecake to set. The final product will resemble a cheesecake, but it will be pipeable and pliable enough to easily spread or smear, while still having body and volume. Once cool, the cheesecake can be stored in an airtight container in the fridge for up to 1 week.
Step 15
Heat the oven to 250°F.
Step 16
Combine the 40g (1⁄2 cup) milk powder, flour, cornstarch, sugar, and salt in a medium bowl. Toss with your hands to mix. Add the melted butter and toss, using a spatula, until the mixture starts to come together and form small clusters.
Step 17
Spread the clusters on a sheet pan lined with parchment or a silpat, and bake for 20 minutes. The crumbs should be sandy at that point, and your kitchen should smell like buttery heaven. Cool the crumbs completely.
Step 18
Crumble any milk crumb clusters that are larger than 1⁄2 inch in diameter, and put the crumbs in a medium bowl. Add the 20g (1⁄4 cup) milk powder and toss together until it is evenly distributed throughout the mixture.
Step 19
Pour the white chocolate over the crumbs and toss until your clusters are enrobed. Then continue tossing them every 5 minutes until the white chocolate hardens and the clusters are no longer sticky. The crumbs will keep in an airtight container in the fridge or freezer for up to 1 month.
Step 20
Combine the graham crust, milk, and salt in a blender. Turn the speed on to medium-high, and puree until smooth and homogenous. It will take 1 to 3 minutes (depending on the awesomeness of your blender). If the mixture does not catch on your blender blade, turn off the blender, take a small teaspoon, and scrape down the sides of the canister, remembering to Scrape under the blade, then try again.
Step 21
Combine the butter, sugars, cinnamon, and salt in the bowl of a stand mixer fitted with the paddle attachment, and cream together on medium-high for 2 to 3 minutes, until fluffy and speckled yellow. Scrape down the sides of the bowl with a spatula.
Step 22
On low speed, paddle in the contents of the blender. After 1 minute, crank the speed up to medium-high and let her rip for another 2 minutes. Scrape down the sides of the bowl with a spatula. If the mixture is not a uniform pale tan, give the bowl another scrape-down and the frosting another minute of high-speed paddling.
Step 23
Use the frosting immediately, or store it in an airtight container in the fridge for up to 1 week.
Step 24
Toss the graham crumbs, milk powder, sugar, and salt with your hands in a medium bowl to evenly distribute your dry ingredients.
Step 25
Whisk the butter and heavy cream together. Add to the dry ingredients and toss again to distribute evenly. The butter will act as a glue, adhering to the dry ingredients and turning the mixture into a bunch of small clusters. The mixture should hold its shape if squeezed tightly in the palm of your hand. If it is not moist enough to do so, melt an additional 14 to 25 g (1 to 1 1⁄2 tablespoons) butter and mix it in.
Step 26
Eat immediately, or deploy as directed in a recipe. The crust is easiest to mold just after mixing. Stored in an airtight container, graham crust will keep fresh for 1 week at room temperature or for 1 month in the fridge or freezer.
Step 27
Put a piece of parchment or a silpat on the counter. Invert the cake onto it and peel off the parchment or silpat from the bottom of the cake. Use the cake ring to stamp out 2 circles from the cake. These are your top 2 cake layers. The remaining cake “scrap” will come together to make the bottom layer of the cake.
Step 28
Clean the cake ring and place it in the center of a sheet pan lined with clean parchment or a silpat. Use 1 strip of acetate to line the inside of the cake ring.
Step 29
Put the cake scraps together inside the ring and use the back of your hand to tamp the scraps together into a flat even layer.
Step 30
Dunk a pastry brush in the milk and give the layer of cake a good, healthy bath of half of the milk.
Step 31
Use the back of a spoon to spread half of the liquid cheesecake in an even layer over the cake.
Step 32
Sprinkle one-third of the milk crumbs evenly over the cheesecake. Use the back of your hand to anchor them in place.
Step 33
Use the back of a spoon to spread one-third of the graham frosting as evenly as possible over the crumbs.
Step 34
With your index finger, gently tuck the second strip of acetate between the cake ring and the top 1⁄4 inch of the first strip of acetate, so that you have a clear ring of acetate 5 to 6 inches tall—high enough to support the height of the finished cake. Set a cake round on top of the frosting, and repeat the process for layer 1 (if one of your two cake rounds is funkier than the other, use it here in the middle and save the prettier one for the top).
Step 35
Nestle the remaining cake round into the frosting. Cover the top of the cake with the remaining frosting. Give it volume and swirls, or do as we do and opt for a perfectly flat top. Garnish the frosting with the remaining milk crumbs.
Step 36
Transfer the sheet pan to the freezer and freeze for a minimum of 12 hours to set the cake and filling. The cake will keep in the freezer for up to 2 weeks.
Step 37
At least 3 hours before you are ready to serve the cake, pull the sheet pan out of the freezer and, using your fingers and thumbs, pop the cake out of the cake ring. Gently peel off the acetate, and transfer the cake to a platter or cake stand. Let it defrost in the fridge for a minimum of 3 hours (wrapped well in plastic, the cake can be refrigerated for up to 5 days).
Top similar recipes
Curated for youYour folders
 490 views
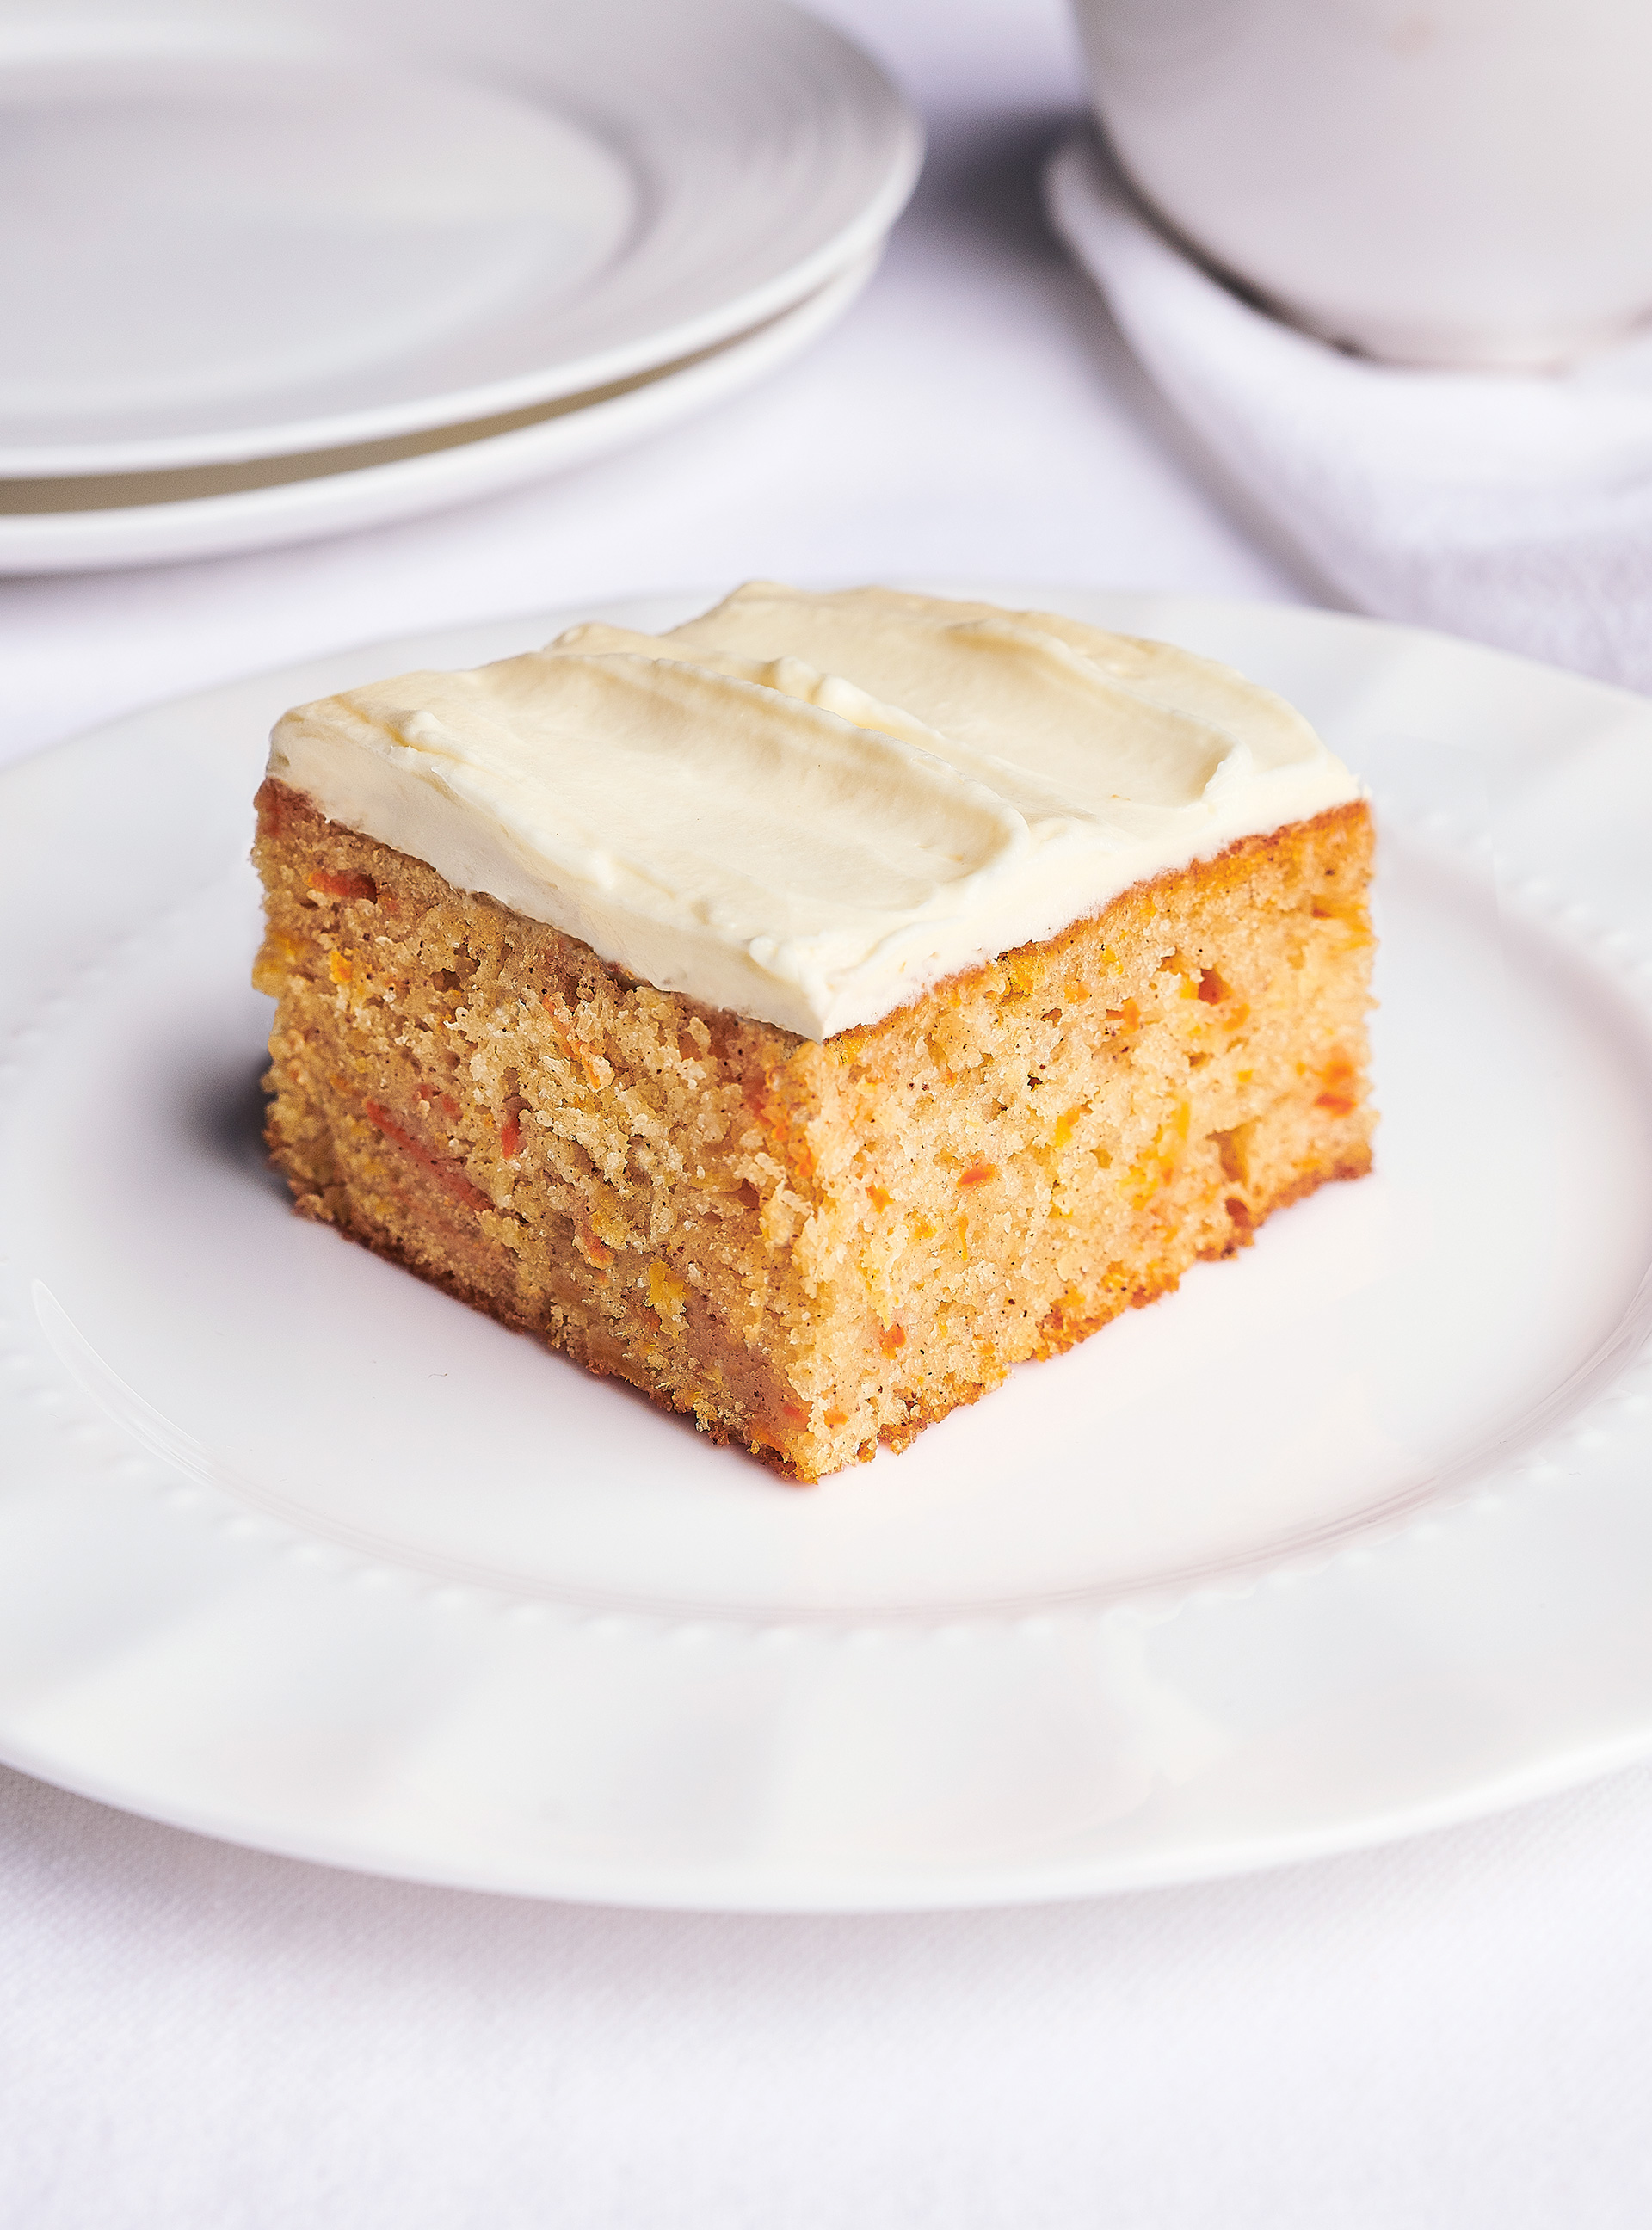
One Layer Carrot Cake
ricardocuisine.com
5.0
(9)
45 minutes
Your folders
 17 views
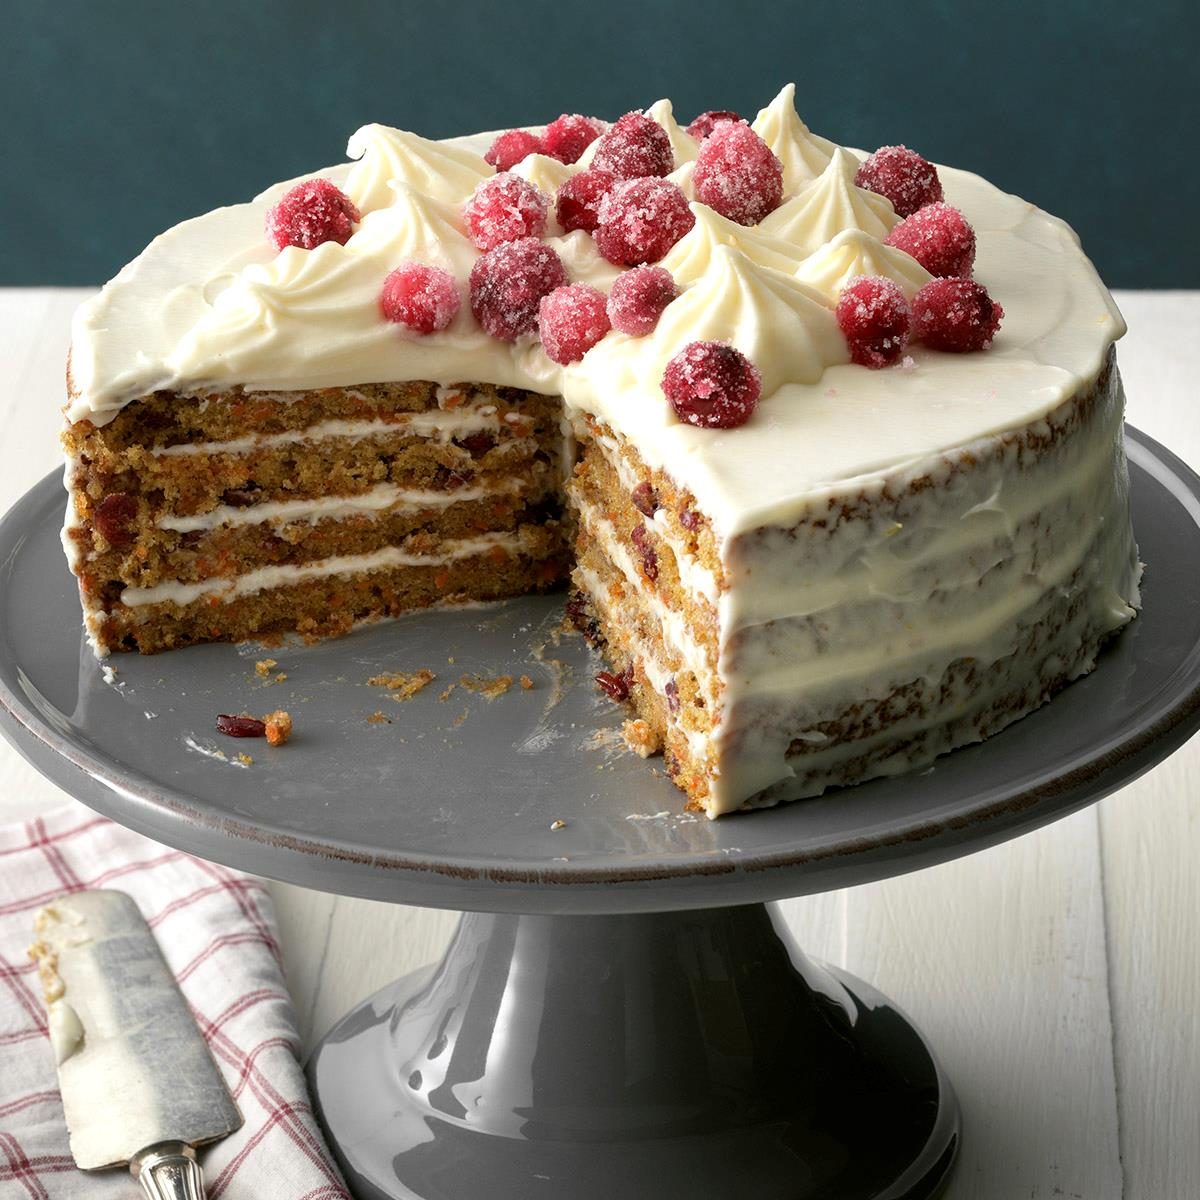
Cranberry-Carrot Layer Cake
tasteofhome.com
4.0
(4)
25 minutes
Your folders
 48 views
Editing Carrot Cake (Carrot-cheese ...
recipecostcalculator.net
Your folders
 226 views
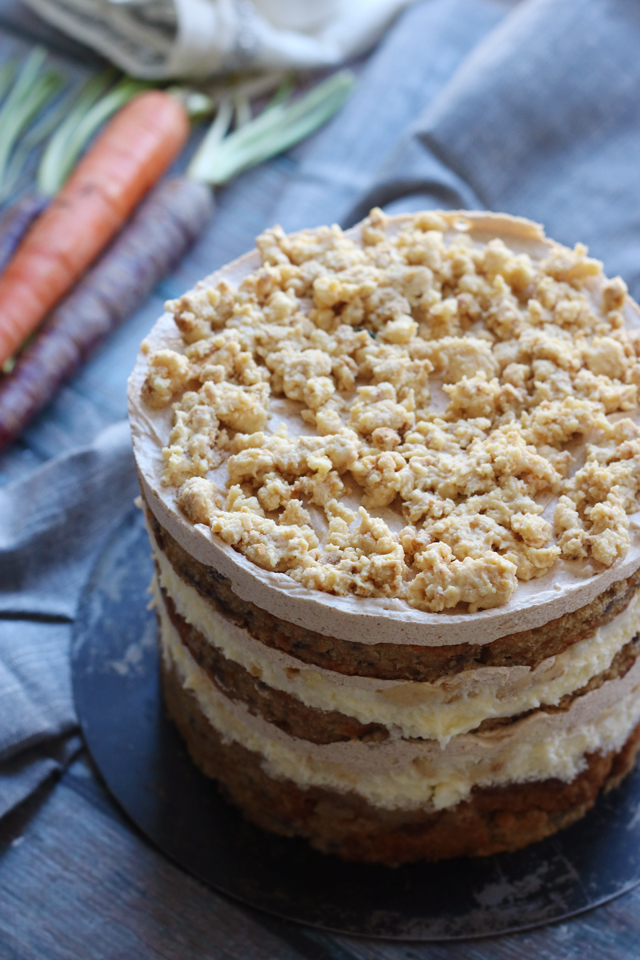
Momofuku Milk Bar Carrot Layer Cake
joanne-eatswellwithothers.com
Your folders
 131 views
Carrot, Toasted Hazelnut and Cheese...
10play.com.au
Your folders
 64 views
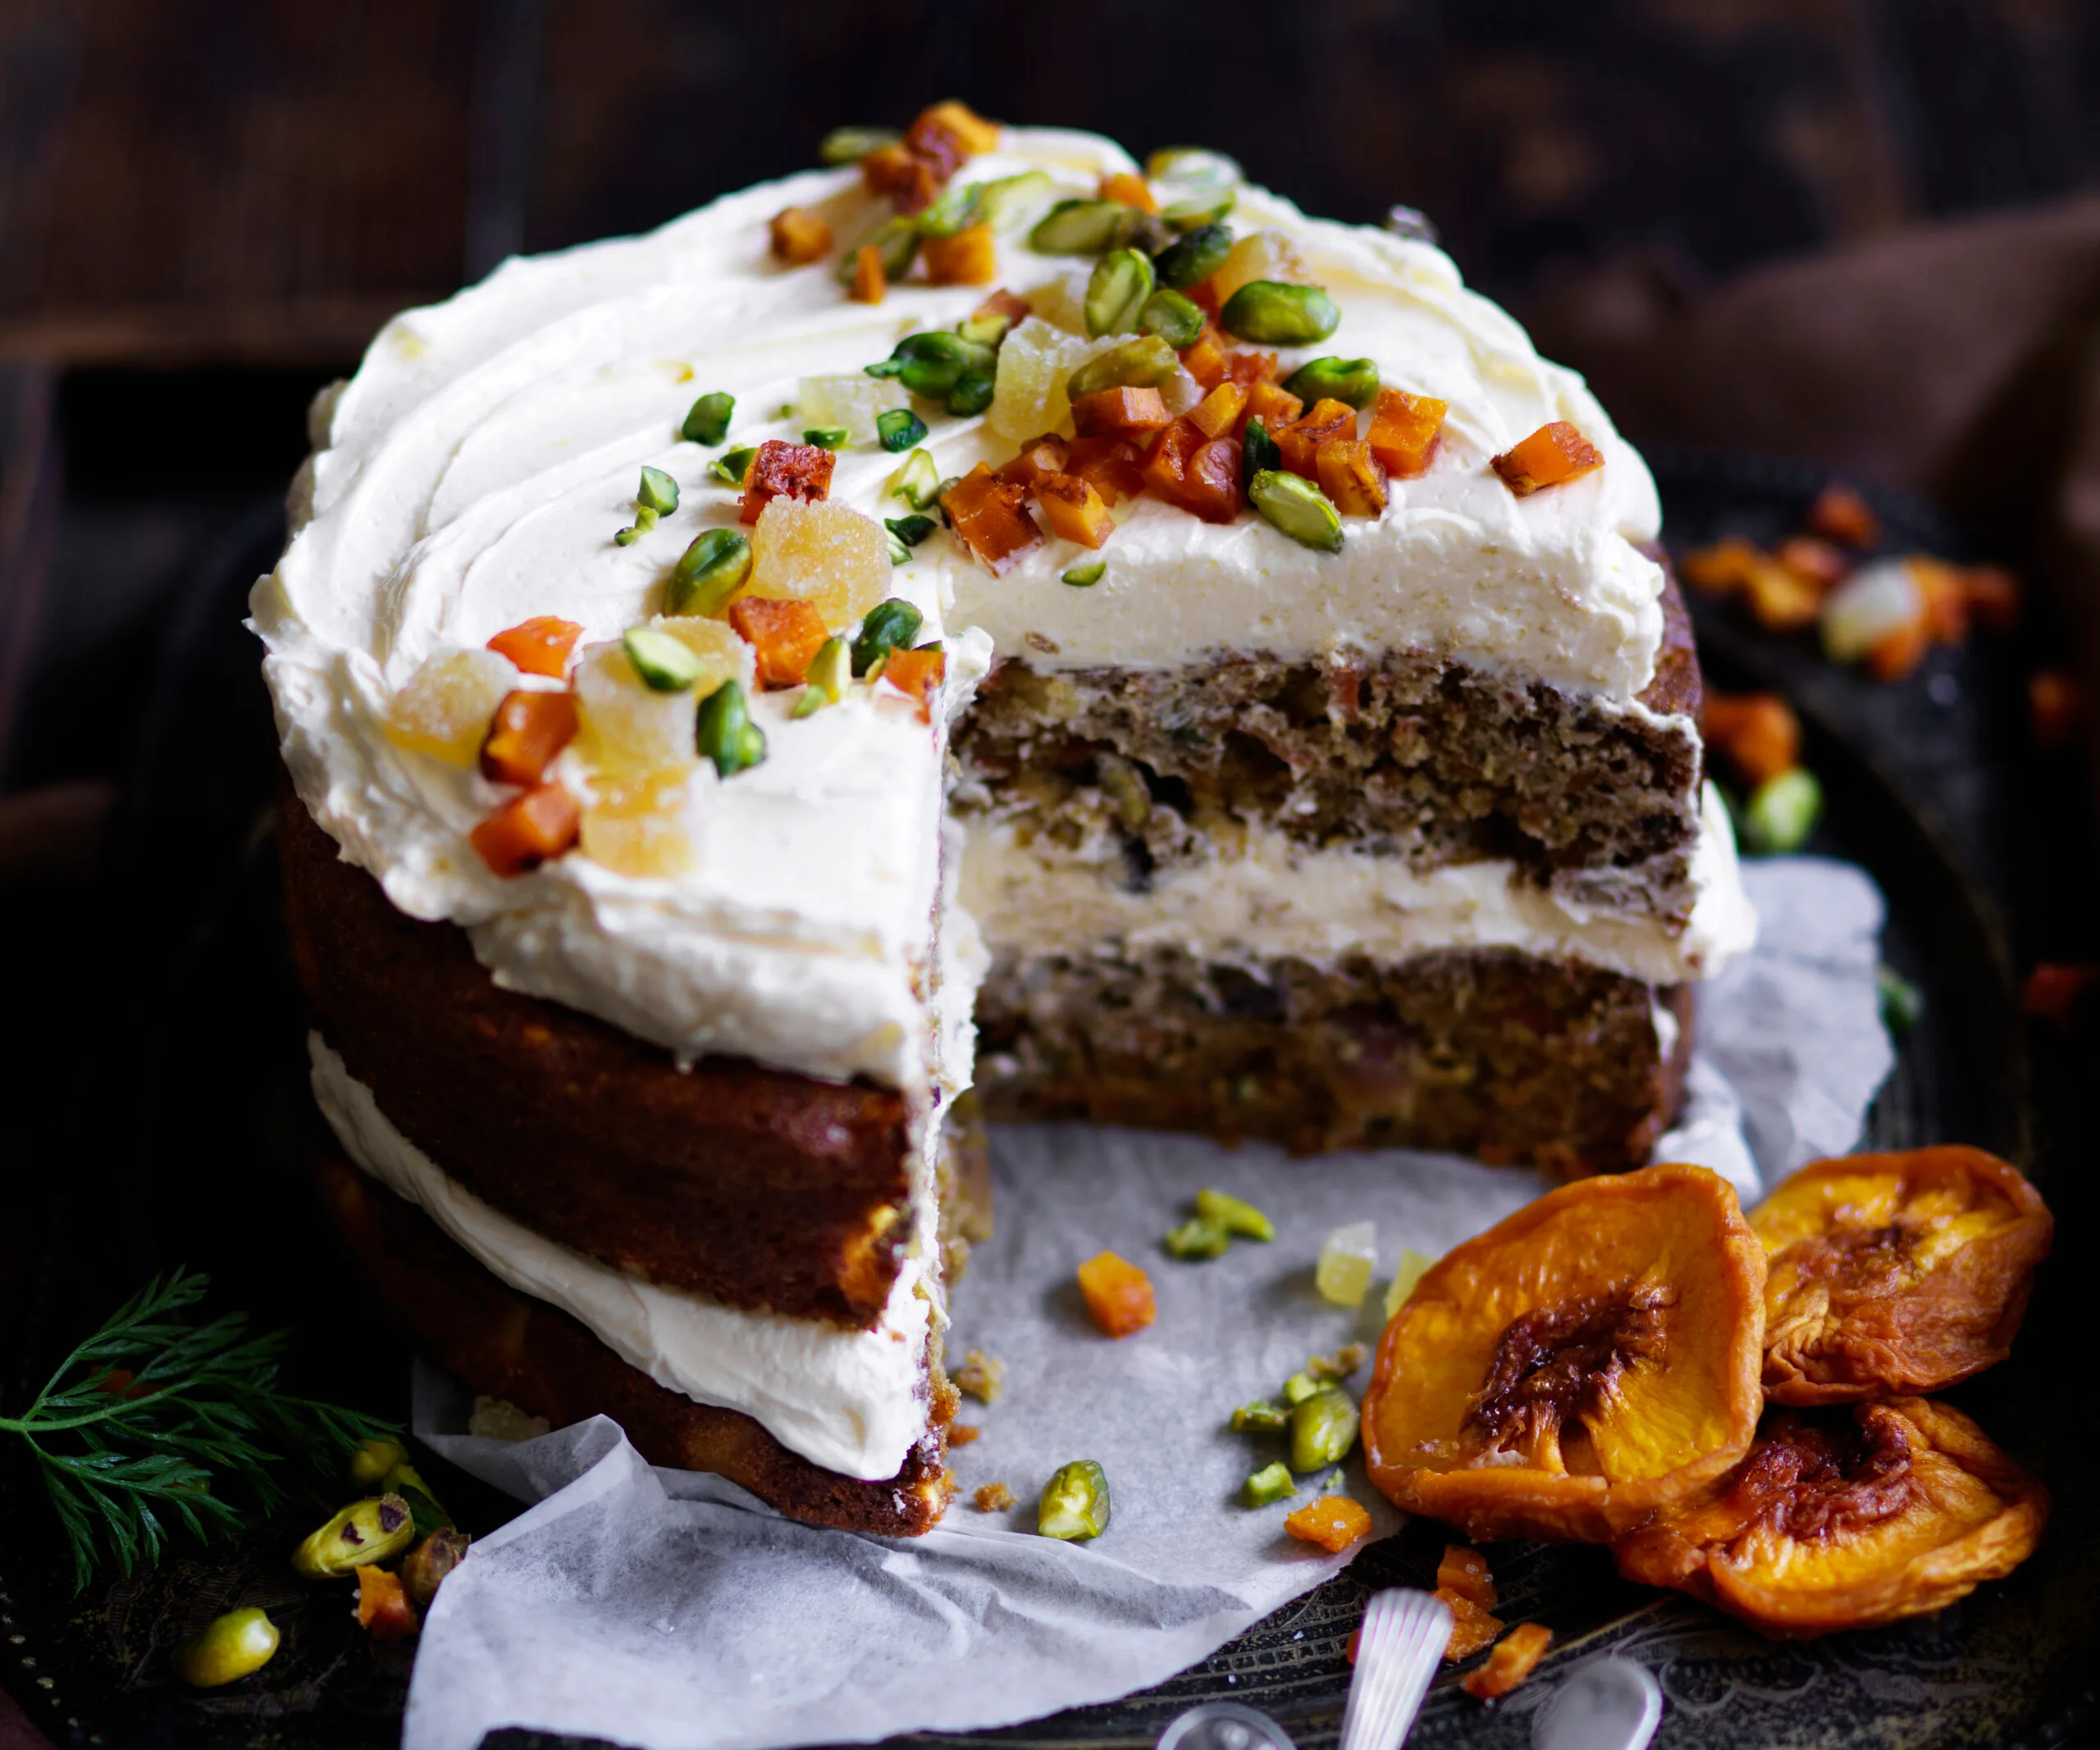
Carrot layer cake with peach and gi...
womensweeklyfood.com.au
65 minutes
Your folders
 323 views
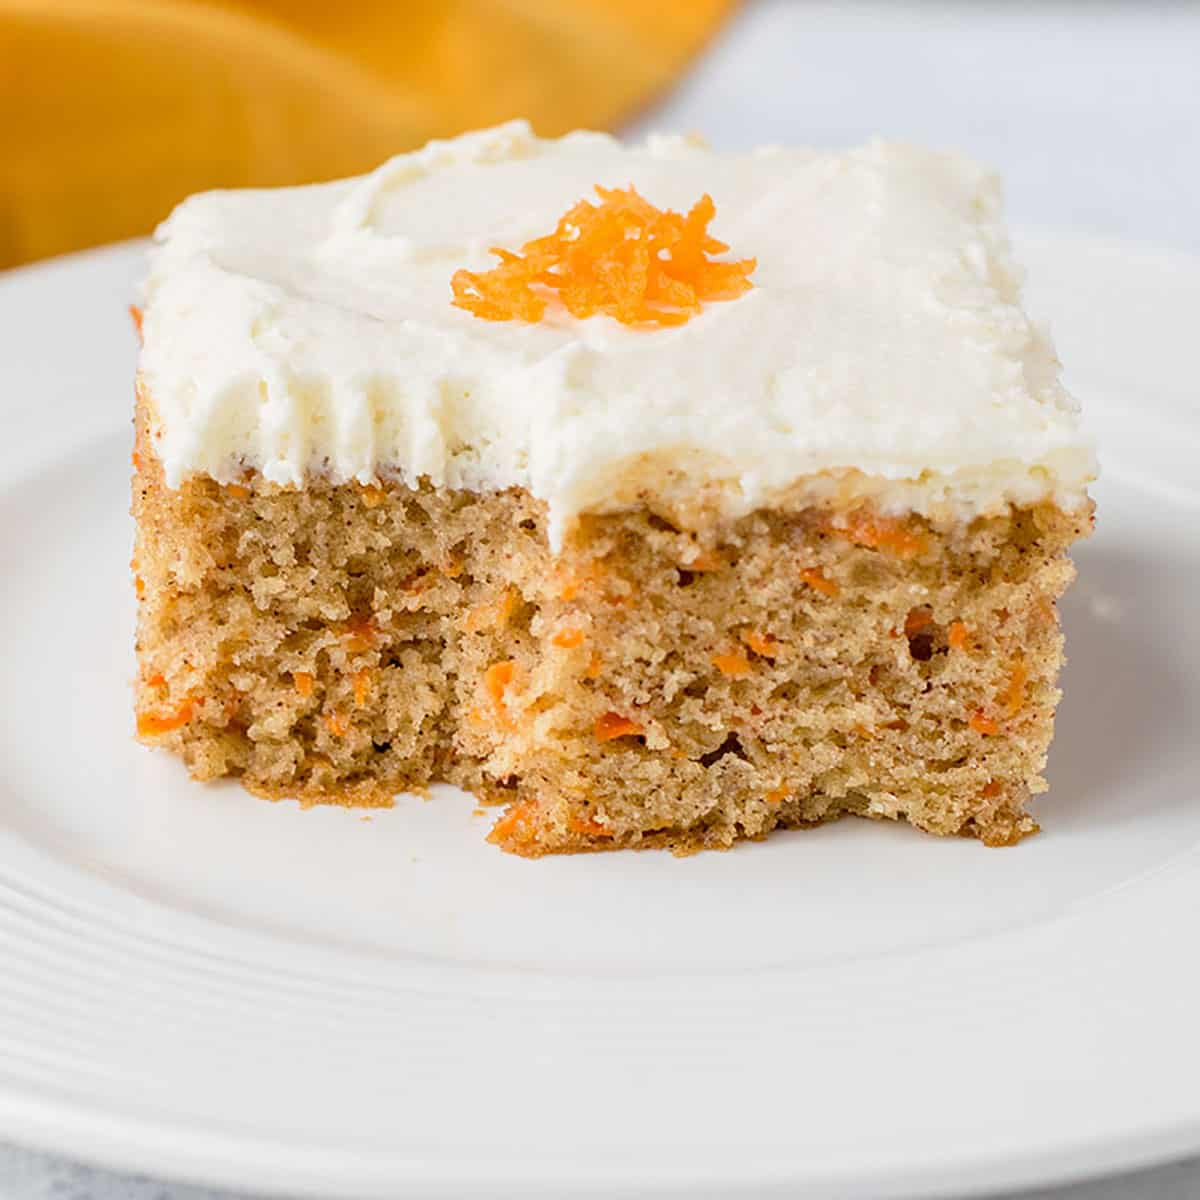
Single Layer Carrot Cake with Cream...
katiebirdbakes.com
4.9
(16)
35 minutes
Your folders
 68 views
Single-Layer Carrot Cake Without Nu...
cookingwithmammac.com
4.7
(20)
30 minutes
Your folders
 310 views
strawberry graham icebox cake
smittenkitchen.com
Your folders
 201 views
Graham Cracker Éclair 'Cake'
myfoodandfamily.com
3 hours
Your folders
 434 views
Chocolate layer cake
delicious.com.au
30 minutes
Your folders
 378 views
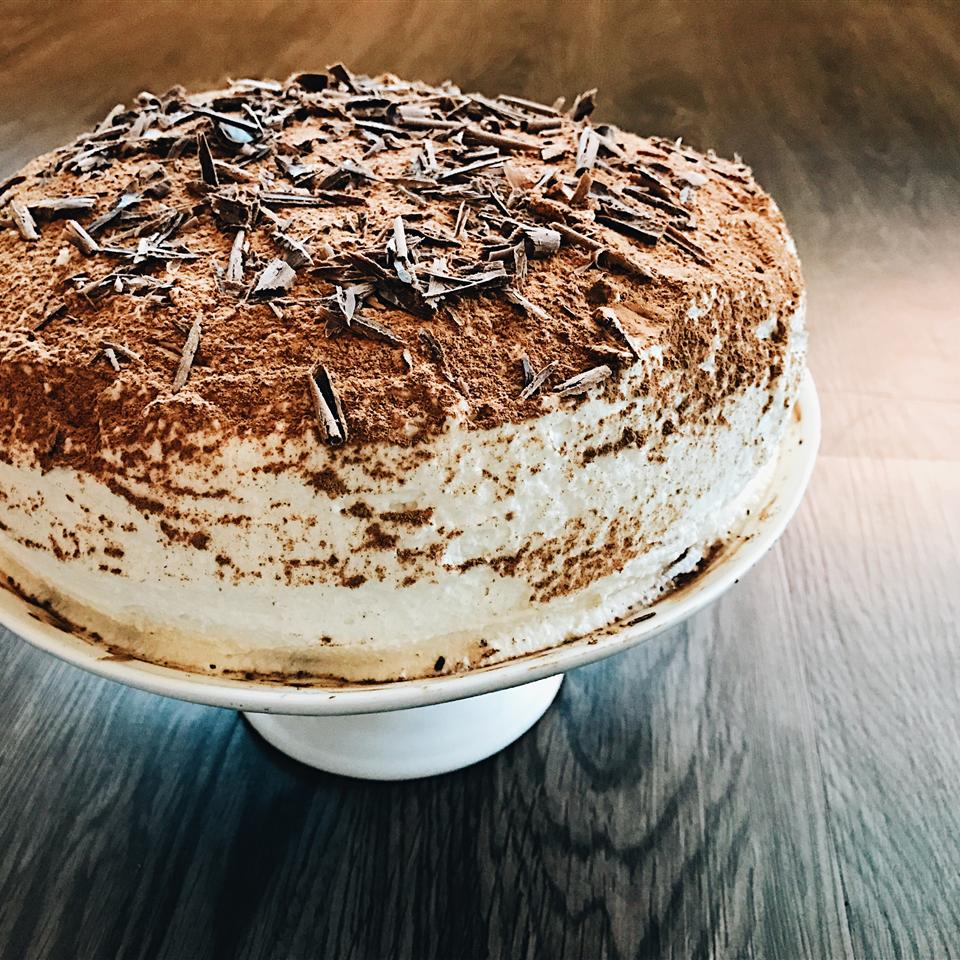
Tiramisu Layer Cake
allrecipes.com
4.8
(1.9k)
20 minutes
Your folders
 997 views
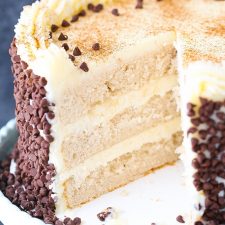
Cannoli Layer Cake
lifeloveandsugar.com
5.0
(2)
21 minutes
Your folders
 298 views
Cranberry Layer Cake
tasteofhome.com
4.6
(64)
30 minutes
Your folders
 249 views
Rainbow Layer Cake
bettycrocker.com
4.5
(79)
Your folders
81 viewsSorghum Layer Cake
asimplehomecook.com
Your folders
 268 views
Tiramisu Layer Cake
bromabakery.com
5.0
(2)
30 minutes
Your folders
 228 views
Strawberry Layer Cake
lifeloveandsugar.com
4.0
(3)
25 minutes
Your folders
 232 views
Vanilla Layer Cake
becel.ca
4.5
(6)
40 minutes