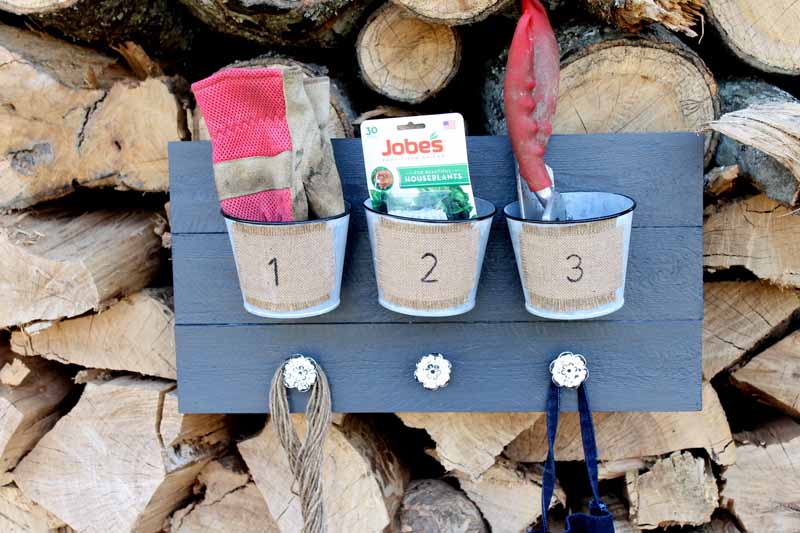
DIY Garden Yard Tool Organizer Storage Rack
Your folders
Your folders
Total: 100
Ingredients
Export 8 ingredients for grocery delivery
Instructions
Step 1
Add 3 coats of paint to the wooden sign to start and allow the layers to dry. I painted all surfaces (front and back) to protect the entire thing from the elements. After the paint has dried, add a few coats of the varnish to all surfaces as well. Allow it to fully dry.
Step 2
Add a hole to the back of each bucket with a metal hole punch like the Crop-a-Dile. Add holes to your pallet sign for the knobs as well. Measure for location and equal distance then drill holes all the way through that are large enough for the threaded portion of the knob.
Step 3
Stencil your design or numbers onto the burlap labels.
Step 4
Use the bolts and nuts to secure the buckets to the top and add the knobs to the bottom of your garden tool organizer. Add one or two sawtooth hangers to the back of the wall mount.
Step 5
Use a metal saw to trim any excess from the bolts in the back. The threaded portion of the knobs is long and will stick out too far so they will need to be trimmed.
Step 6
Hang up the DIY tool rack as a wall mount onto your wall.
Top similar recipes
Curated for youYour folders

 20 views
DIY Cord Organizer
kenarry.com
Your folders
 103 views
Hanging Wall Organizer DIY
papernstitchblog.com
Your folders
 368 views
DIY Garden Lighthouse
thecountrychiccottage.net
Your folders
 287 views
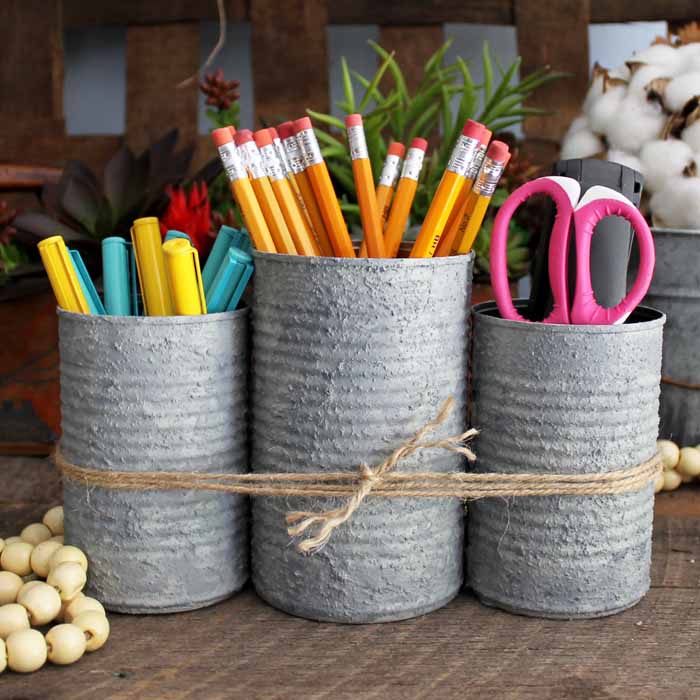
School Organizer
thecountrychiccottage.net
Your folders
 129 views
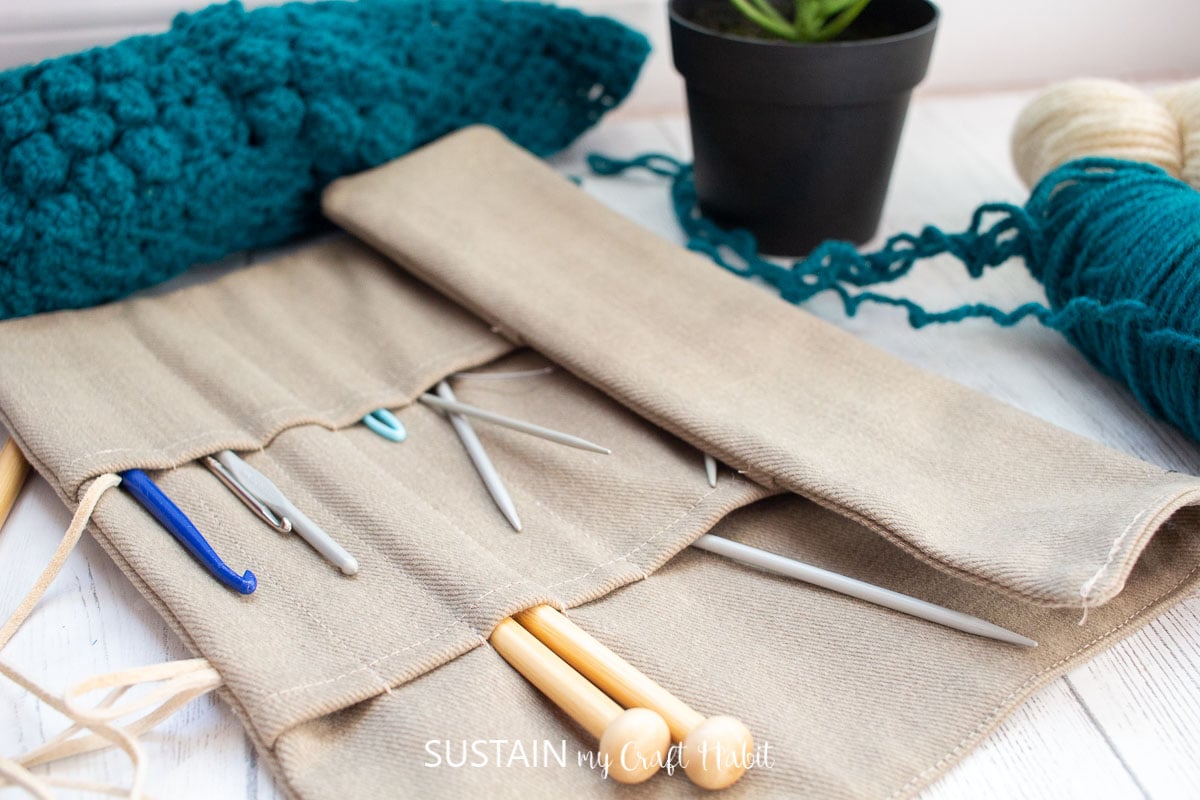
DIY Knitting Needle Organizer with ...
sustainmycrafthabit.com
Your folders
 77 views
Junk Yard Salad
cookthink.com
Your folders
 436 views
Diy Homemade Olive Garden Salad Dre...
raisinggenerationnourished.com
4.7
(3)
Your folders
 278 views
DIY Garlic-Mint Garden Insect Spray
anoregoncottage.com
Your folders
 282 views
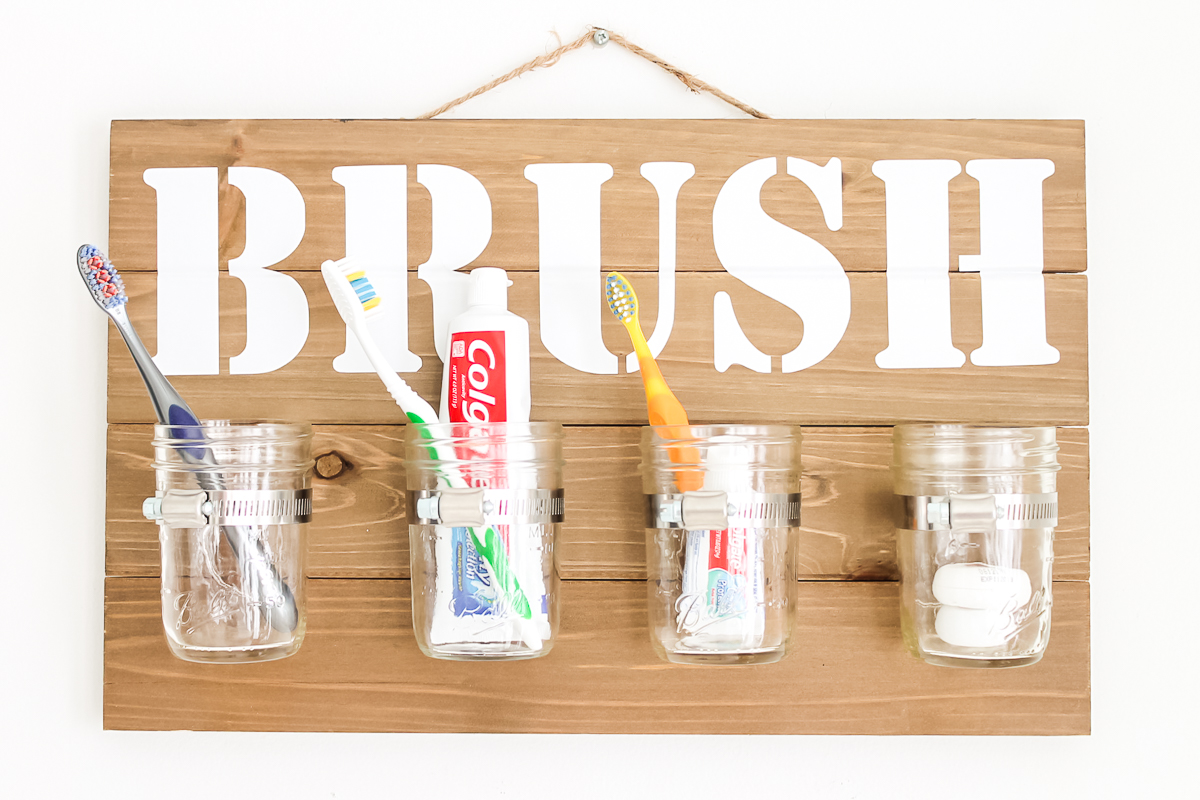
Mason Jar Bathroom Organizer
thecountrychiccottage.net
Your folders
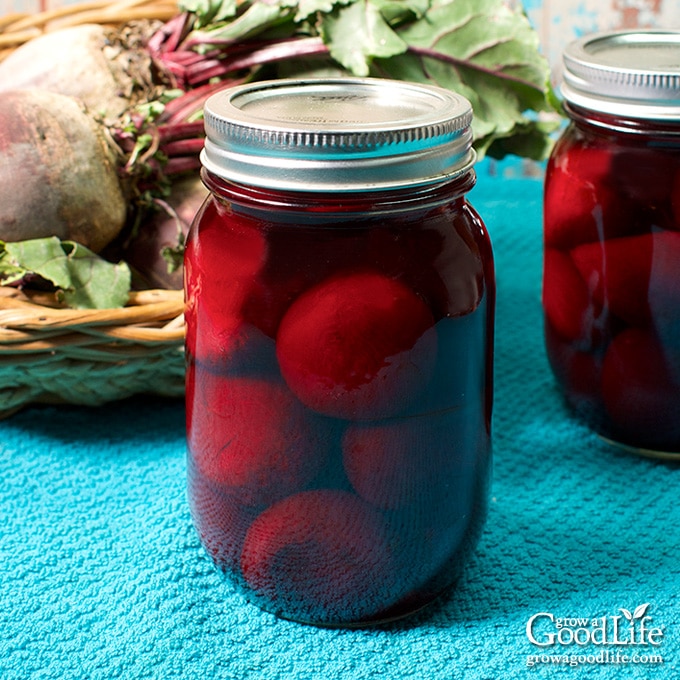 323 views
Canning Beets for Food Storage
growagoodlife.com
20 minutes
Your folders
 123 views
Yard House Spicy Rice Recipe
myconsciouseating.com
Your folders
 55 views
Vaccination scheduler tool | Immuni...
immunizebc.ca
Your folders
 130 views
Air Fryer Barn Yard Buster Wrap
forktospoon.com
5.0
(6)
5 minutes
Your folders
 44 views
Kitchen Tool Love: Plunger Measurin...
thepioneerwoman.com
35 minutes
Your folders
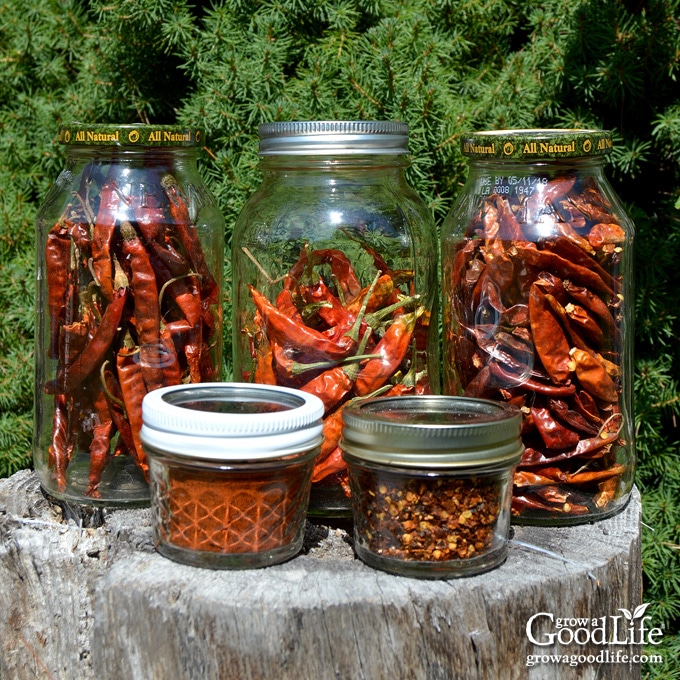 301 views
How to Dry Peppers for Food Storage
growagoodlife.com
Your folders
 68 views
DIY Garden Suncatcher Wind Chime a ...
welcometonanas.com
Your folders
 419 views
Rack of Lamb
recipes.instantpot.com
5.0
(3)
30 minutes
Your folders
93 viewsRack of Lamb
chefjeanpierre.com
Your folders
81 viewsRack of Lamb
chefjeanpierre.com