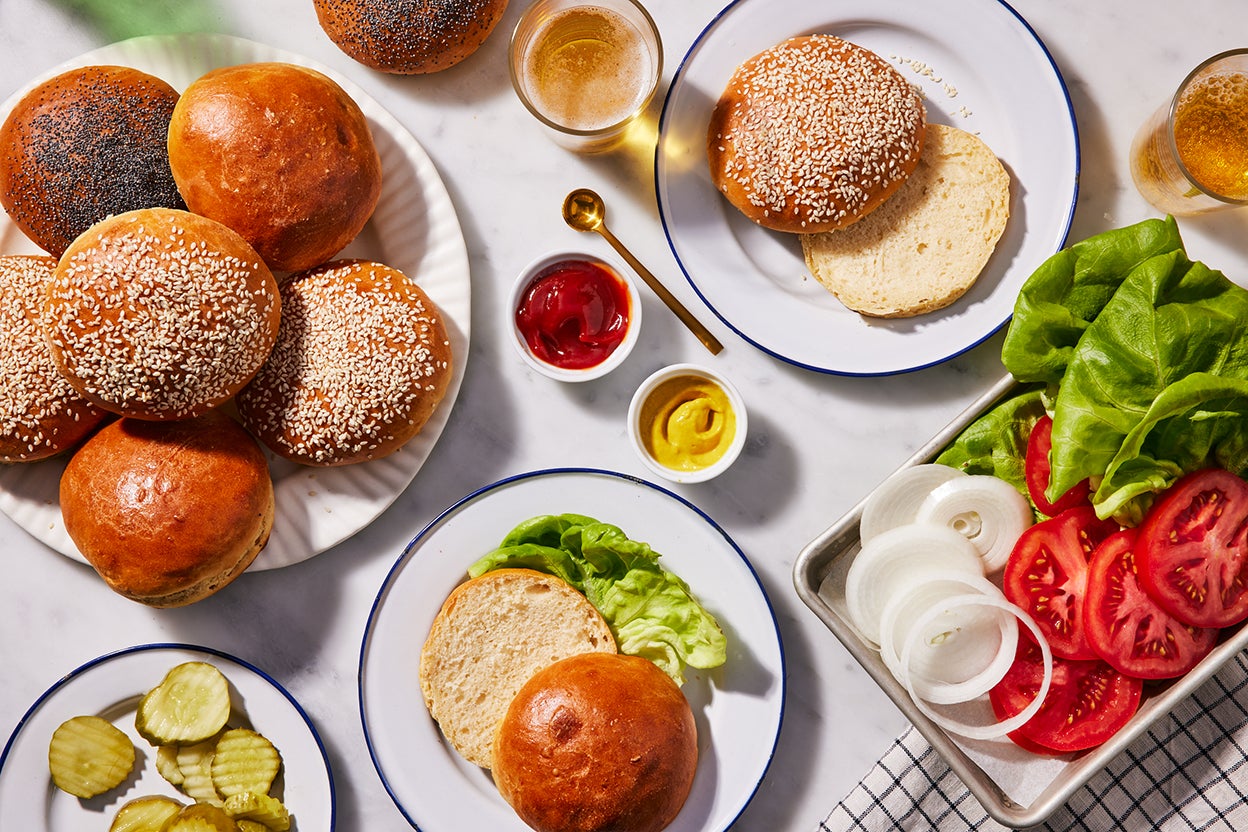
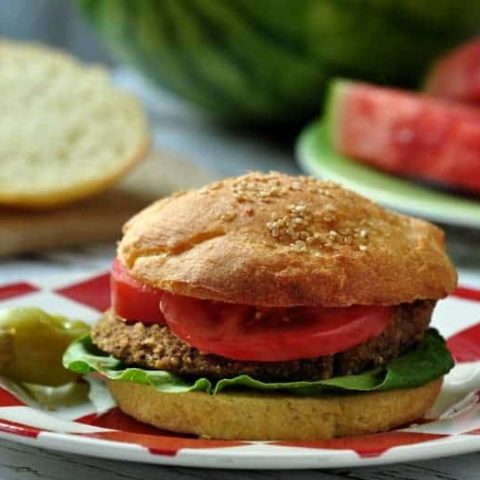
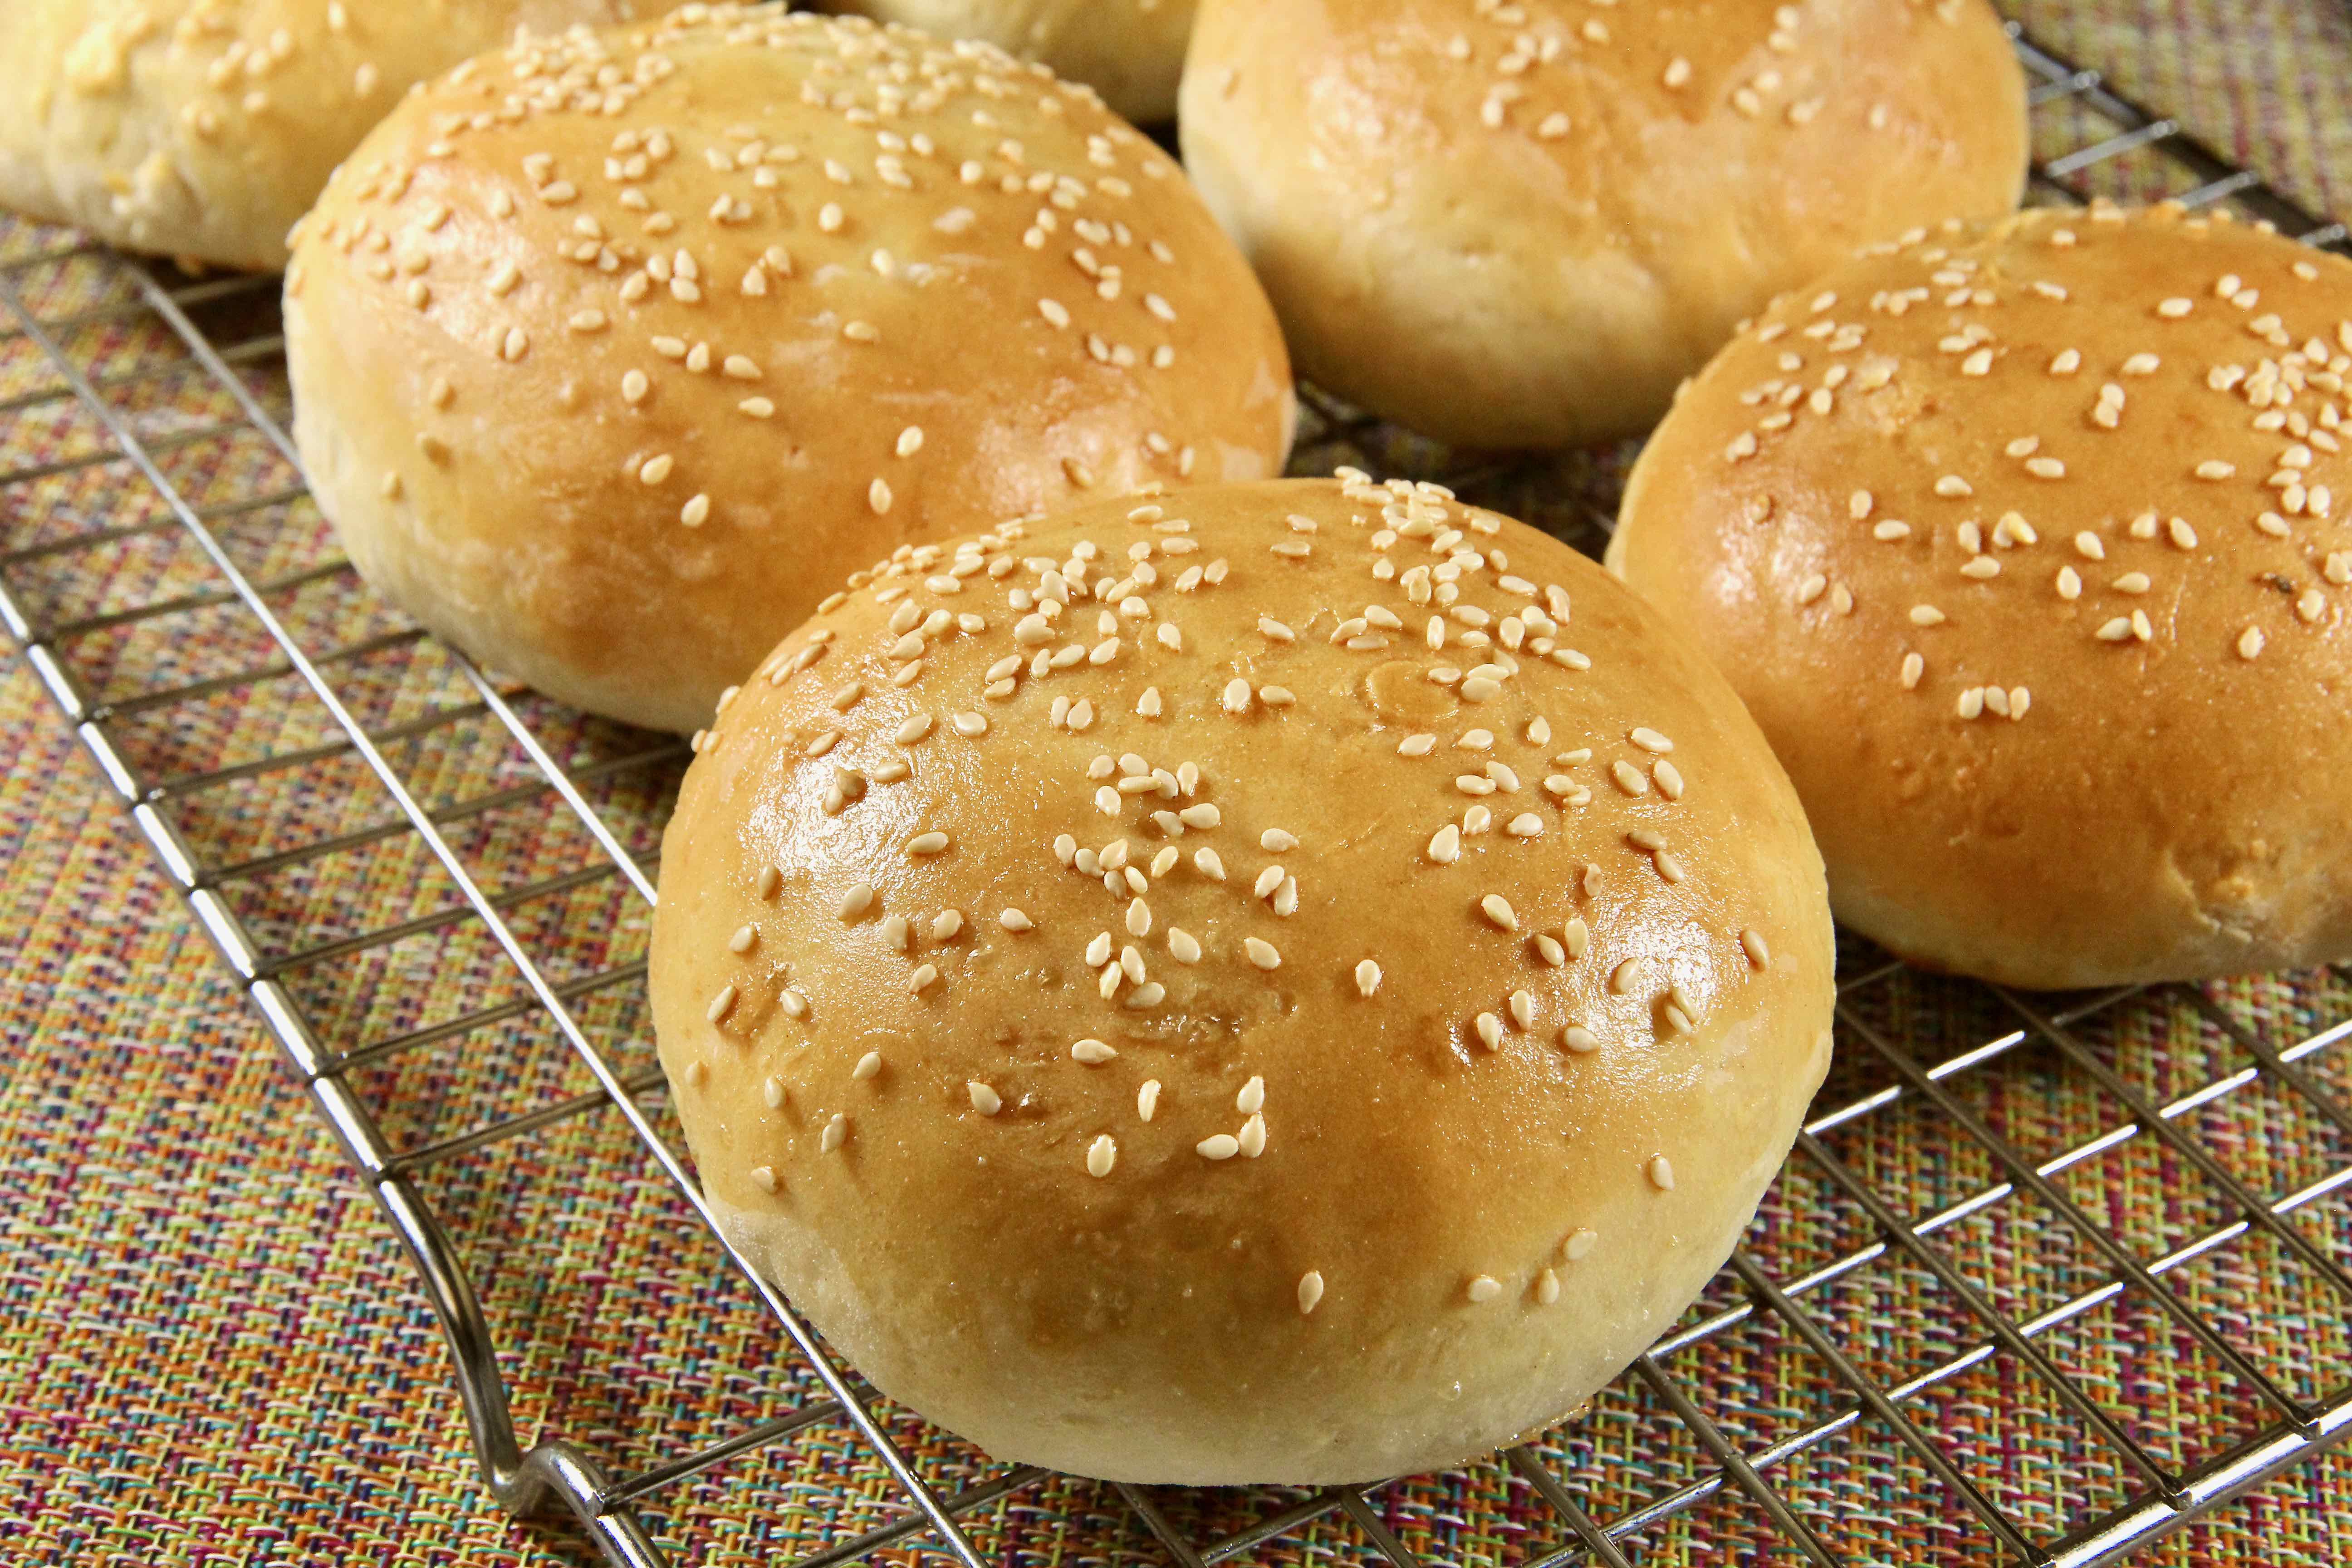
Gluten-Free Hamburger Buns (Vegan)
5.0
(2)
Your folders
Your folders
Prep Time: 50 minutes
Cook Time: 25 minutes
Total: 75 minutes
Servings: 8
Author : Minimalist Baker

Ingredients
Export 9 ingredients for grocery delivery
Instructions
Step 1
Line a baking sheet with parchment paper and set aside.
Step 2
In a liquid measuring cup or small mixing bowl, whisk together warm dairy-free milk (it should be about 110 degrees F / 43 degrees C), cane sugar, and active dry yeast. Let bloom for 10-20 minutes until the mixture looks frothy. If the yeast hasn’t bloomed at this point, the water might have been too hot or your yeast too old. If your water was the perfect temperature and your yeast was new, you may need to place the bowl into a warmer spot in your kitchen.
Step 3
Next, whisk in the psyllium husk powder and let it gel for another 10 minutes.
Step 4
Meanwhile, to a medium mixing bowl, add the brown rice flour, almond flour, potato starch, and sea salt. Whisk to thoroughly combine.
Step 5
Once the yeast mixture has thickened, add it to the dry ingredients with the melted vegan butter and apple cider vinegar. Stir until the dough is mixed well — this should take about 3 minutes. You can also use your hands to make sure there are no flour pockets remaining. The dough will be very sticky — that’s normal!
Step 6
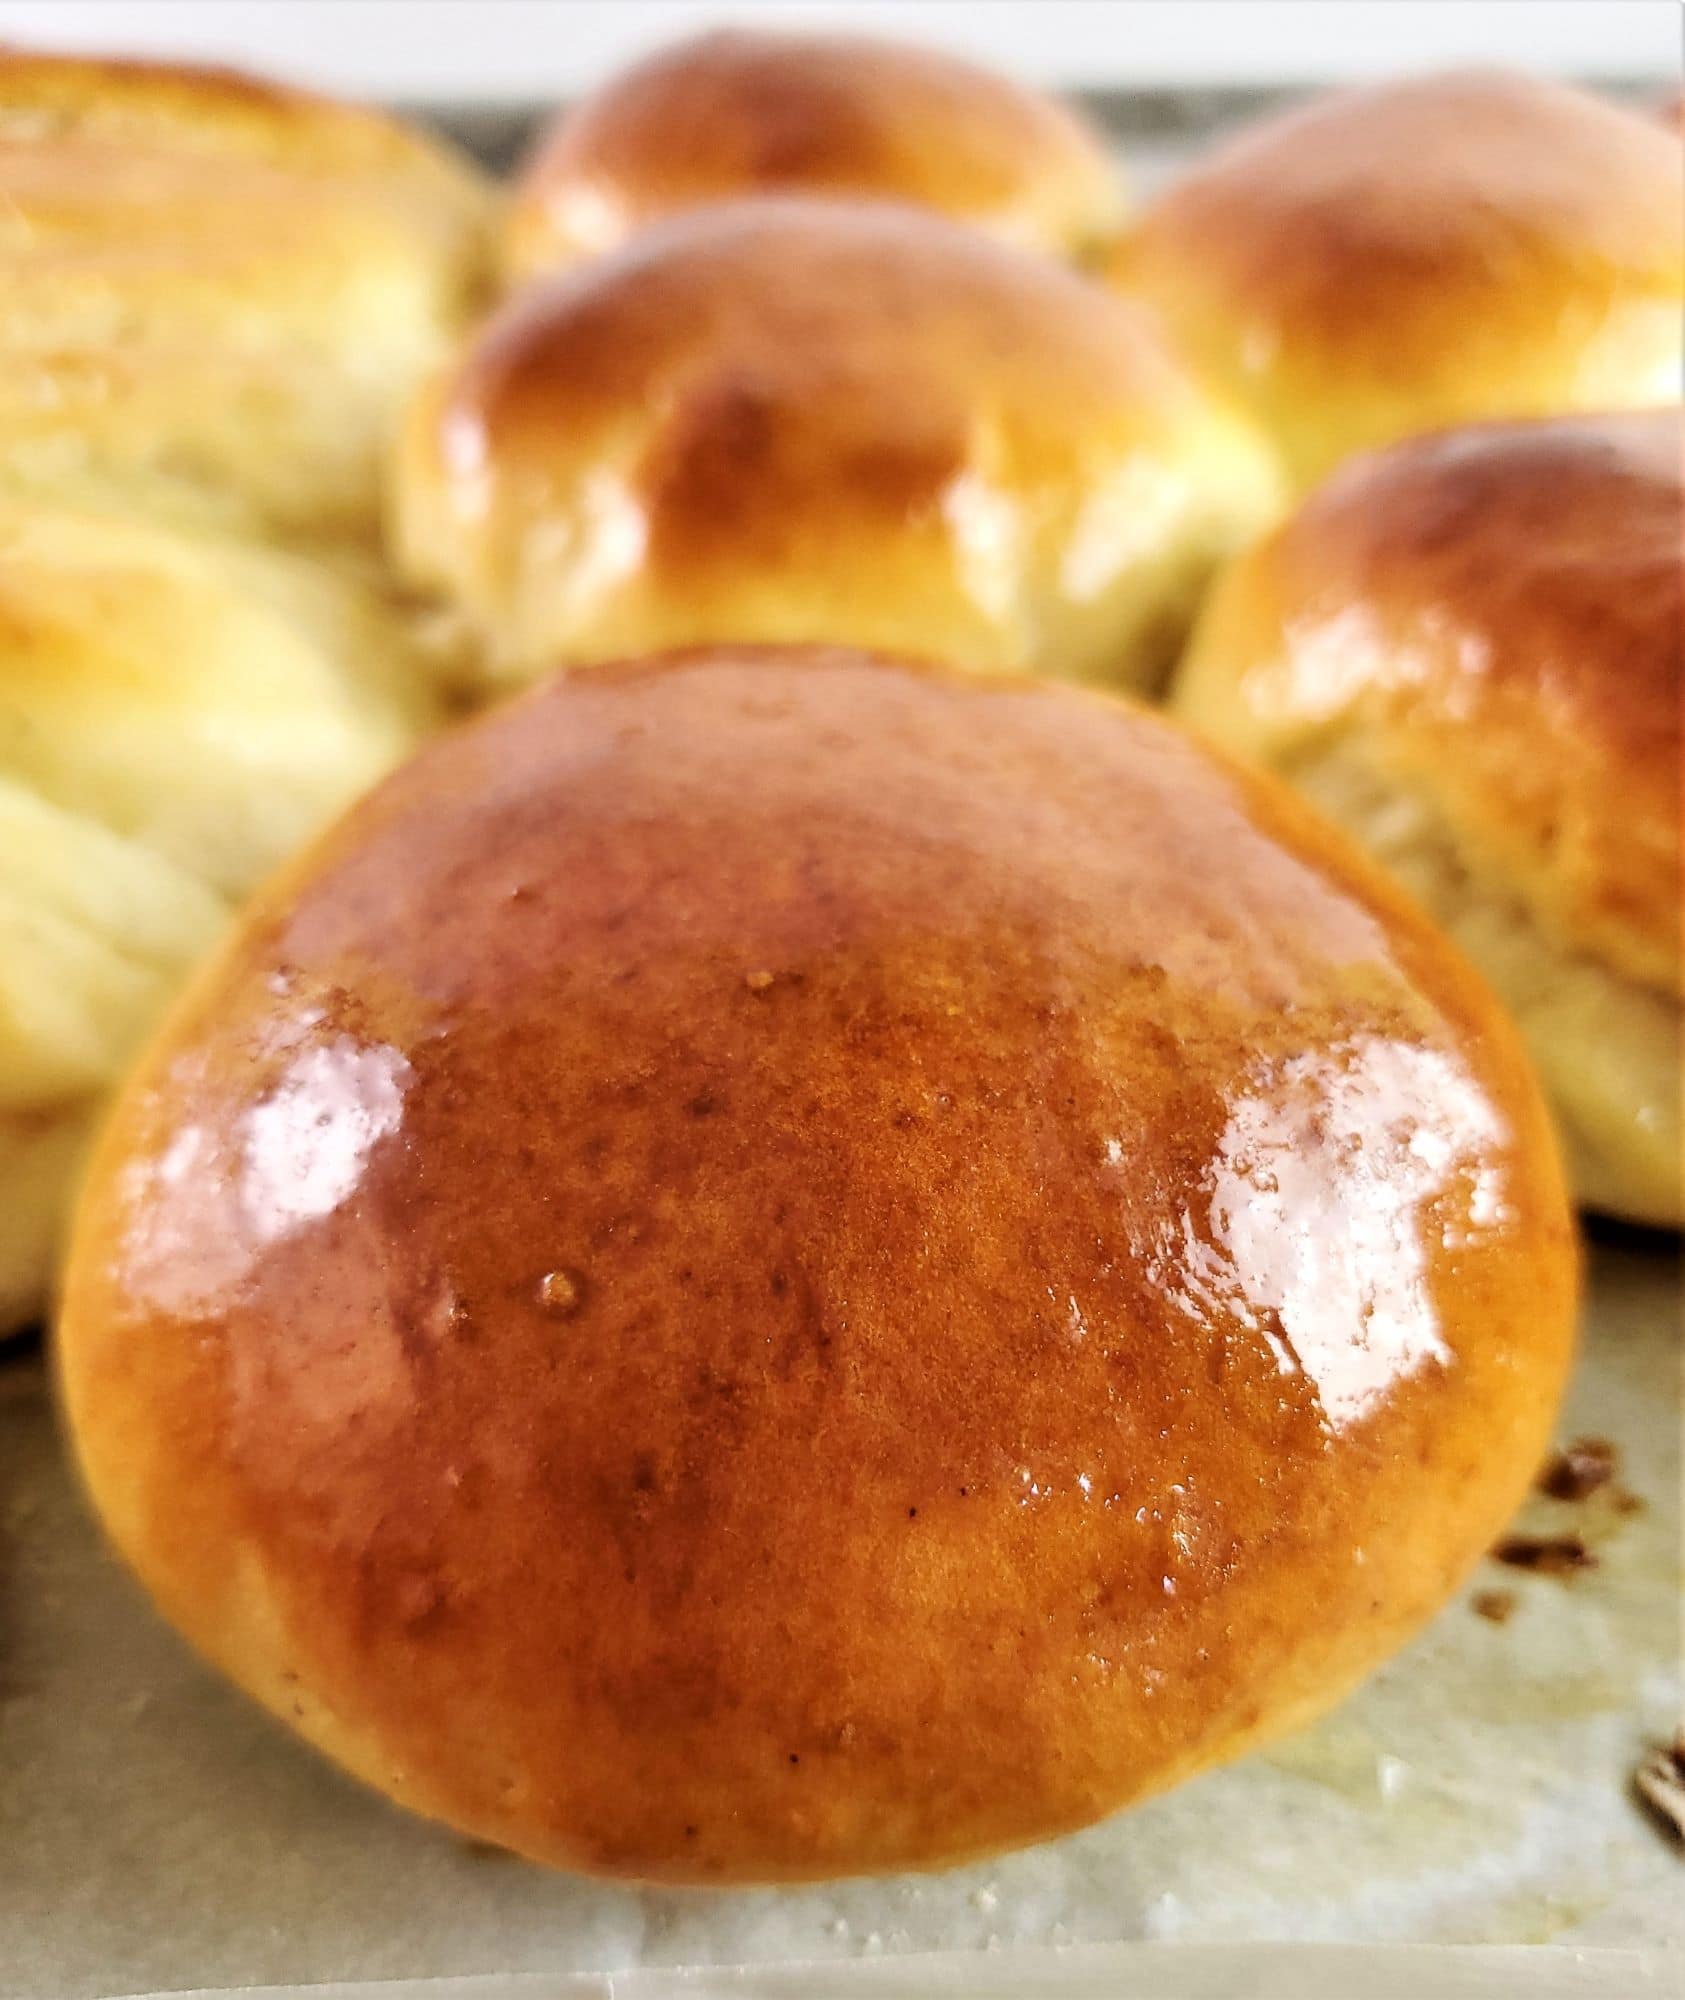
Turn the dough out onto a dry surface and divide it into 8 equal pieces. Use wet hands (to prevent sticking) to shape each piece into a ball and place each one onto the parchment-lined baking sheet. Try to avoid adding any flour. Once the buns are shaped, sprinkle them with optional sesame seeds and cover with a clean kitchen towel. Let rise in a warm place for 30 minutes or until about doubled in size. Meanwhile, preheat your oven to 350 degrees F (176 C).
Step 7
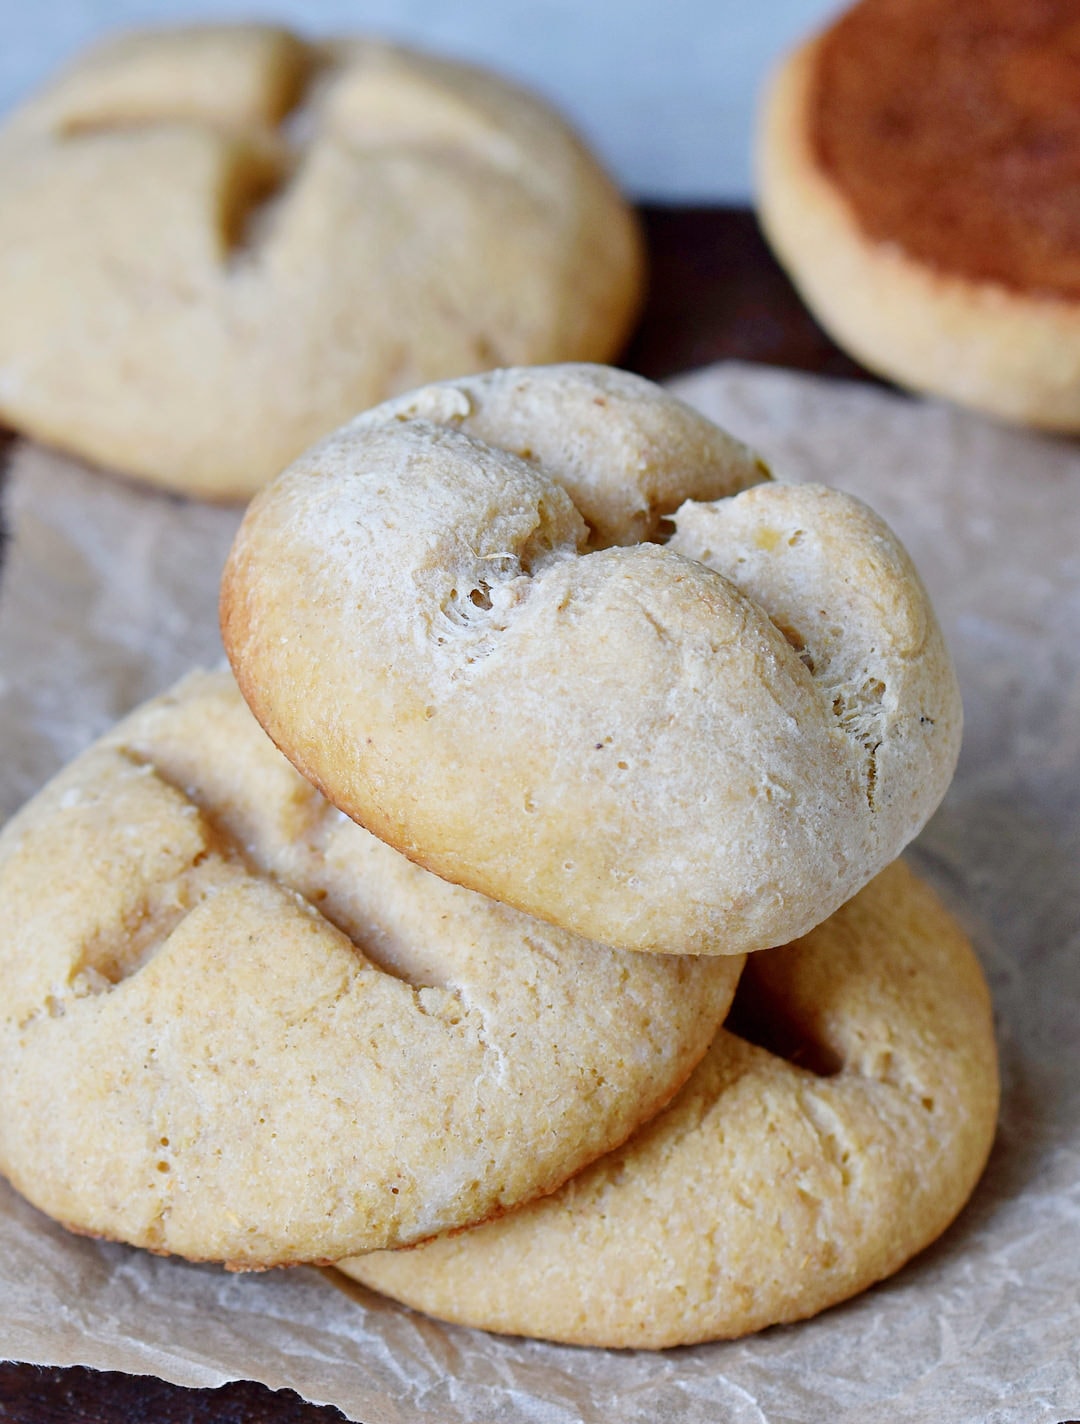
Bake for 25-28 minutes until very lightly golden. Remove from the oven and let cool for 5 minutes before transferring to a wire rack to cool completely. These buns can be enjoyed slightly warm, but for best results, wait until they are cool to the touch. Slice the buns in half and serve with your favorite burger!
Step 8
Best when enjoyed the day of baking, but you can store leftovers in an airtight container in the refrigerator for up to 2 days or freeze sliced buns for 1 month.
Step 9
To reheat frozen buns, we suggest briefly running the still-frozen buns under water then toasting them until warm and fluffy.
Top similar recipes
Curated for youYour folders
 217 views
Gluten-Free Hamburger Buns
kingarthurbaking.com
4.5
(22)
35 minutes
Your folders
 172 views
Gluten Free Hamburger Buns
letthemeatgfcake.com
4.4
(114)
20 minutes
Your folders
 79 views
Gluten Free Hamburger Buns
letthemeatgfcake.com
Your folders
 363 views
Gluten Free Hamburger Buns or Hot D...
gfjules.com
4.5
(33)
10 minutes
Your folders
 362 views
Gluten-Free Buns
elavegan.com
4.8
(16)
25 minutes
Your folders
97 viewsGluten-Free Buns
elavegan.com
Your folders
 142 views
Vegan Gluten-Free Hot Cross Buns
delightfuladventures.com
5.0
(2)
24 minutes
Your folders
 437 views
Hamburger Buns
cooking.nytimes.com
Your folders
 300 views
Hamburger Buns
allrecipes.com
4.1
(298)
15 minutes
Your folders
 232 views
Hamburger Buns
thewoksoflife.com
5.0
(2)
15 minutes
Your folders
 1436 views
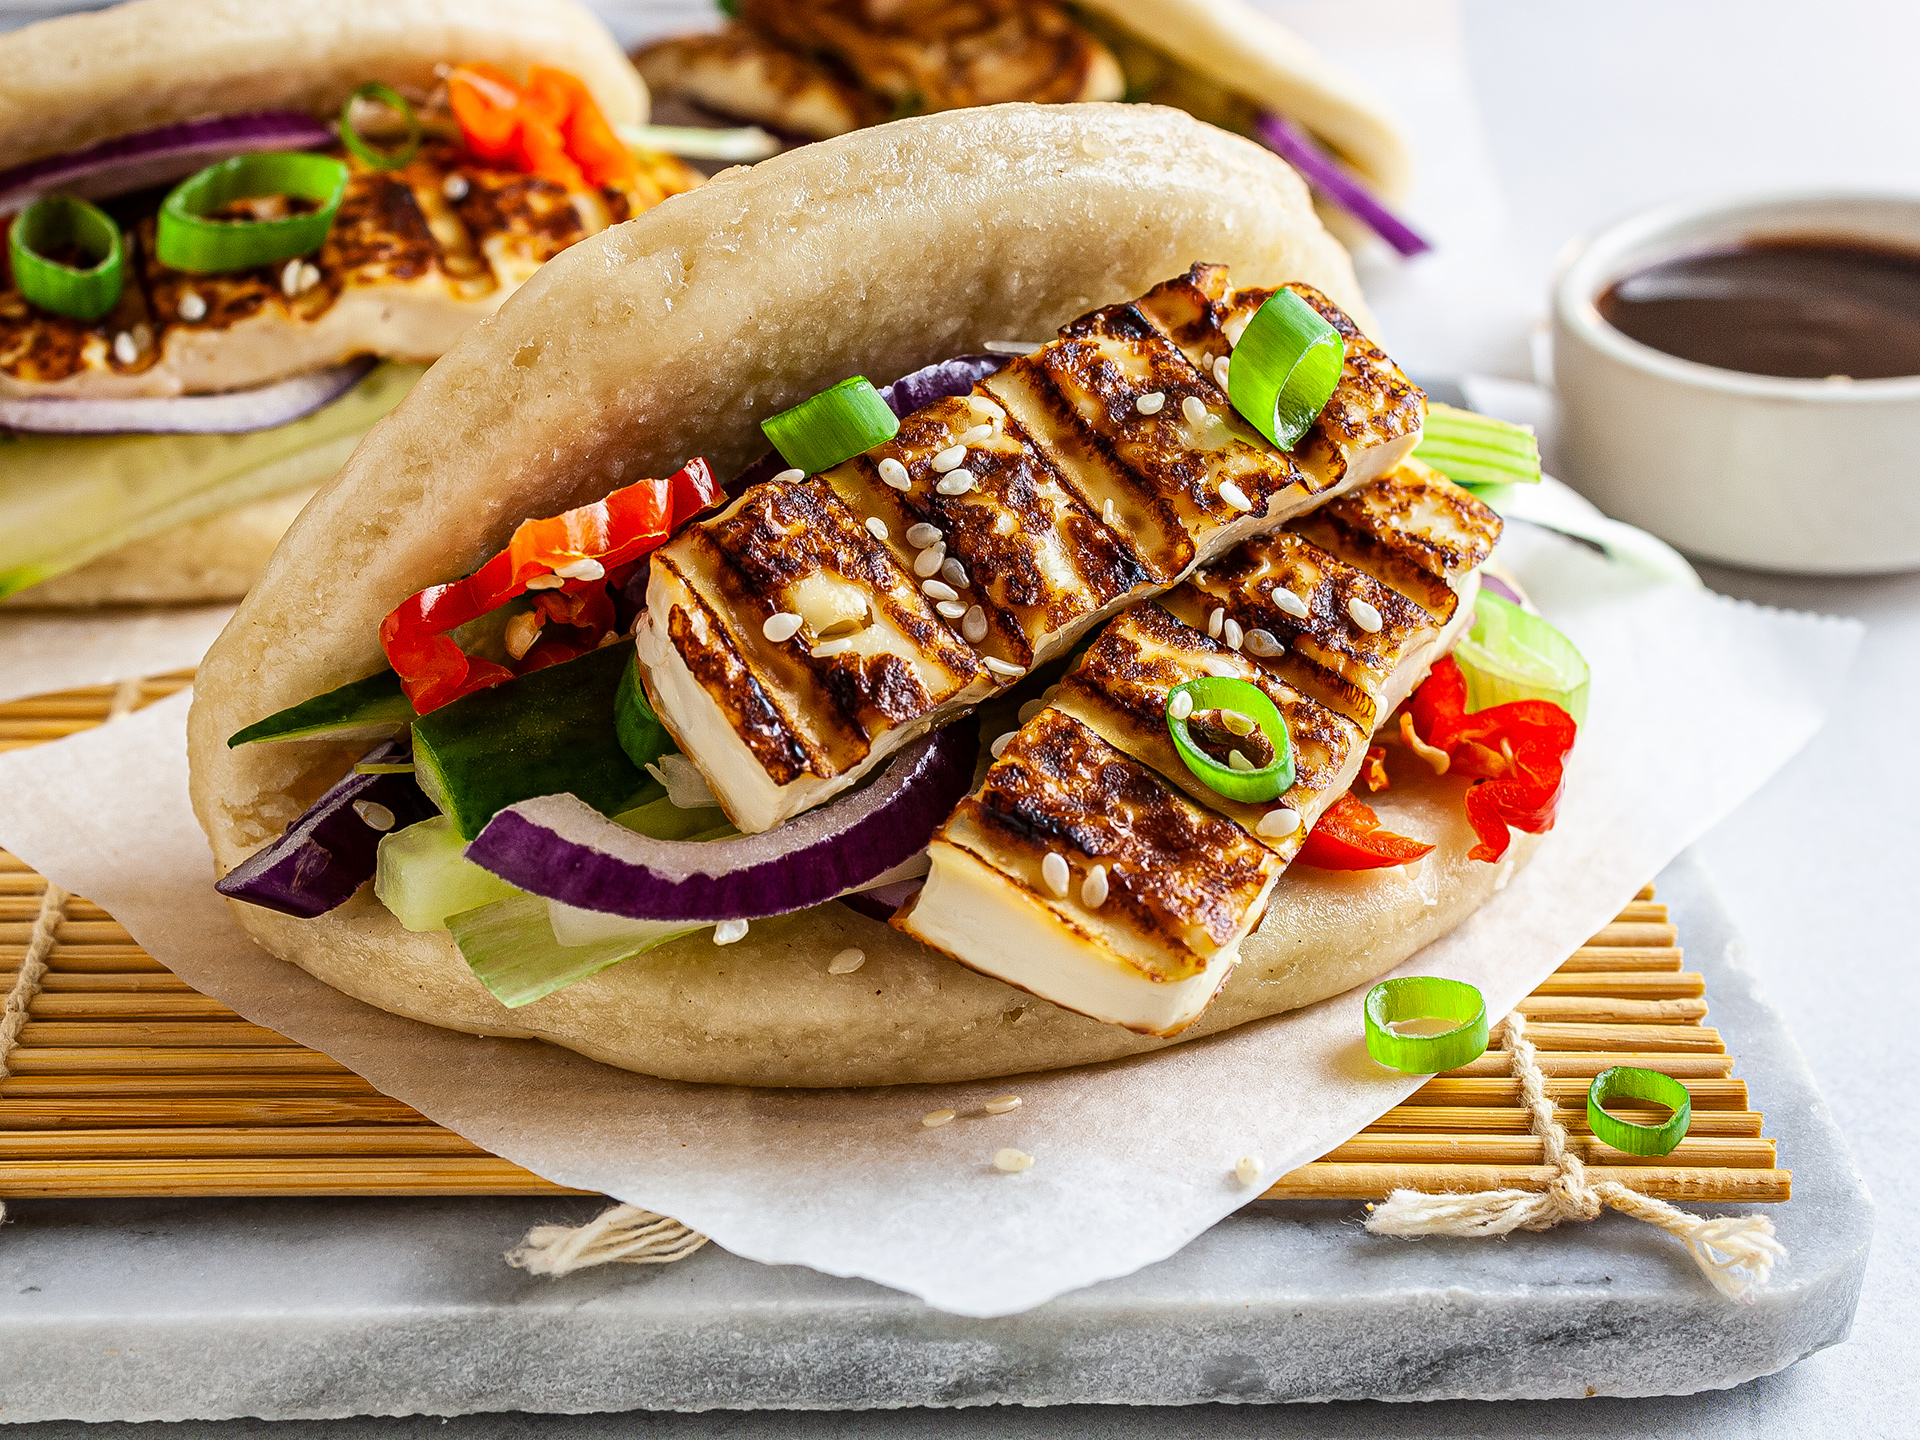
Gluten-Free Steamed Buns
foodaciously.com
5.0
(1)
Your folders
 197 views
Gluten free bao buns
georgeats.com
5.0
(1)
20 minutes
Your folders
 95 views
Gluten Free Burger Buns
theloopywhisk.com
5.0
(49)
15 minutes
Your folders
 127 views
Gluten Free Pretzel Buns
theglutenfreeaustrian.com
5.0
(29)
30 minutes
Your folders
 135 views
Gluten-Free Raisin Buns
healthiersteps.com
5.0
(10)
35 minutes
Your folders
 160 views
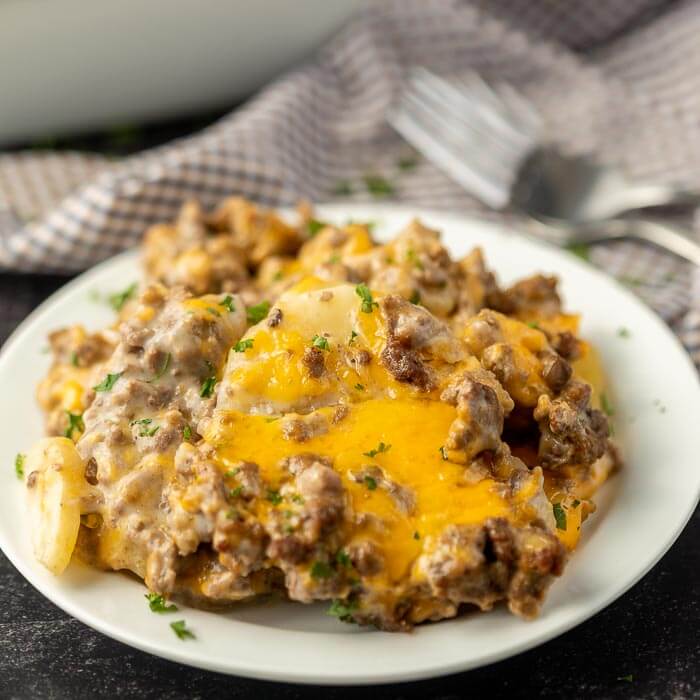
Gluten Free Hamburger Casserole Rec...
eatingonadime.com
4.9
(17)
90 minutes
Your folders
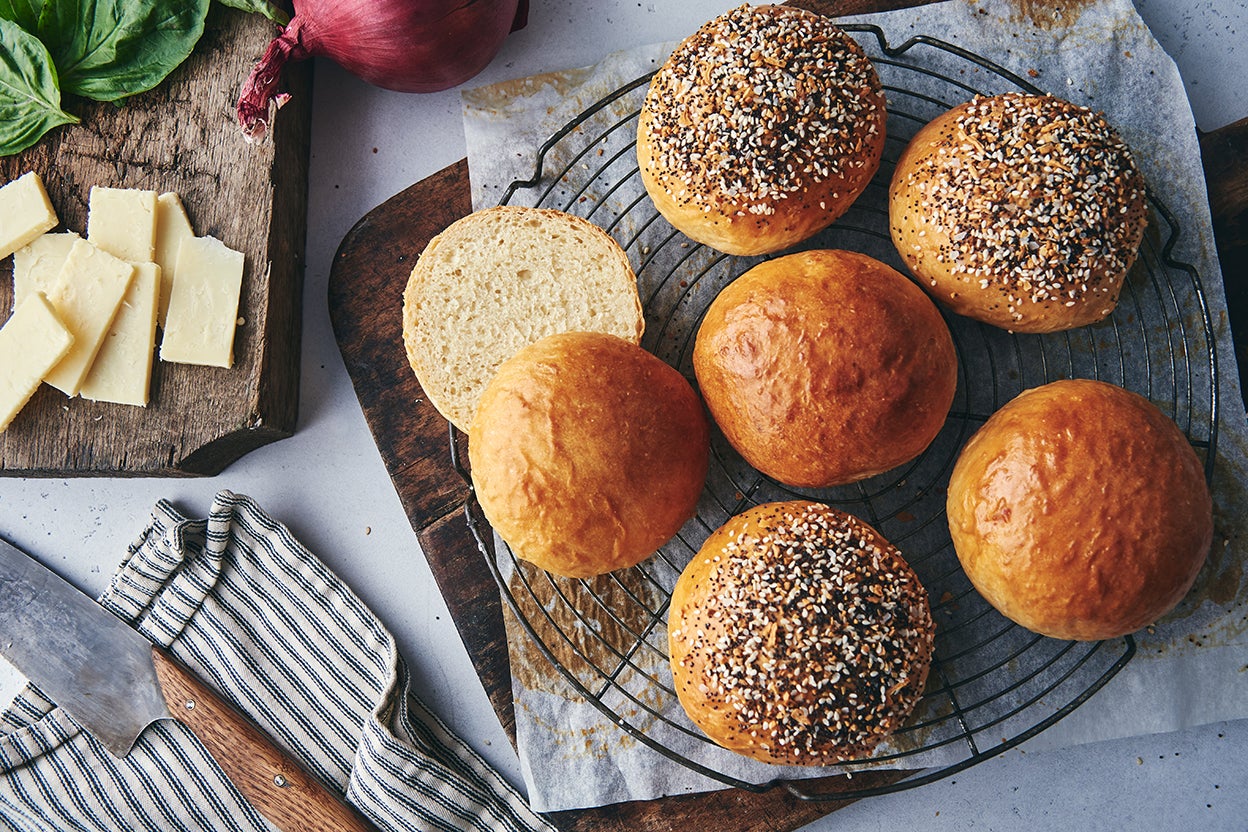 781 views
Hamburger Potato Buns
kingarthurbaking.com
4.8
(56)
20 minutes
Your folders
 527 views
Homemade Hamburger Buns
allrecipes.com
4.9
(779)
15 minutes
Your folders
 219 views
Sourdough Hamburger Buns
lovelylittlekitchen.com
4.8
(42)
20 minutes