How to Build an Herb Spiral
Your folders
Your folders

Ingredients
Export 4 ingredients for grocery delivery
Instructions
Step 1
Find the best location for your herb spiral. It should be a convenient walk from your kitchen door, sunny, and, if possible, flat. If you build one on a small slope, level the ground before you begin.
Step 2
If the ground is clear of weeds and grass, you can begin building directly on the soil. If not, lay cardboard on the ground, covering everything growing.
Step 3
For the most efficient design, herb spirals should be 5-6½ feet (1.5-2 m) in diameter and 23-40” (60-100 cm) in height. If you live in a hot climate, make your spiral on the taller side since it will cast more shadow. The lowest end should be on the north side if you’re in the northern hemisphere and the south for the southern. That ensures that it gets a little more shade and moisture.
Step 4
Use bricks, or a sprinkling of flour, to create the outline of the design, ensuring the width of the growing area is at least twelve inches (30cm) wide.
Step 5
When you’re satisfied with the layout, begin building. Place a single layer of bricks on your design, then working from the beginning, skip 1½ or 2½ bricks in, and stack another layer, to the end. Keep repeating this until you’ve used up your supply, staggering the bricks to give the structure more strength. My spiral begins with a single brick at the lowest point and works up to seven in the center, but I’ve moved stones around differently to how you might do it. I also did a lot of adjustments at the end, moving bricks around until I was happy with how it looked.
Step 6
When you’re happy with yours too, fill the spiral with a 50-50 mix of soil and compost. I’ve used garden soil and composted horse manure in mine, but you could use garden compost, leaf mold, or another type of broken down organic matter to add moisture retention. The fill holds the spiral together, as will the eventual plant roots.
Step 7
When you’ve filled it to within a couple of inches (5 cm) from the top of the bricks, begin smoothing the soil. You want a gentle, downward slope spiraling from the top down.
Step 8
The last layer is the mulch. It can be anything from pure garden compost to straw but should be one to two inches (2.5-5 cm) thick on the surface of your spiral. Mulch keeps moisture in, excludes weeds, and if you’re using compost, it will also feed the soil and plant roots underneath.
Step 9
Water the spiral in, then plant your herbs in their respective micro-climates. Mediterranean herbs like thyme and rosemary at the top, and tender herbs like basil and parsley at the bottom. Plant them directly into the compost mulch, if you’ve used it, and give each plant the space it needs to grow. Water them in and keep the spiral watered regularly, especially during dry spells. Add a layer of compost to the spiral every year after.
Top similar recipes
Curated for youYour folders
 236 views
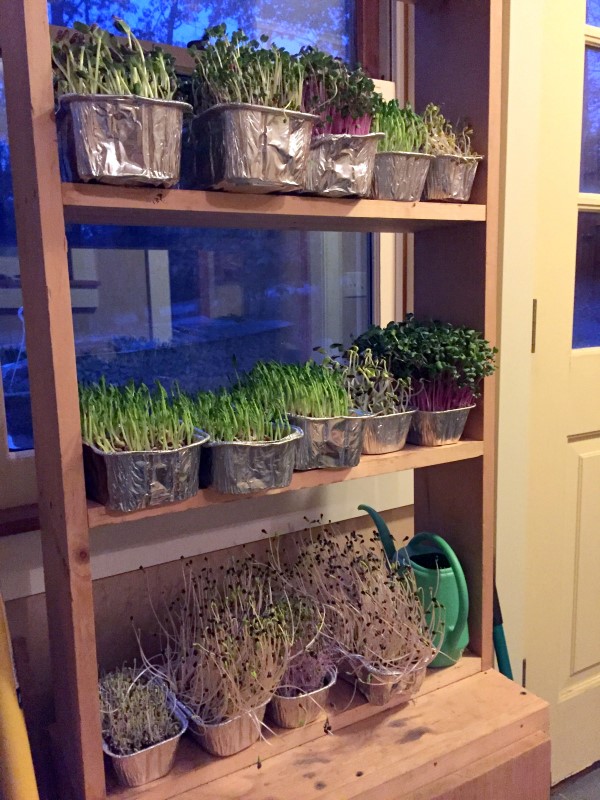
How to Build an Indoor Plant Shelf
gardentherapy.ca
Your folders
 495 views
How to Build an Epic Keto Charcuter...
peaceloveandlowcarb.com
5.0
(2)
Your folders
 152 views
How to build an easy, new deck for ...
funkyjunkinteriors.net
Your folders
 112 views
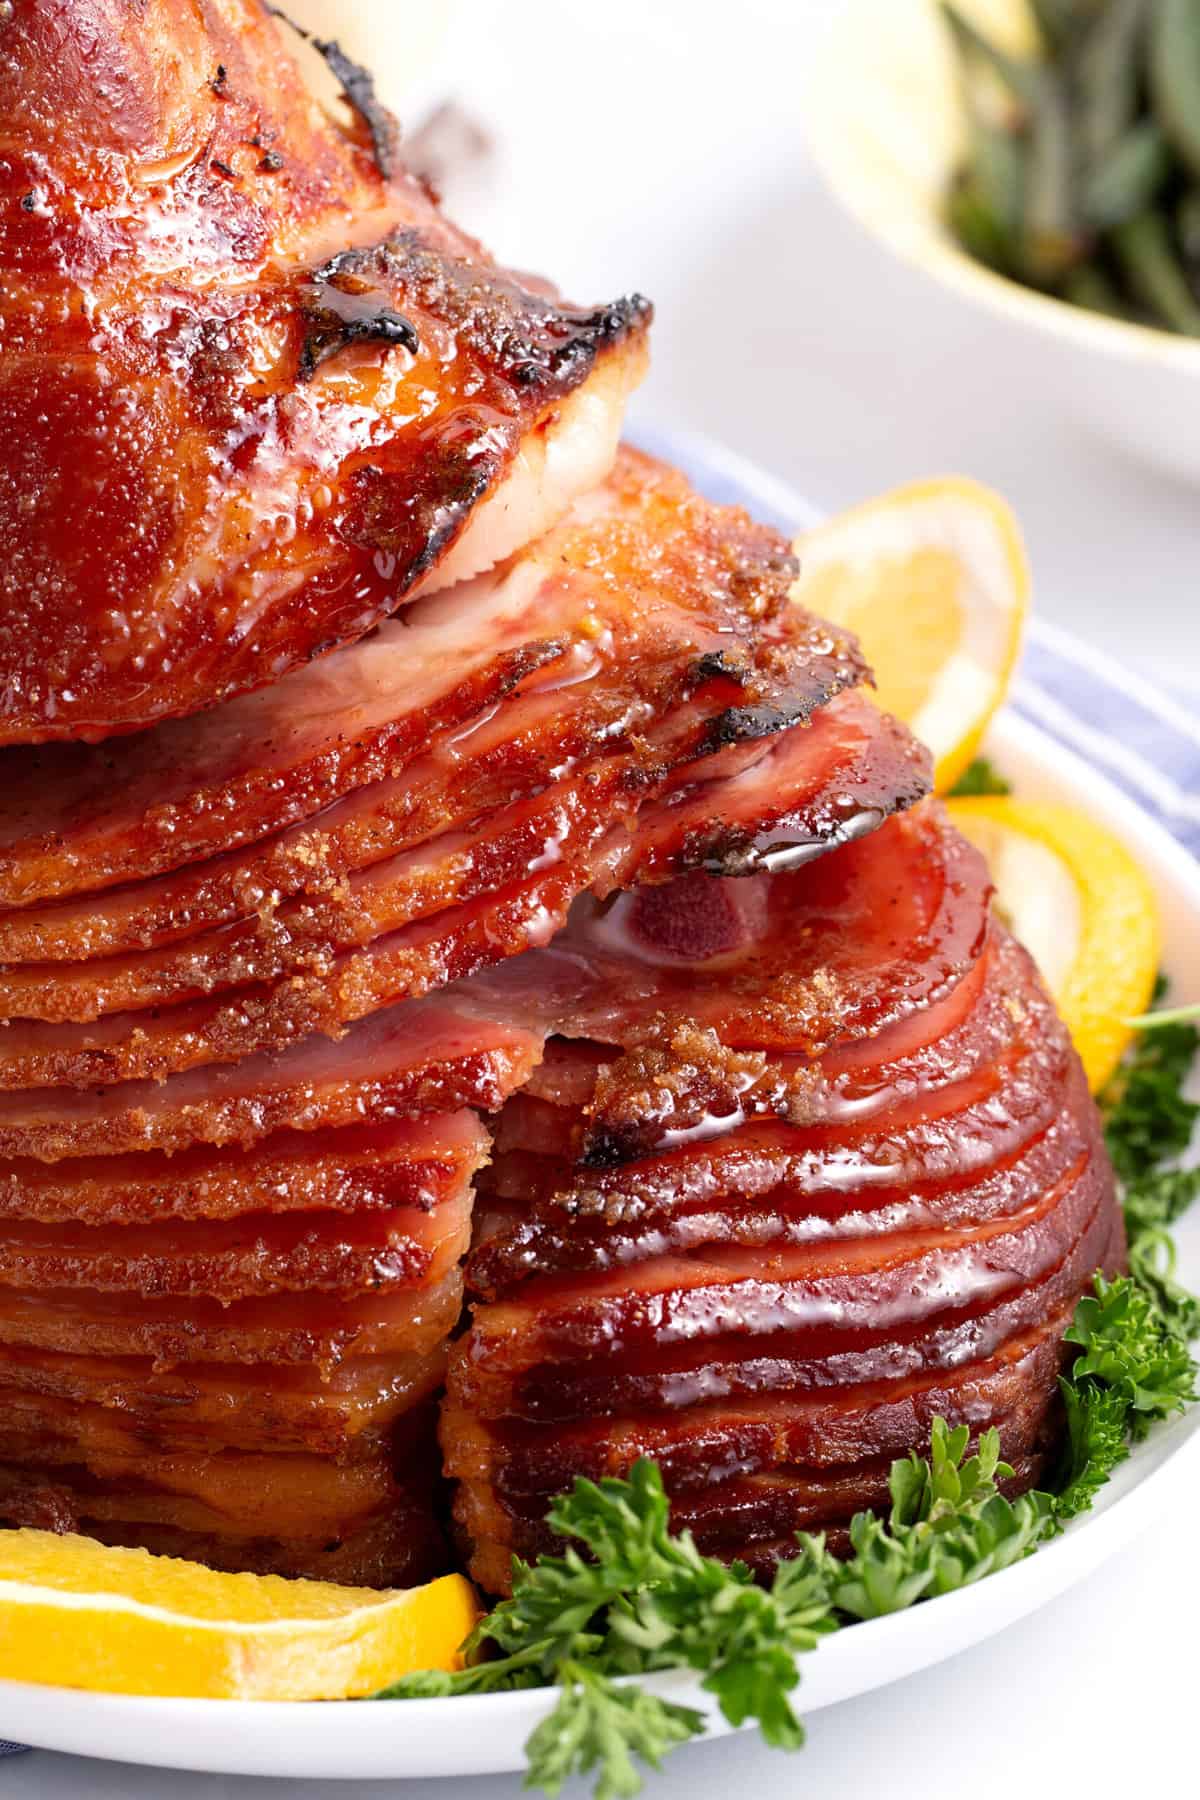
How to Cook Spiral Ham
allthingsmamma.com
4.3
(8)
60 minutes
Your folders
 556 views
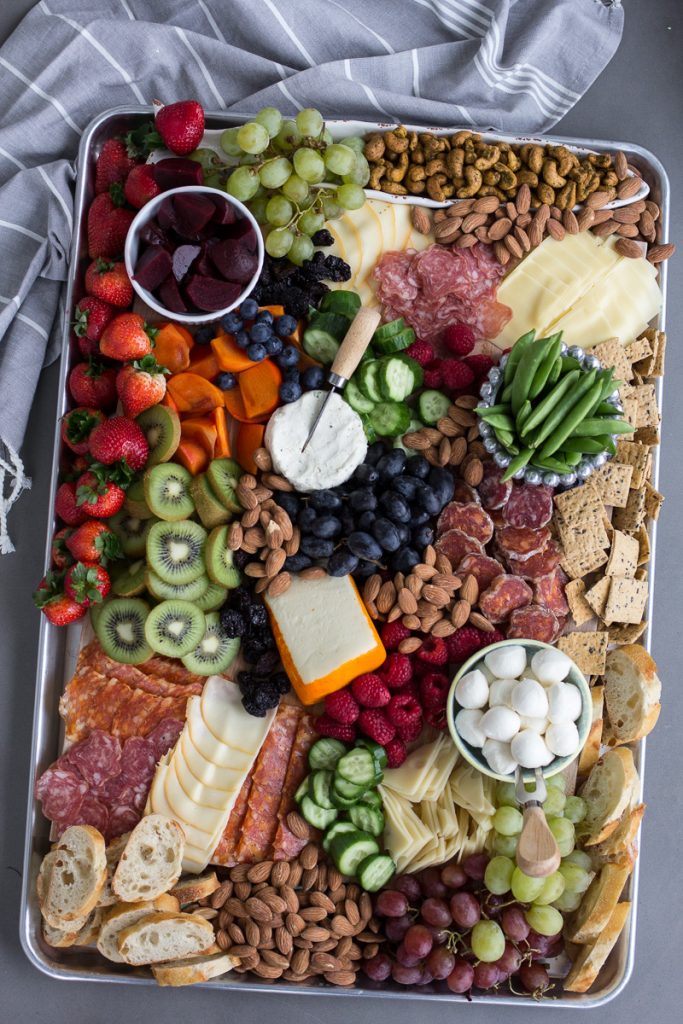
How to Build a Brunch Board
lifemadesweeter.com
Your folders
 324 views
How to Build a Charcuterie Board
wholesomefarmhouserecipes.com
5.0
(1)
Your folders
 138 views
How to Build a Charcuterie Board
abountifulkitchen.com
5.0
(2)
Your folders
 96 views
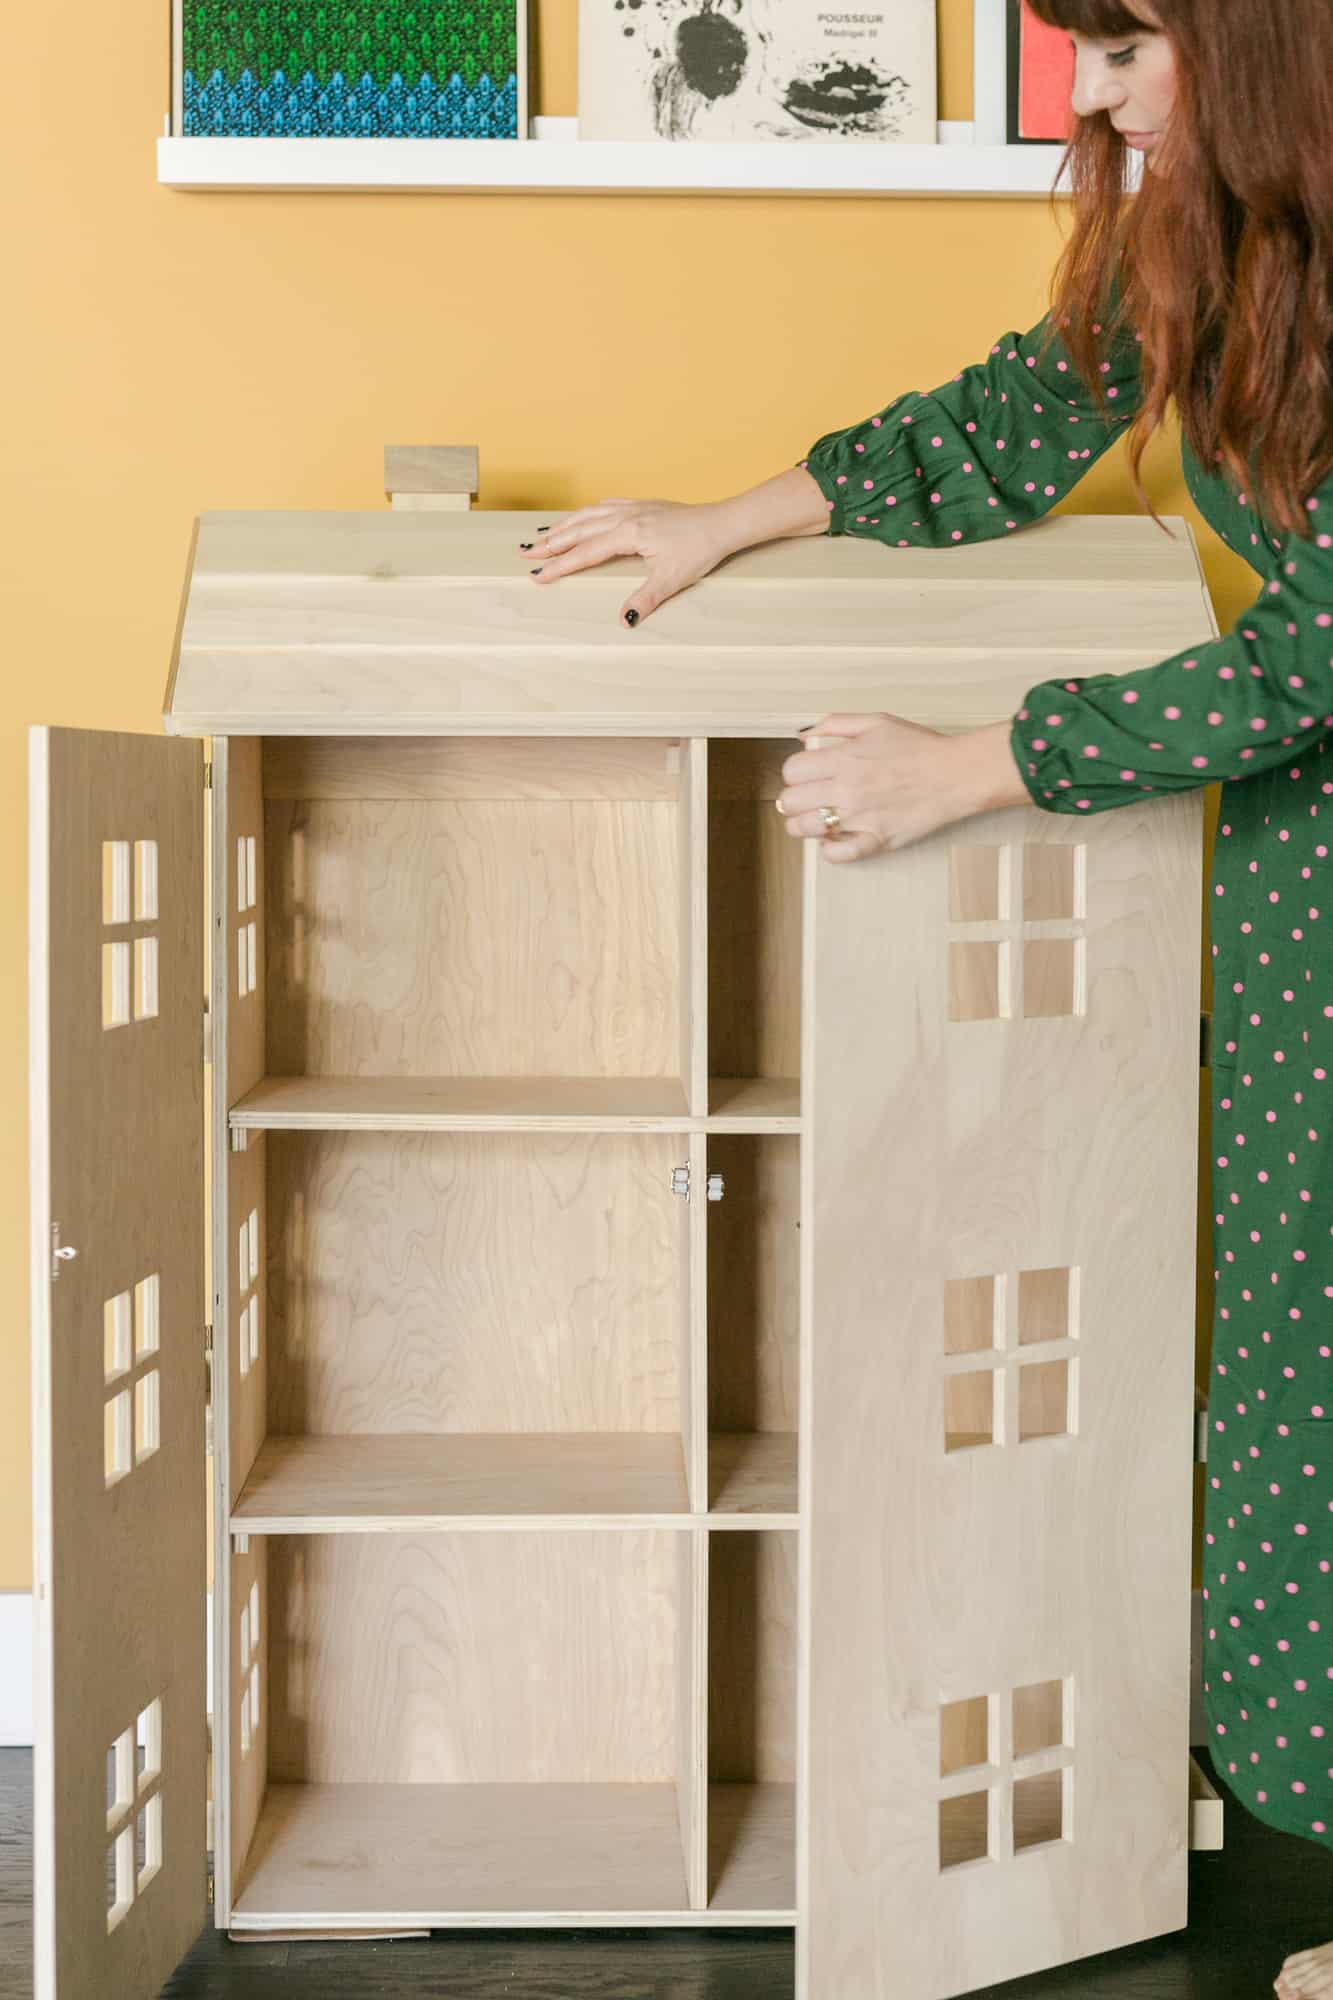
How to Build a DIY Dollhouse
abeautifulmess.com
Your folders
 82 views
How to Build a Charcuterie Board
abountifulkitchen.com
Your folders
 482 views
How to Cook a Spiral Ham
tablespoon.com
4.0
(1)
Your folders
 424 views
How To Cook A Spiral Ham
spendwithpennies.com
5.0
(29)
119 minutes
Your folders
 210 views
How To Cook a Spiral Ham
biteswithbri.com
5.0
(2)
120 minutes
Your folders
 182 views
How to Cook Costco’s Spiral Ham
halfscratched.com
4.6
(22)
3 hours
Your folders
 272 views
How to Make an ApronHow to Make an ...
blog.treasurie.com
Your folders
 195 views
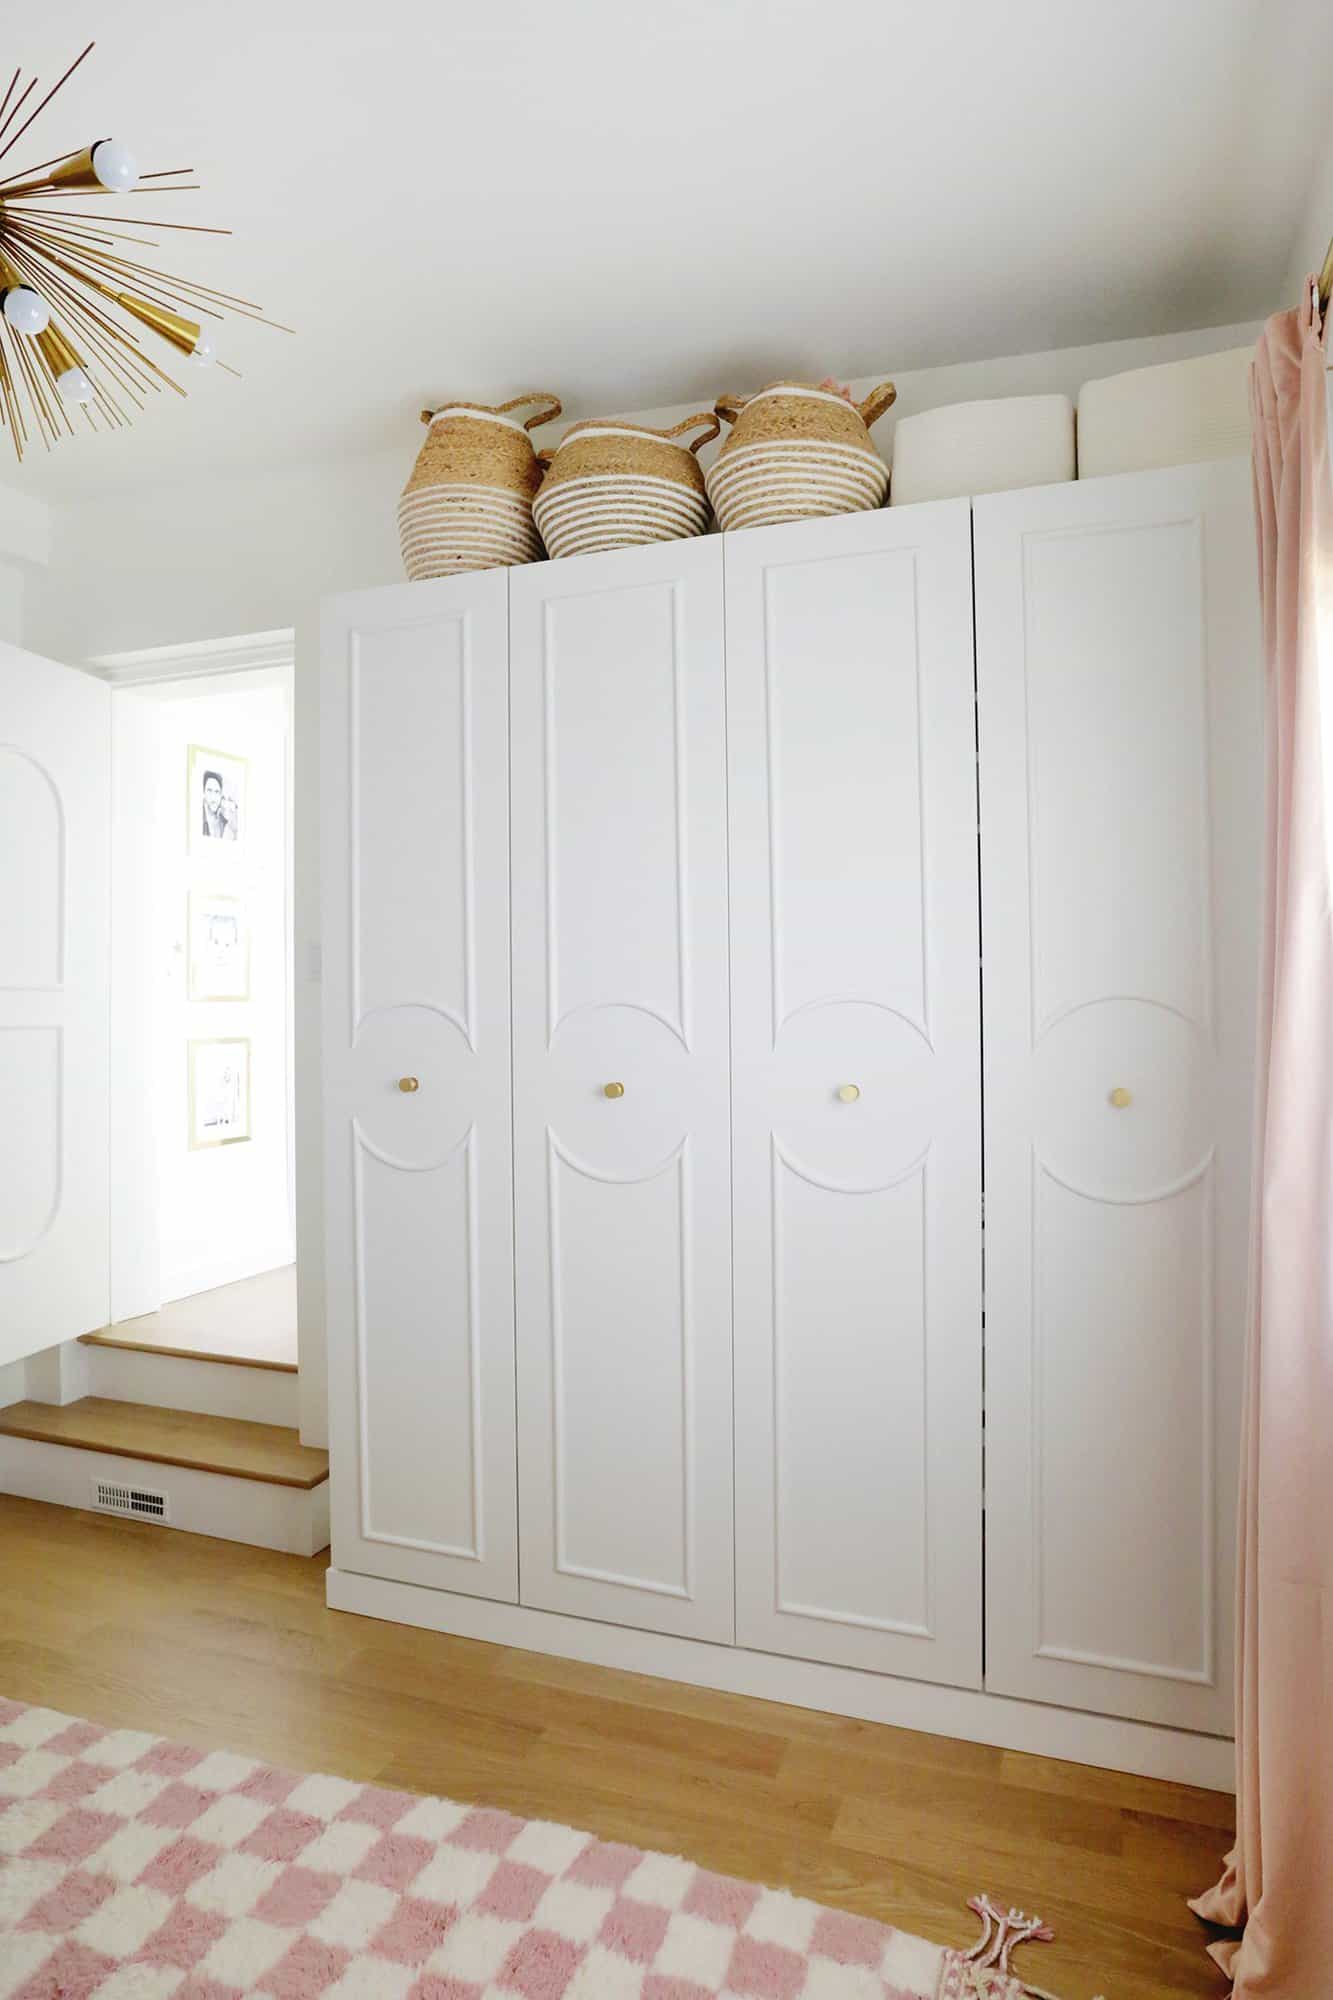
Easy Hack to Build-In an IKEA Pax W...
abeautifulmess.com
Your folders
 690 views
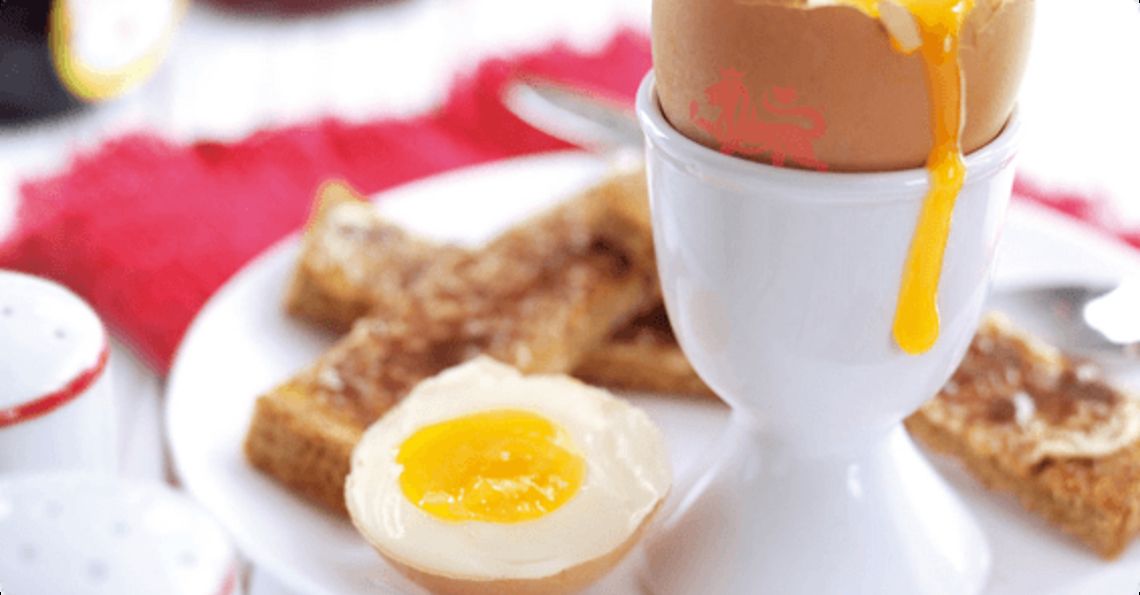
How to boil an egg
egginfo.co.uk
3.0
(1.3k)
5 minutes
Your folders
 569 views
How To Fry An Egg
delish.com
Your folders
 687 views
How to Make an Omelette
simplyrecipes.com
4.8
(17)
5 minutes
Your folders
 1198 views
How to Half an Egg
itsrainingflour.com