How to Make Paper Feathers
Your folders
Your folders

Ingredients
Export 5 ingredients for grocery delivery
Instructions
Step 1
Choose a feather image and import the image into the Cricut Design Space.
Step 2
Now add text to the image of your choice and put that text right over the top of your feathers. Click that text layer and pick WRITE instead of CUT.
Step 3
Be sure the text is positioned just how you want it to be. Then, pick the feather and the text by holding down the shift key and clicking both. Click “ATTACH” and your feather is now ready for cutting and writing.
Step 4
Insert your marker into the Cricut Explore before continuing.
Step 5
With the cap removed and the clamp open, place the marker into the Cricut Explore firmly so that it seats all the way down.
Step 6
Put your cardstock on the mat. Pick a cardstock setting in Design Space. Use the arrow button to load your mat then click go to cut.
Step 7
Then, use a pair of scissors to give the feather more fringe.
Top similar recipes
Curated for youYour folders

 229 views
How to Make Paper (Paper Making Rec...
onegoodthingbyjillee.com
Your folders
 272 views
How to make Paper Snowflakes
onelittleproject.com
Your folders
 251 views
How to Make 3D Paper Snowflakes
onegoodthingbyjillee.com
Your folders
 234 views
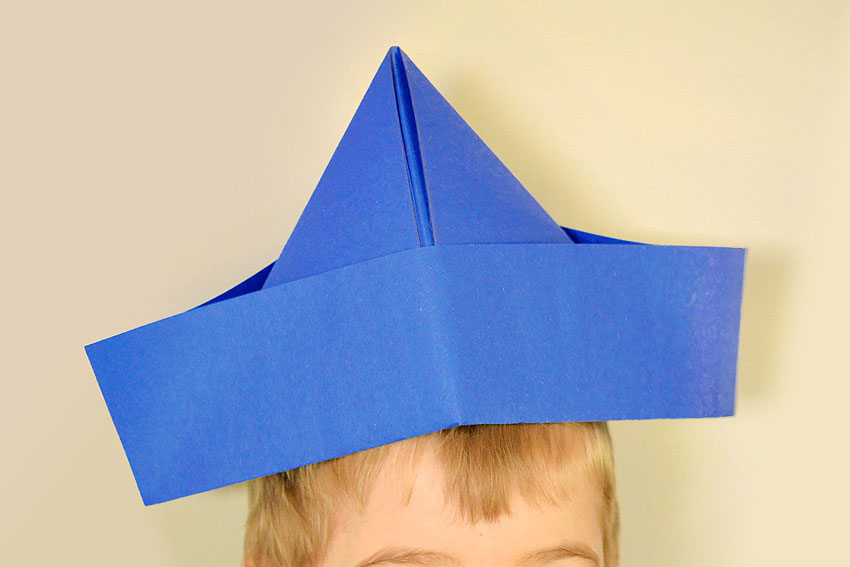
How to Make a Paper Hat.mov
onelittleproject.com
Your folders
 300 views
How to make a Paper Boat
onelittleproject.com
Your folders
 19 views
How to Make a Paper Chain
diycandy.com
Your folders
 285 views
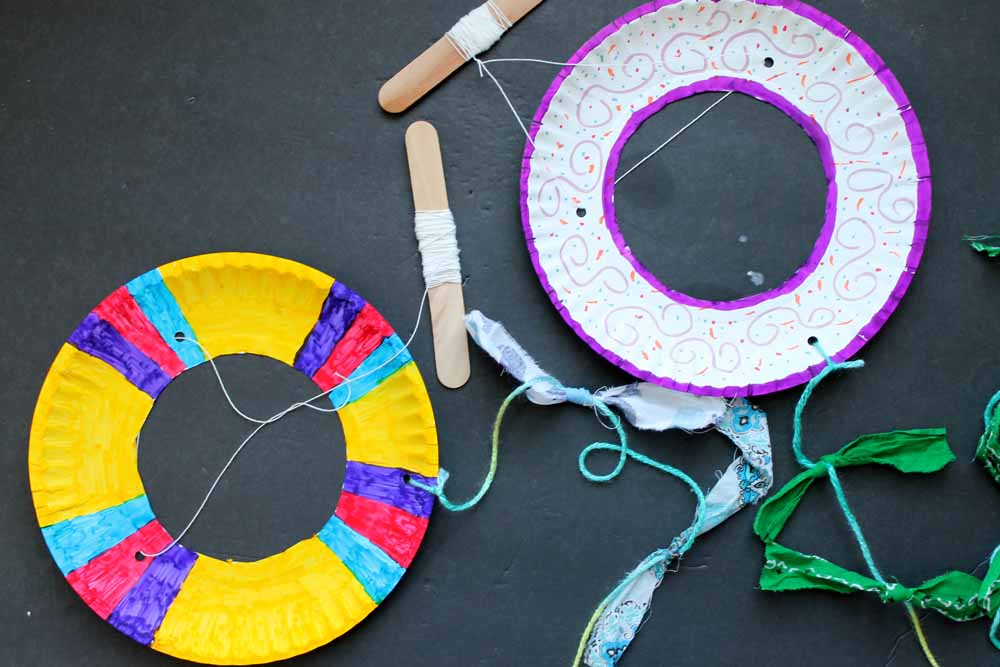
How to Make a Paper Plate Kite
thecountrychiccottage.net
Your folders
 80 views
How to make Paper-Thin Strudel Doug...
lilvienna.com
4.9
(157)
Your folders
 718 views
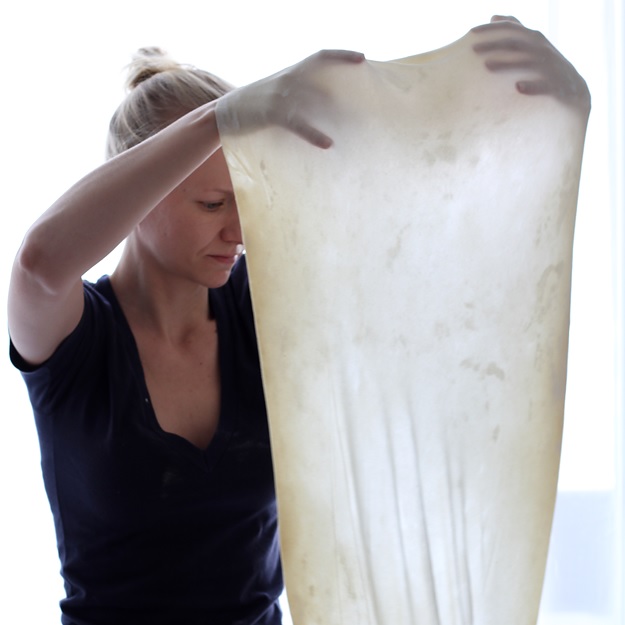
How To Make Rice Paper- Step By Ste...
cakedecorist.com
8 minutes
Your folders
 18 views
Easy to make Paper Art
kenarry.com
Your folders
 162 views
How to Make Reusable Paper Towels w...
papernstitchblog.com
Your folders
 742 views
How To Make Muffin Liners out of Pa...
thekitchn.com
3.2
(12)
Your folders
 55 views
Handprint Lilies | How to Make an E...
onelittleproject.com
Your folders
 423 views
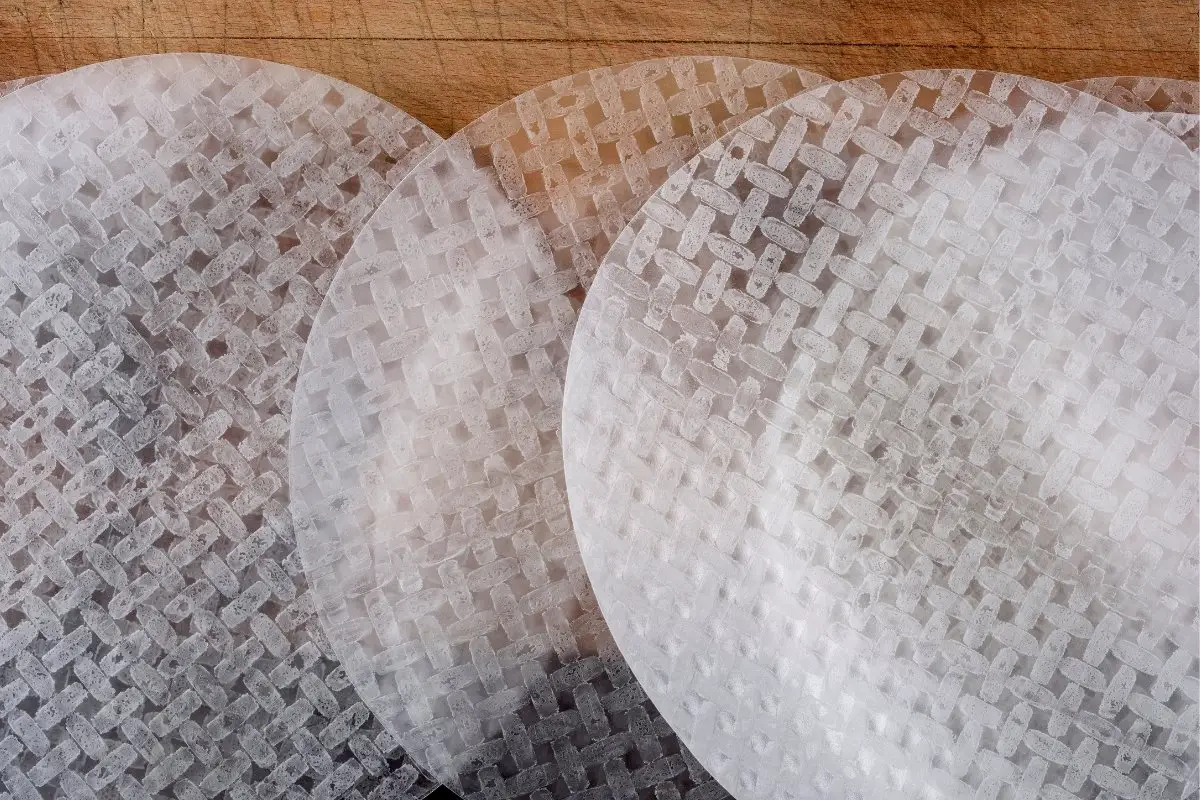
Make Rice Paper
wikihow.com
73.0
(71)
Your folders
 319 views
How to make buttermilkHow to make b...
thekitchenmagpie.com
Your folders
 276 views
How to Make GlueHow to Make Glue
onecrazymom.com
Your folders
 352 views
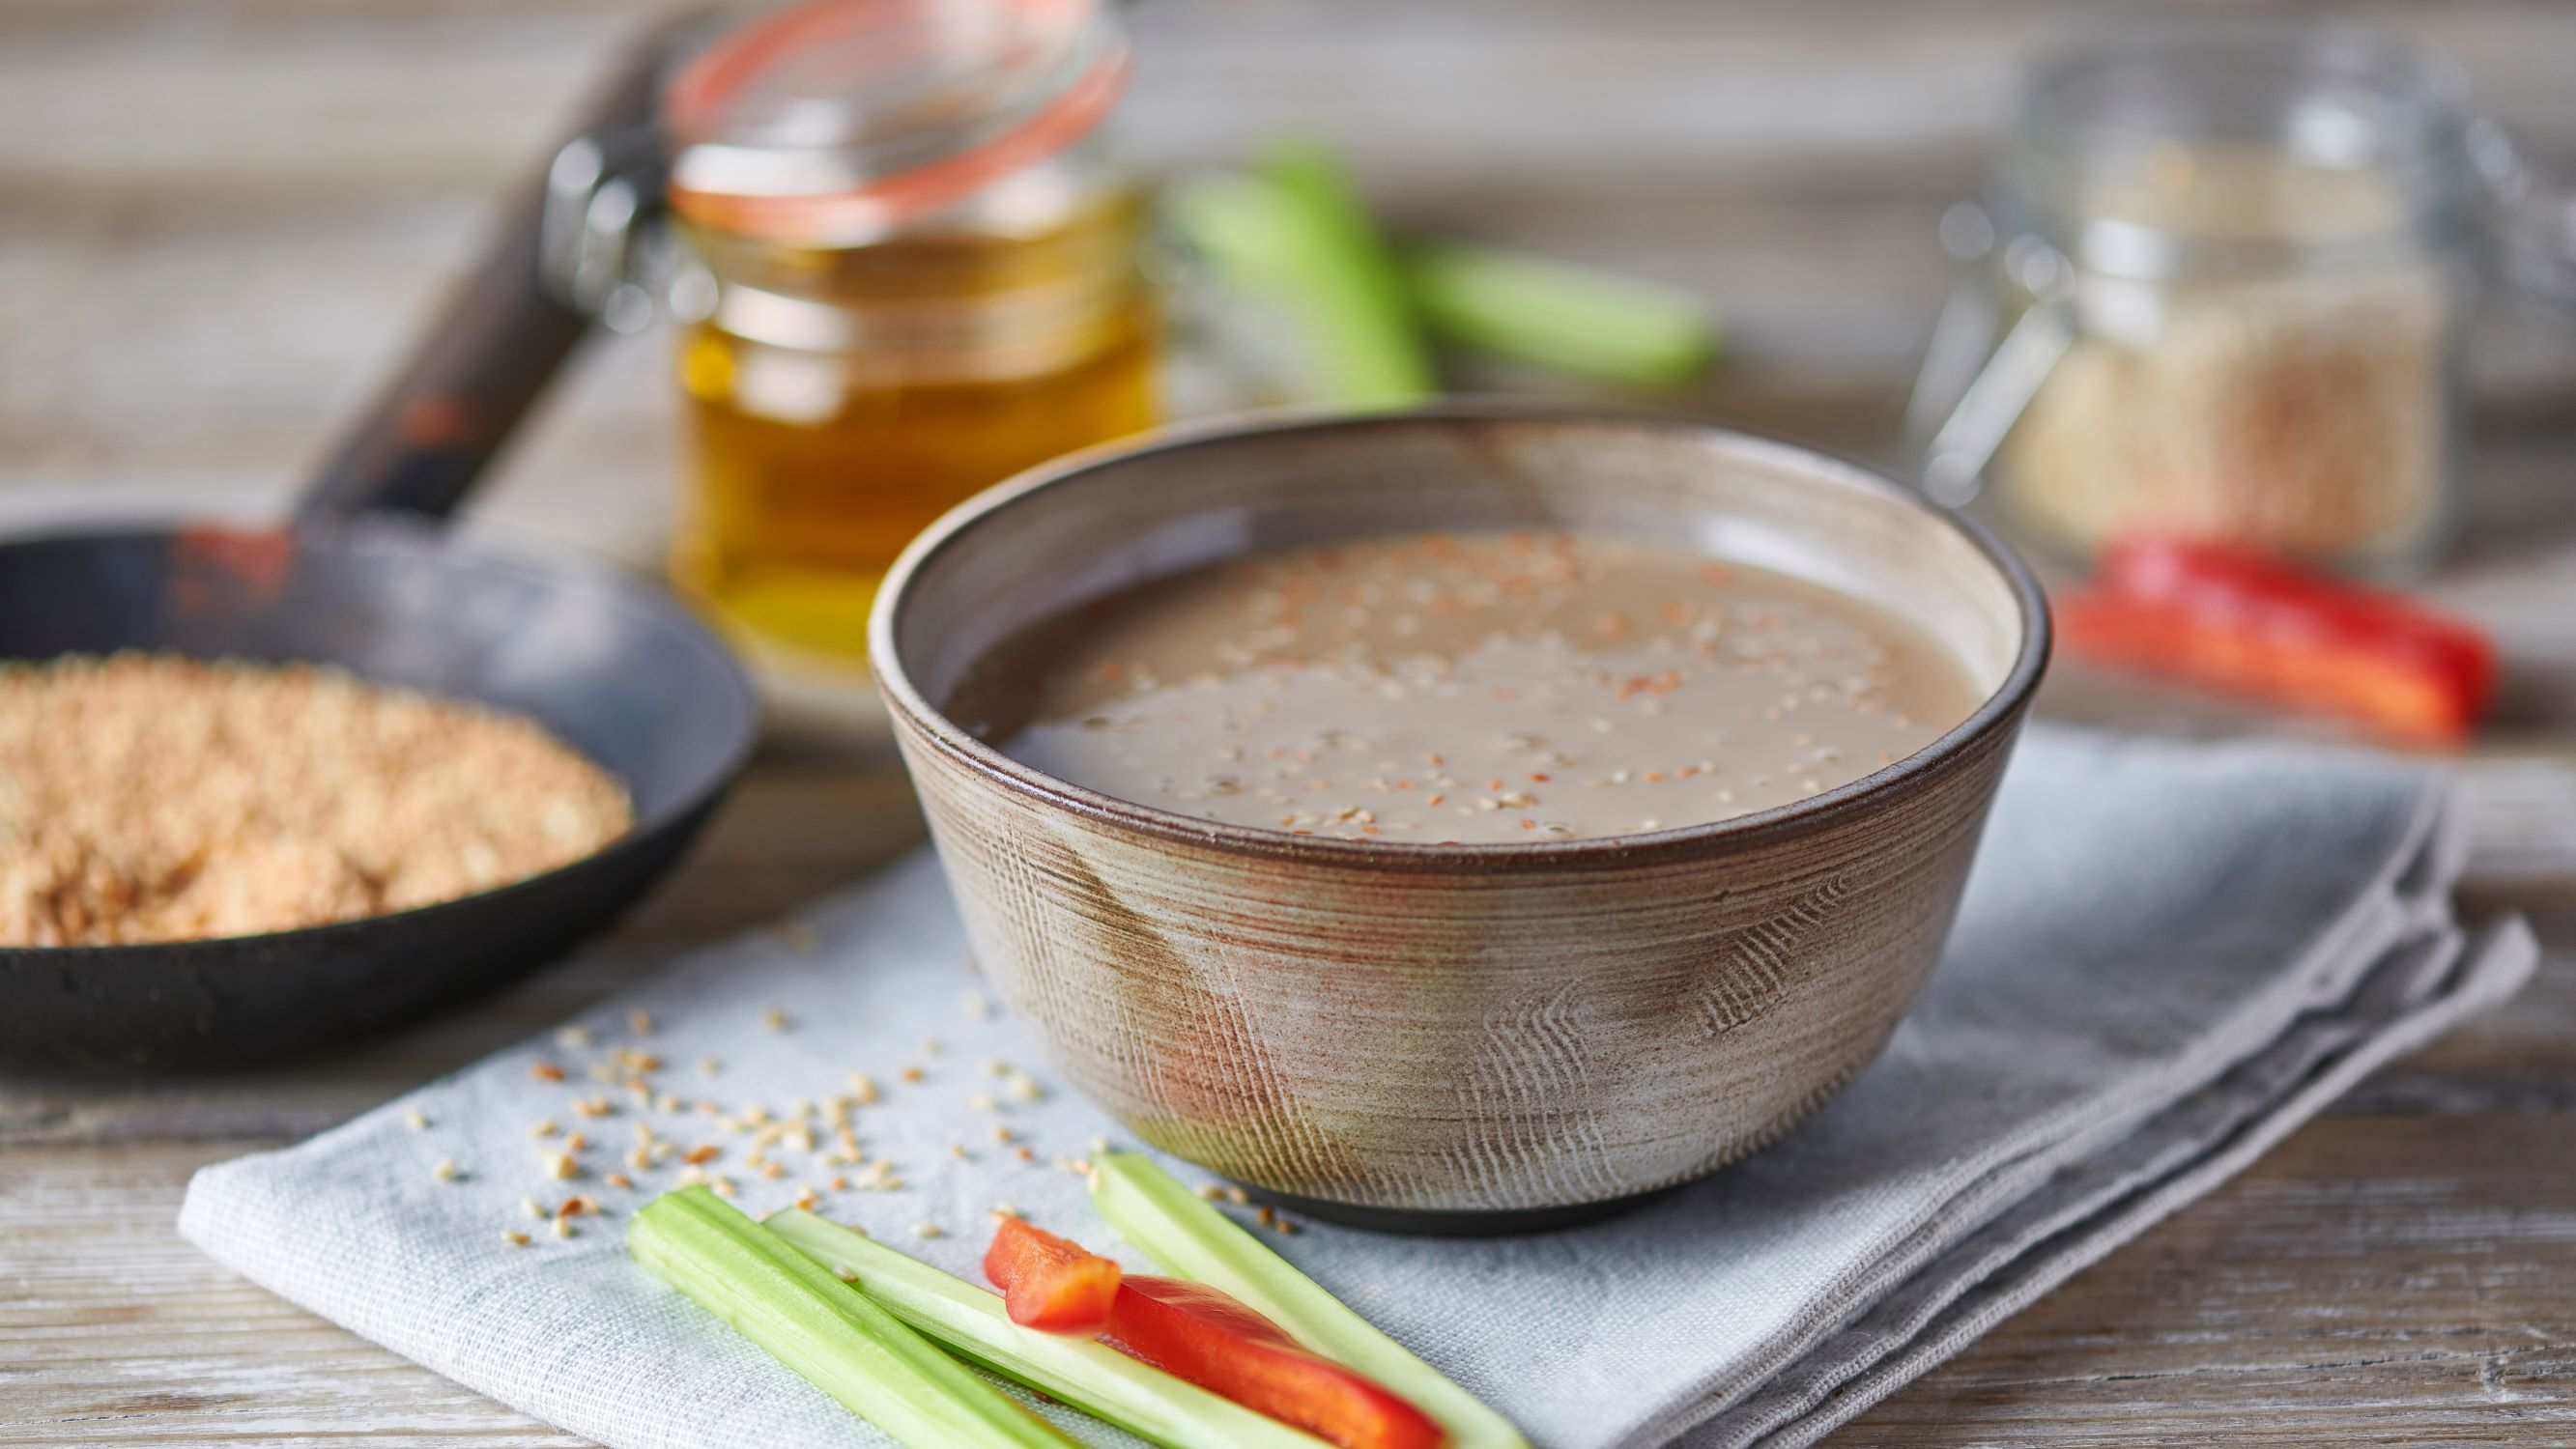
How to make tahini
bbc.co.uk
10 minutes
Your folders
 449 views
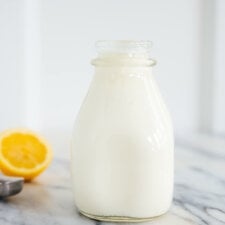
How to Make Buttermilk
cookieandkate.com
4.7
(6)
Your folders
 410 views
How to make bouillabaisse
gourmettraveller.com.au
1 hours, 30 minutes