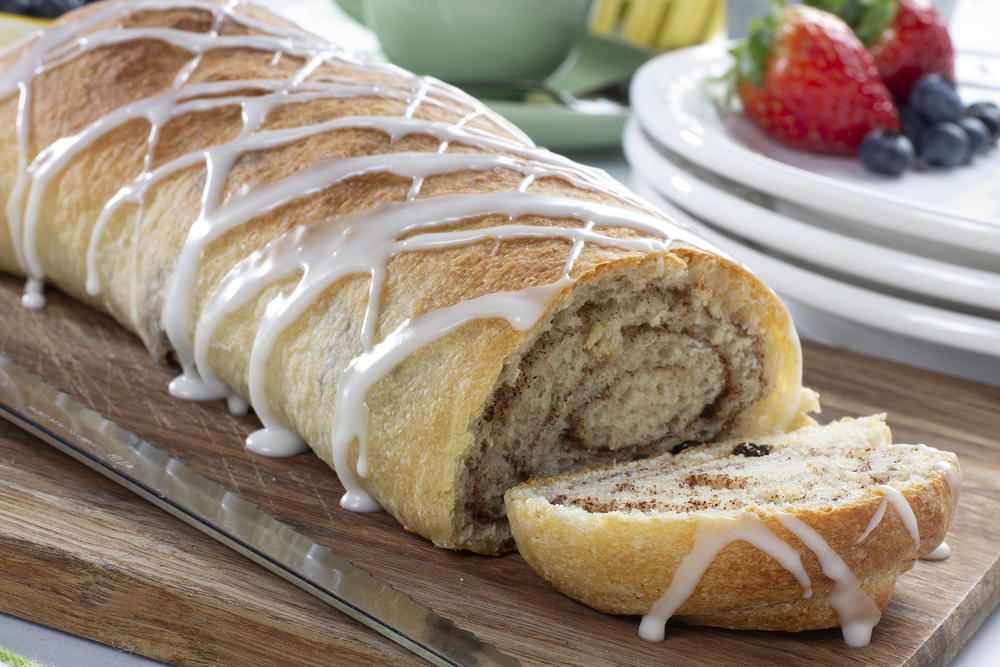
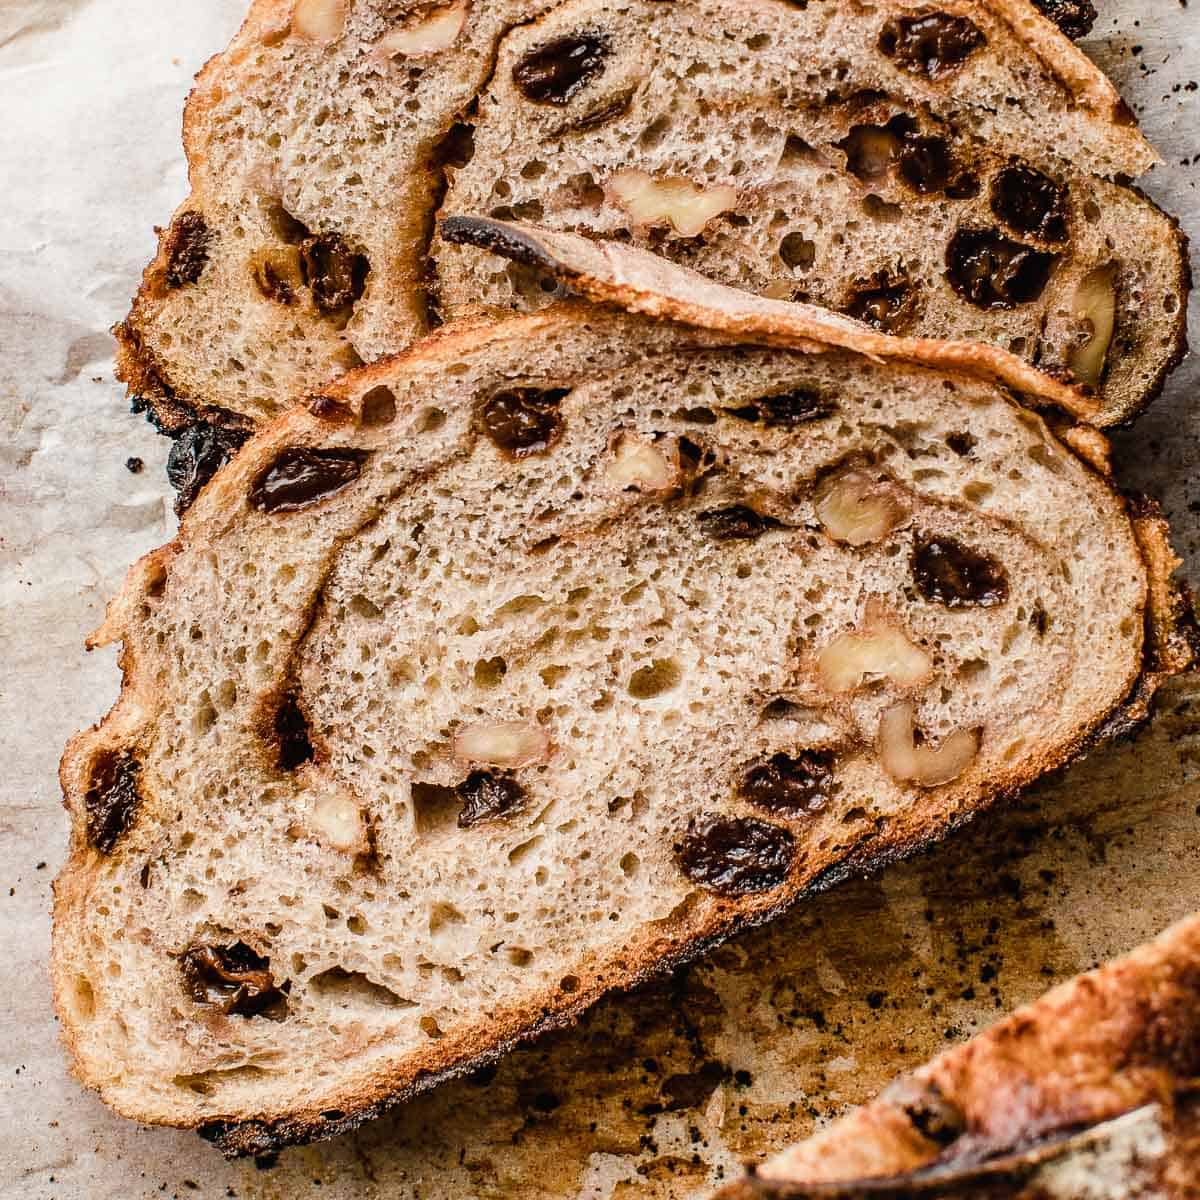
Sourdough Cinnamon Raisin Swirl Bread
Your folders
Your folders
Prep Time: 30 minutes
Cook Time: 1 hours
Total: 1 hours, 30 minutes
Author : Melissa Johnson

Ingredients
Export 11 ingredients for grocery delivery
Instructions
Step 1
Starter/Levain Build
Step 2
Mix the starter, flour, and water in a jar. Mark the level with a rubber band and let ripen overnight. Use cold water and/or a higher feeding ratio in summertime so the levain doesn't finish all the food before morning.
Step 3
Final Dough Mixing and Bulk Fermentation
Step 4
Measure out the raisins and soak them in water while the dough rises.
Step 5
Mix the flours, water, levain, brown sugar, oil, salt, and 1 tsp of the cinnamon in a medium bowl. Cover and let rest 30 minutes.
Step 6
Do one round of stretching and folding, or another form of gluten development.
Step 7
Let the dough rise at room temperature until it has just about doubled in size. This can take anywhere from 4 to 10 hours depending on your starter strength and room/dough temperature. My dough needed 6.5 hours in a cool kitchen.
Step 8
Shaping and Final Proof
Step 9
Drain the raisins, lightly flour your work surface, and grease your loaf pan.
Step 10
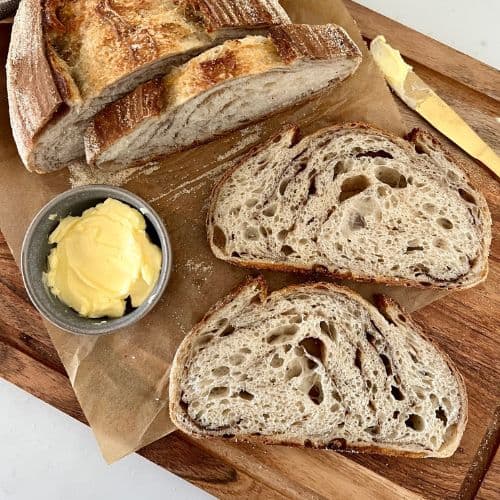
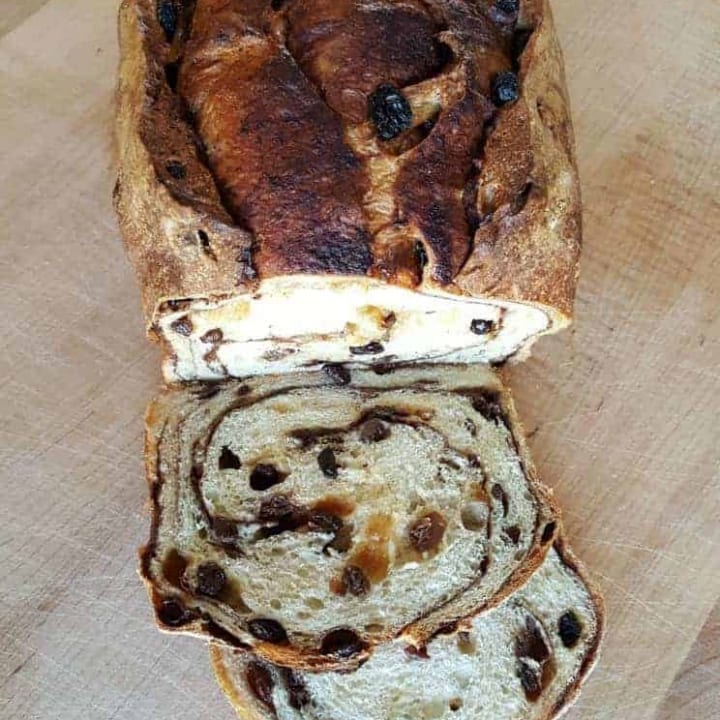
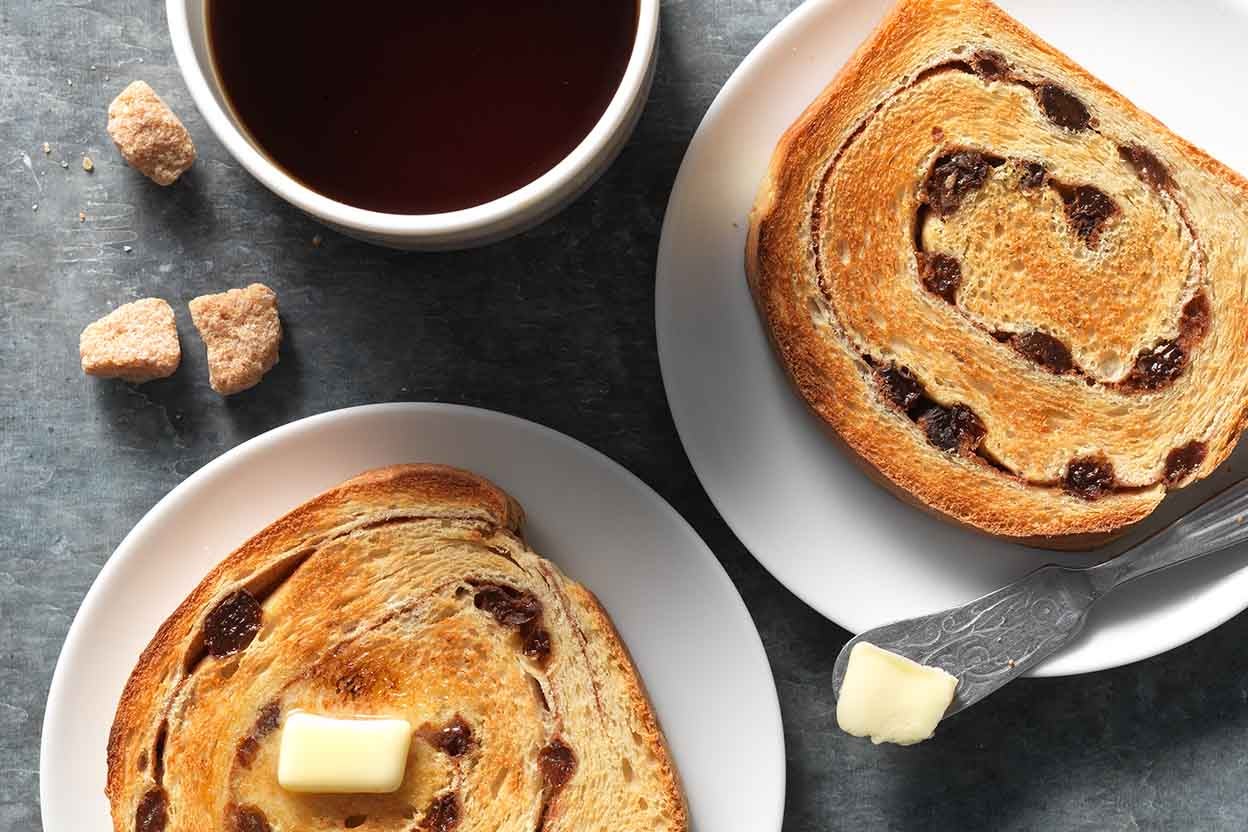
Remove the dough from the bowl, and stretch and pat it out into a rectangle approx. 7" x 12". Sprinkle the remaining 3 tsp of cinnamon on the dough, and then add the drained raisins in a layer on top of the cinnamon.
Step 11
From a shorter edge, roll the dough into a tube and place it in your pan, seam-side down.
Step 12
Cover and proof the dough for 2-4 hours. You can also retard the dough overnight or longer, but make sure it has risen in the pan some at room temperature before refrigerating it. The dough is ready to bake when it has doubled or its highest part crests about a half-inch over the lip of a 9" x 5" x 2.75" pan.
Step 13
Baking
Step 14
Preheat your oven to 375°F for about 15 minutes with your oven rack in the second-from-the-bottom position.
Step 15
Brush the dough with water and load it into the oven.
Step 16
Bake for about 60 minutes or until the interior of the loaf is over 190F. Cover with foil if the top starts to brown too much.
Step 17
When the bread has finished baking, brush the top with oil or butter to keep it soft, and let it cool on a rack on one side to discourage settling of the crumb.
Step 18
You can store this bread in a plastic bag, beeswax wrap, or linen bag.
Top similar recipes
Curated for youYour folders

 144 views
Sourdough Cinnamon Raisin Swirl Bre...
littlespoonfarm.com
Your folders
27 viewsSourdough Cinnamon Raisin Swirl Bre...
littlespoonfarm.com
Your folders
 276 views
Cinnamon Swirl Raisin Bread
mrfood.com
5.0
(1)
30 minutes
Your folders
 369 views
Cinnamon Raisin Swirl Bread
cooking.nytimes.com
5.0
(501)
Your folders
 216 views
Cinnamon Raisin Swirl Bread
aberdeenskitchen.com
40 minutes
Your folders
 100 views
Cinnamon Swirl Sourdough Bread
pantrymama.com
4.4
(61)
45 minutes
Your folders
 445 views
Cinnamon Raisin Sourdough Bread
baked-theblog.com
4.6
(100)
40 minutes
Your folders
 902 views
Sourdough Cinnamon Raisin Bread
homemadefoodjunkie.com
4.4
(105)
50 minutes
Your folders
 496 views
Cinnamon Raisin Sourdough Bread
kingarthurbaking.com
4.8
(402)
45 minutes
Your folders
 397 views
Cinnamon Raisin Sourdough Bread
littlespoonfarm.com
5.0
(101)
50 minutes
Your folders
 291 views
Cinnamon Raisin Sourdough Bread
amybakesbread.com
5.0
(20)
45 minutes
Your folders
 136 views
Cinnamon Raisin Sourdough Bread
bakedcollective.com
4.9
(15)
40 minutes
Your folders
 60 views
Cinnamon Swirl Sourdough Bread Reci...
thatsourdoughgal.com
5.0
(48)
40 minutes
Your folders
 100 views
Pumpkin Cinnamon Swirl Sourdough Br...
gatherednutrition.com
4.9
(14)
45 minutes
Your folders
 182 views
Cinnamon Raisin Sourdough Bread Rec...
cravethegood.com
4.7
(58)
45 minutes
Your folders
73 viewsCinnamon Raisin Sourdough Bread Rec...
cravethegood.com
Your folders
 151 views
Cinnamon Raisin Sourdough
theperfectloaf.com
1 hours
Your folders
 258 views
L'oven Fresh Bread, Cinnamon Raisin...
fooducate.com
Your folders
183 viewsHow to Make Cinnamon-Raisin Swirl B...
thekitchn.com
5.0
(1)