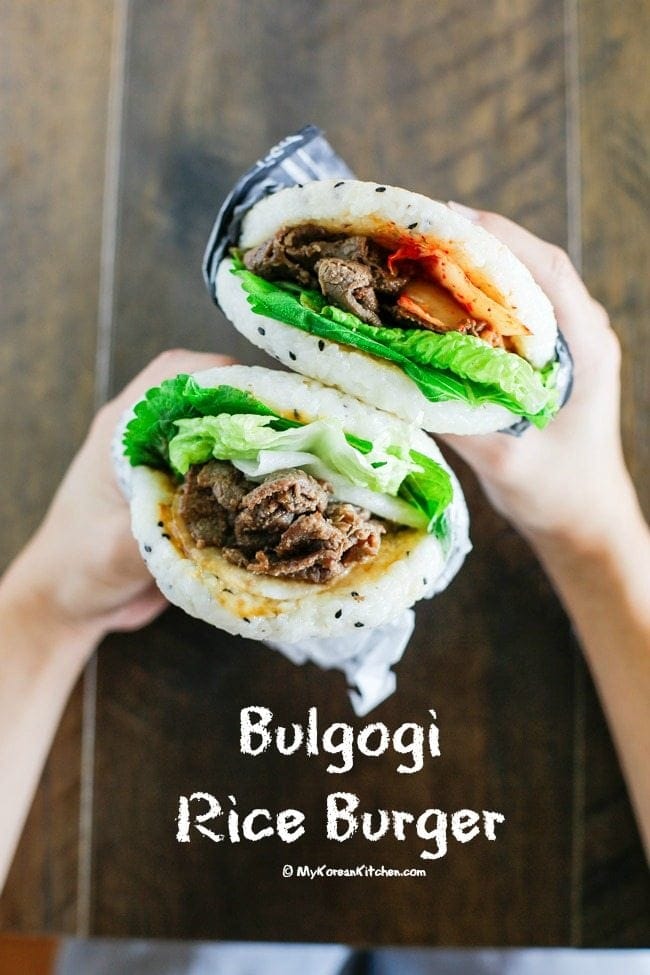
Bulgogi Rice Burger
Your folders
Your folders
Prep Time: 35 minutes
Cook Time: 25 minutes
Total: 60 minutes
Servings: 2
Cost: $13.11 /serving
Author : Sue | My Korean Kitchen
Ingredients
Export 19 ingredients for grocery delivery
Instructions
Step 1
Make the Bulgogi burger sauce in a pan. – Pour the Bulgogi burger sauce in a heated pan and boil it over low heat for about 10 to 20 seconds. Add the thickening agent and stir well until the sauce is thickened. (The sauce thickens faster at a higher temperature.) Scoop out the sauce onto a plate and set aside.
Step 2
Put the steamed rice into a large mixing bowl and add the rice seasoning sauce I. Mix them well and set aside.
Step 3
Cover the rice bun mould with some food wrap. Fill the mould with the seasoned rice (from step 2.) and gently shape the rice bun by pressing it down to flatten it. The thickness of my rice bun was about 2 cm/0.8 inch. Gather the food wrap to cover the rice. Rest the rice bun for about 5 mins in the mould. Repeat step 3 for the remaining rice (until you make 3 more rice buns).
Step 4
Take the shaped rice buns out from the mould (just lift the food wrap) and uncover the rice. Brush the top of the rice buns with rice seasoning sauce II. Grill the seasoned side on low heat until it’s lightly crusted. While it’s grilling brush the rice seasoning sauce II on top of the bun. Turn it over and grill until it’s lightly crusted. Move the bun onto some non-stick baking paper so that the rice doesn’t stick to a plate. You can also use this paper as a wrapper. (Place two rice buns on each non stick baking paper sheet.) Repeat this for the rest of the rice buns.
Step 5
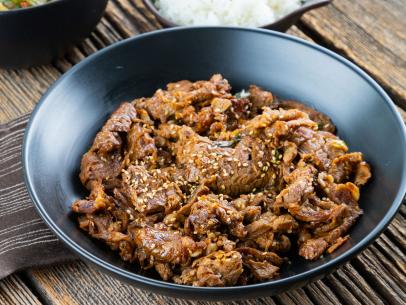
Cook the Bulgogi in a pan until it’s fully cooked.
Step 6
Assemble the burger as follow & enjoy! -Squeeze out some mayonnaise on the rice buns and spread it well. - You can skip this if you don't like mayonnaise. -Spread the Bulgogi burger sauce on the rice buns. - You can brush this sauce onto the meat as well. -Layer with lettuce leaves, perilla leaves and bulgogi. - You can replace perilla leaves with lettuce or other herbs you might like if you can't find any. -Add some pickled white radish slices and/or Kimchi. -Cover with the rice bun. -Wrap the burger with the non-stick baking paper so that you can catch it if anything drops.
Top similar recipes
Curated for youYour folders

 281 views
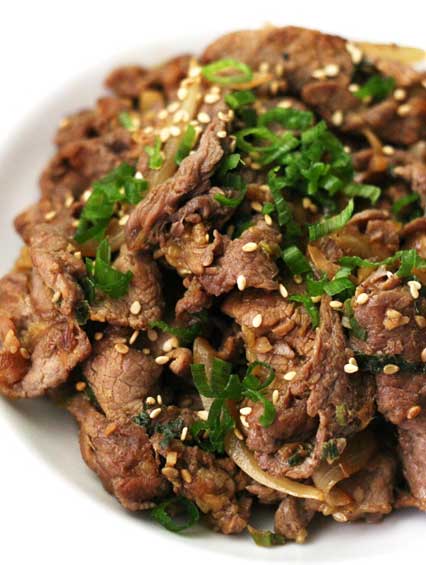
Beef Bulgogi Burger Recipe
grillingmontana.com
5.0
(1)
8 minutes
Your folders
 356 views
Bulgogi Deopbap (Bulgogi Rice Bowl)
koreanbapsang.com
4.7
(6)
Your folders
 451 views
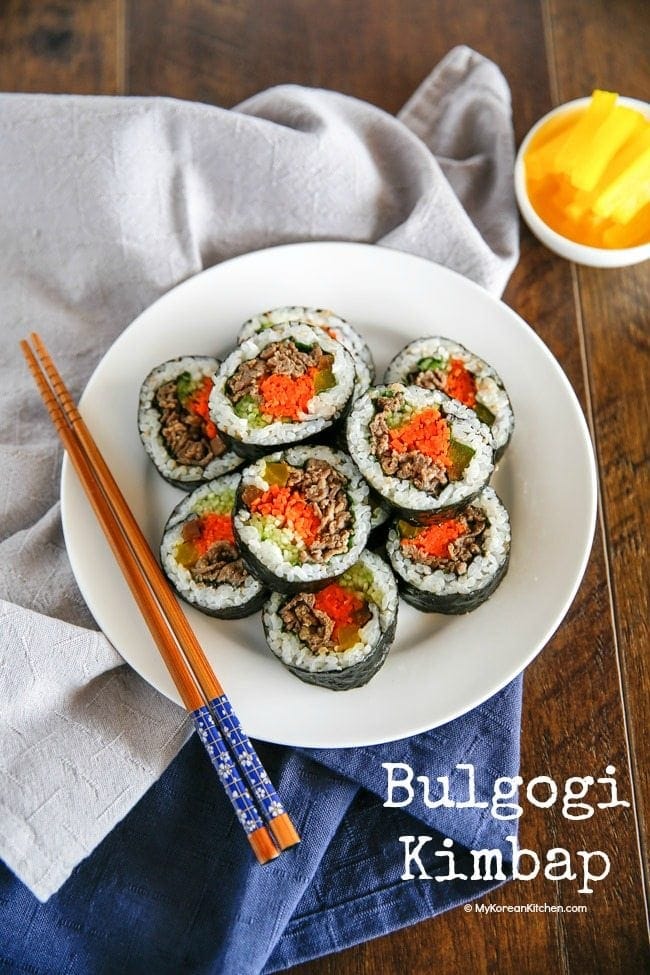
Bulgogi Kimbap (Bulgogi Seaweed Ric...
mykoreankitchen.com
5.0
(2)
20 minutes
Your folders
 389 views
Teriyaki Rice Burger
chopstickchronicles.com
5.0
(3)
10 minutes
Your folders
 69 views
Teriyaki Rice Burger
chopstickchronicles.com
Your folders
 742 views
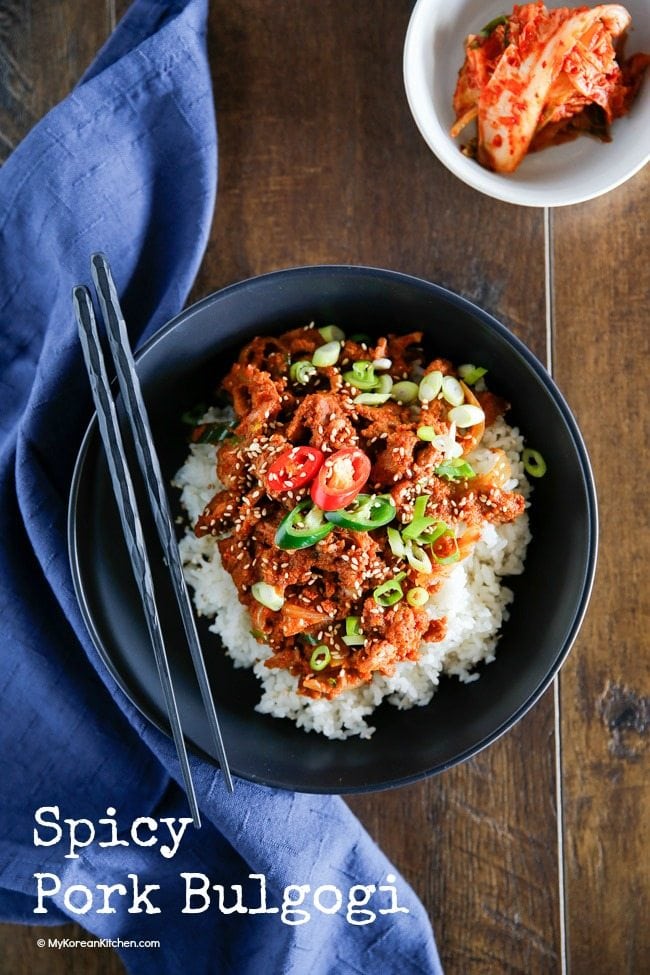
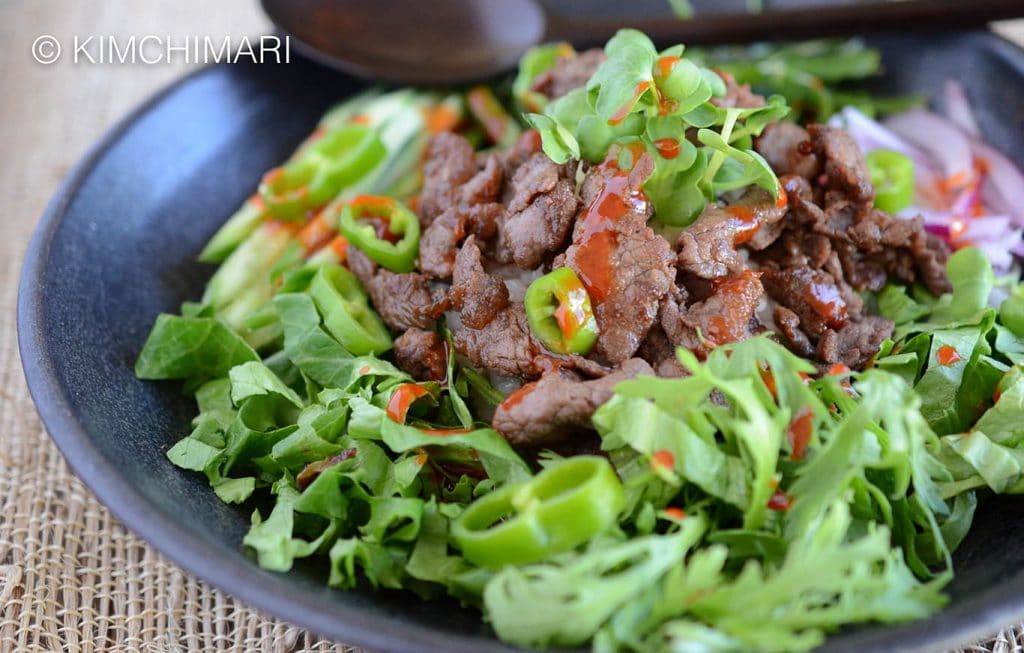
Spicy Pork Bulgogi Rice Bowl
mykoreankitchen.com
5.0
(34)
10 minutes
Your folders
 331 views
Shredded Tofu Bulgogi Rice Bowl
thefoodietakesflight.com
4.9
(33)
15 minutes
Your folders
 298 views
Bulgogi-Style Beef Fried Rice
somuchfoodblog.com
5.0
(5)
15 minutes
Your folders
83 viewsBulgogi-Style Beef Fried Rice
somuchfoodblog.com
Your folders
86 viewsShredded Tofu Bulgogi Rice Bowl
thefoodietakesflight.com
Your folders
 320 views
Bulgogi
taste.com.au
4.0
(1)
5 minutes
Your folders
 595 views
Bulgogi
savorysweetlife.com
5.0
(47)
15 minutes
Your folders
95 viewsBulgogi
savorysweetlife.com
Your folders
 238 views
Bulgogi
arla.se
4.7
(23)
Your folders
 276 views
Bulgogi
foodnetwork.com
4.3
(6)
20 minutes
Your folders
 47 views
Bulgogi
fluffigundhart.de
20 minutes
Your folders
 119 views
Korean Bulgogi Rice Bowl with Gochu...
kimchimari.com
5.0
(1)
30 minutes
Your folders
 189 views
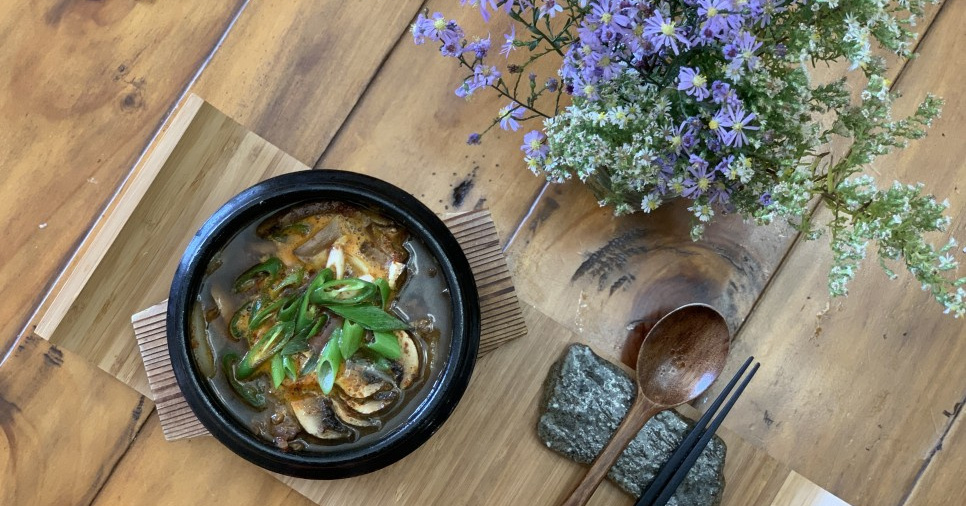
- Bulgogi mushroom soup made with l...
m.10000recipe.com
Your folders
 395 views
Beef bulgogi
carolinescooking.com
5.0
(2)
10 minutes