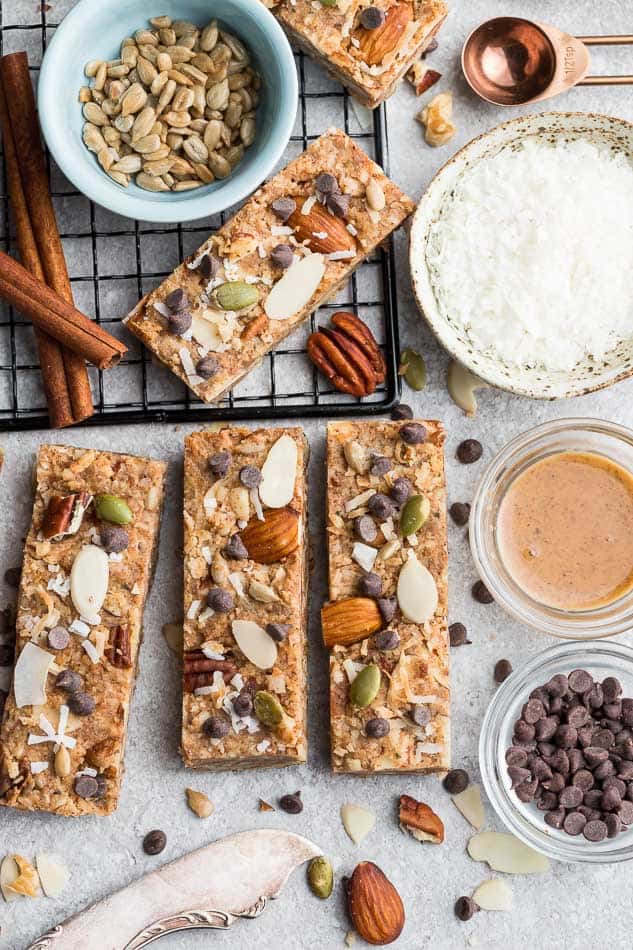
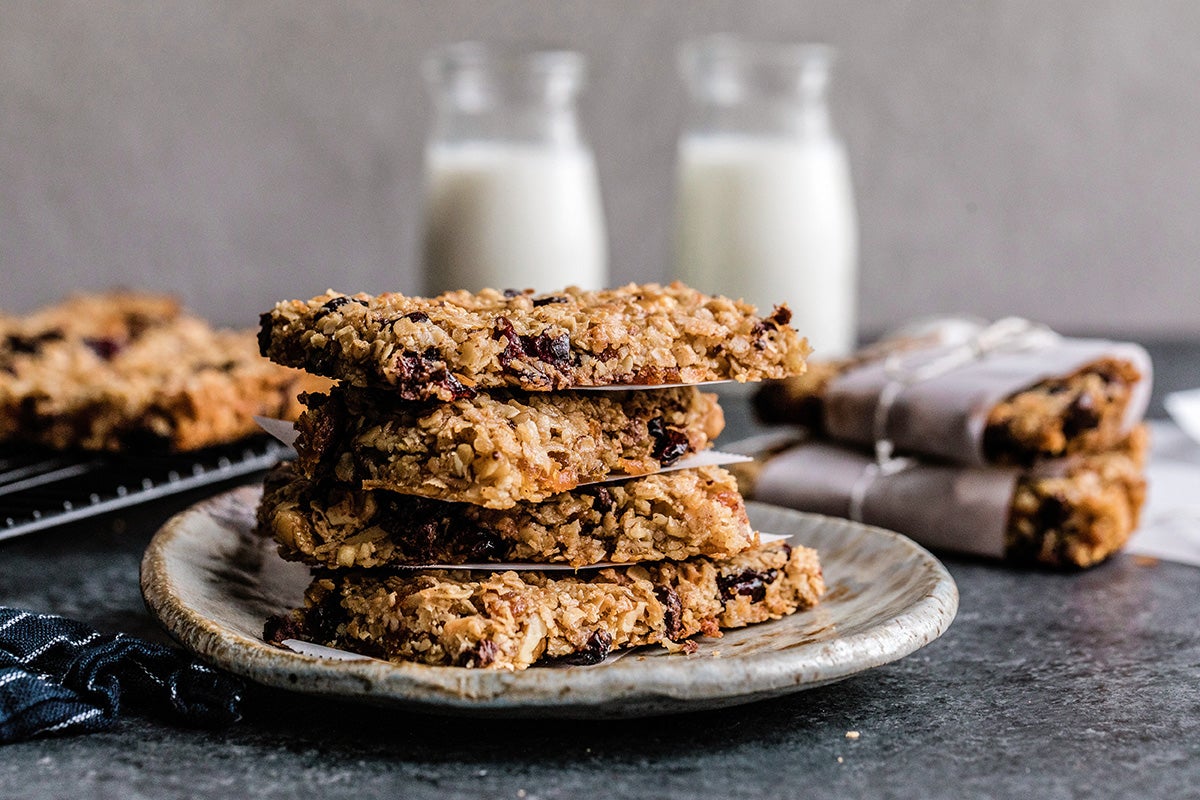
Pecan Granola Bars
4.9
(26)
Your folders
Your folders
Prep Time: 20 minutes
Cook Time: 5 minutes
Total: 25 minutes
Servings: 16
Author : Cookie and Kate

Ingredients
Export 6 ingredients for grocery delivery
Instructions
Step 1
Line a 9-inch square baker with one strip of parchment paper, cut to fit neatly across the base. The parchment paper will make it easy for you to slice the bars later.
Step 2
For maximum flavor, toast the pecans: In a medium skillet over medium heat, toast the pecans, stirring frequently (don’t let them burn!), until they are nice and fragrant, about 4 to 7 minutes. Transfer them to a cutting board to cool. Set aside 16 of your prettiest pecan halves for garnish, then chop the rest. Set aside.
Step 3
In a large mixing bowl, combine the oats, cinnamon, and salt, and stir to blend. Set aside.
Step 4
If you have made pecan butter for this recipe*, add the maple syrup and vanilla to your food processor or blender and blend to combine. If not, in a 2-cup liquid measuring cup, measure out 1 cup nut butter. Top with ½ cup maple syrup, followed by the vanilla extract. Whisk until well blended. (If you must, you can gently warm the liquid mixture in the microwave or on the stovetop.)
Step 5
Pour the liquid ingredients into the dry ingredients. Use a big spoon to mix them together until the two are evenly combined and no dry oats remain. Add the chopped pecans and stir until they are evenly dispersed. The drier the mixture, the more firm the bars will be, so stir in extra oats if the mixture seems wet. Conversely, if you used a super thick nut butter, you might need to drizzle in another tablespoon of honey to help it all stick together.
Step 6
Transfer the mixture to the prepared square baker. Use your spoon to arrange the mixture fairly evenly in the baker. Cover the bottom of a flat, round surface (like a short, sturdy drinking glass) with a strip of parchment paper (see photo) and pack the mixture down as firmly and evenly as possible. Press the reserved pecan halves into the surface to create 4 even rows and 4 even columns (see photo).
Step 7
Cover the baker and refrigerate for at least one hour, or overnight. This gives the oats time to absorb moisture so the granola bars can set. When you’re ready to slice, lift the bars out of the baker by grabbing both both ends of the parchment paper. Use a sharp chef’s knife to slice the mixture into 4 even rows and 4 even columns (these “bars” stick together better in a square shape).
Step 8
For portability, you can wrap individual bars in plastic wrap or parchment paper. Bars keep well for a couple of days at room temperature, but I recommend storing individually wrapped bars in a freezer-safe bag in the freezer for best flavor. They’ll keep for several months in the freezer.
Top similar recipes
Curated for youYour folders

 191 views
Chocolate Pecan Granola Bars
thevegan8.com
5.0
(2)
25 minutes
Your folders
 63 views
Chocolate Pecan Granola Bars
thevegan8.com
Your folders
273 viewsGranola Bars
foodnetwork.com
4.6
(76)
40 minutes
Your folders
 217 views
Granola Bars
budgetbytes.com
5.0
(2)
Your folders
100 viewsGranola Bars
lifemadesweeter.com
Your folders
 372 views
Granola Bars
foodnetwork.com
4.5
(294)
40 minutes
Your folders
 470 views
Pecan Pie Granola
badtothebowl.com
40 minutes
Your folders
 267 views
Maple Pecan Granola
allrecipes.com
4.9
(48)
40 minutes
Your folders
 211 views
Crunchy Pecan Granola
pinchofyum.com
5.0
(3)
35 minutes
Your folders
 654 views
Seeded Pecan Granola
cooking.nytimes.com
5.0
(565)
Your folders
 315 views
Muesli bars (granola bars)
recipetineats.com
5.0
(71)
5 minutes
Your folders
210 viewsPecan Bars
foodtalkdaily.com
25 minutes
Your folders
 278 views
Pecan Pie Bars (Pecan Bars Recipe)
thecookierookie.com
4.7
(28)
25 minutes
Your folders
 411 views
Homemade Granola Bars
loveandlemons.com
4.9
(80)
Your folders
 324 views
Granola Bars / Cereal
100daysofrealfood.com
4.8
(132)
75 minutes
Your folders
 686 views
Easy Granola Bars
food.com
5.0
(8)
10 minutes
Your folders
 447 views
Vegan Granola Bars
veganhuggs.com
5.0
(2)
Your folders
 607 views
Keto Granola Bars
lifemadesweeter.com
5.0
(14)
20 minutes
Your folders
 221 views
Chewy Granola Bars
kingarthurbaking.com
4.2
(72)
25 minutes